
This post contains affiliate links – I will be compensated if you make a purchase after clicking on my links. ❤
I started this post with a pretty picture because you are NOT going to believe how wretched my laundry room had become. When I look back on these photos, I am horrified to realize that I was just used to it being this way and therefore didn’t realize it was so awful. Are you ready?
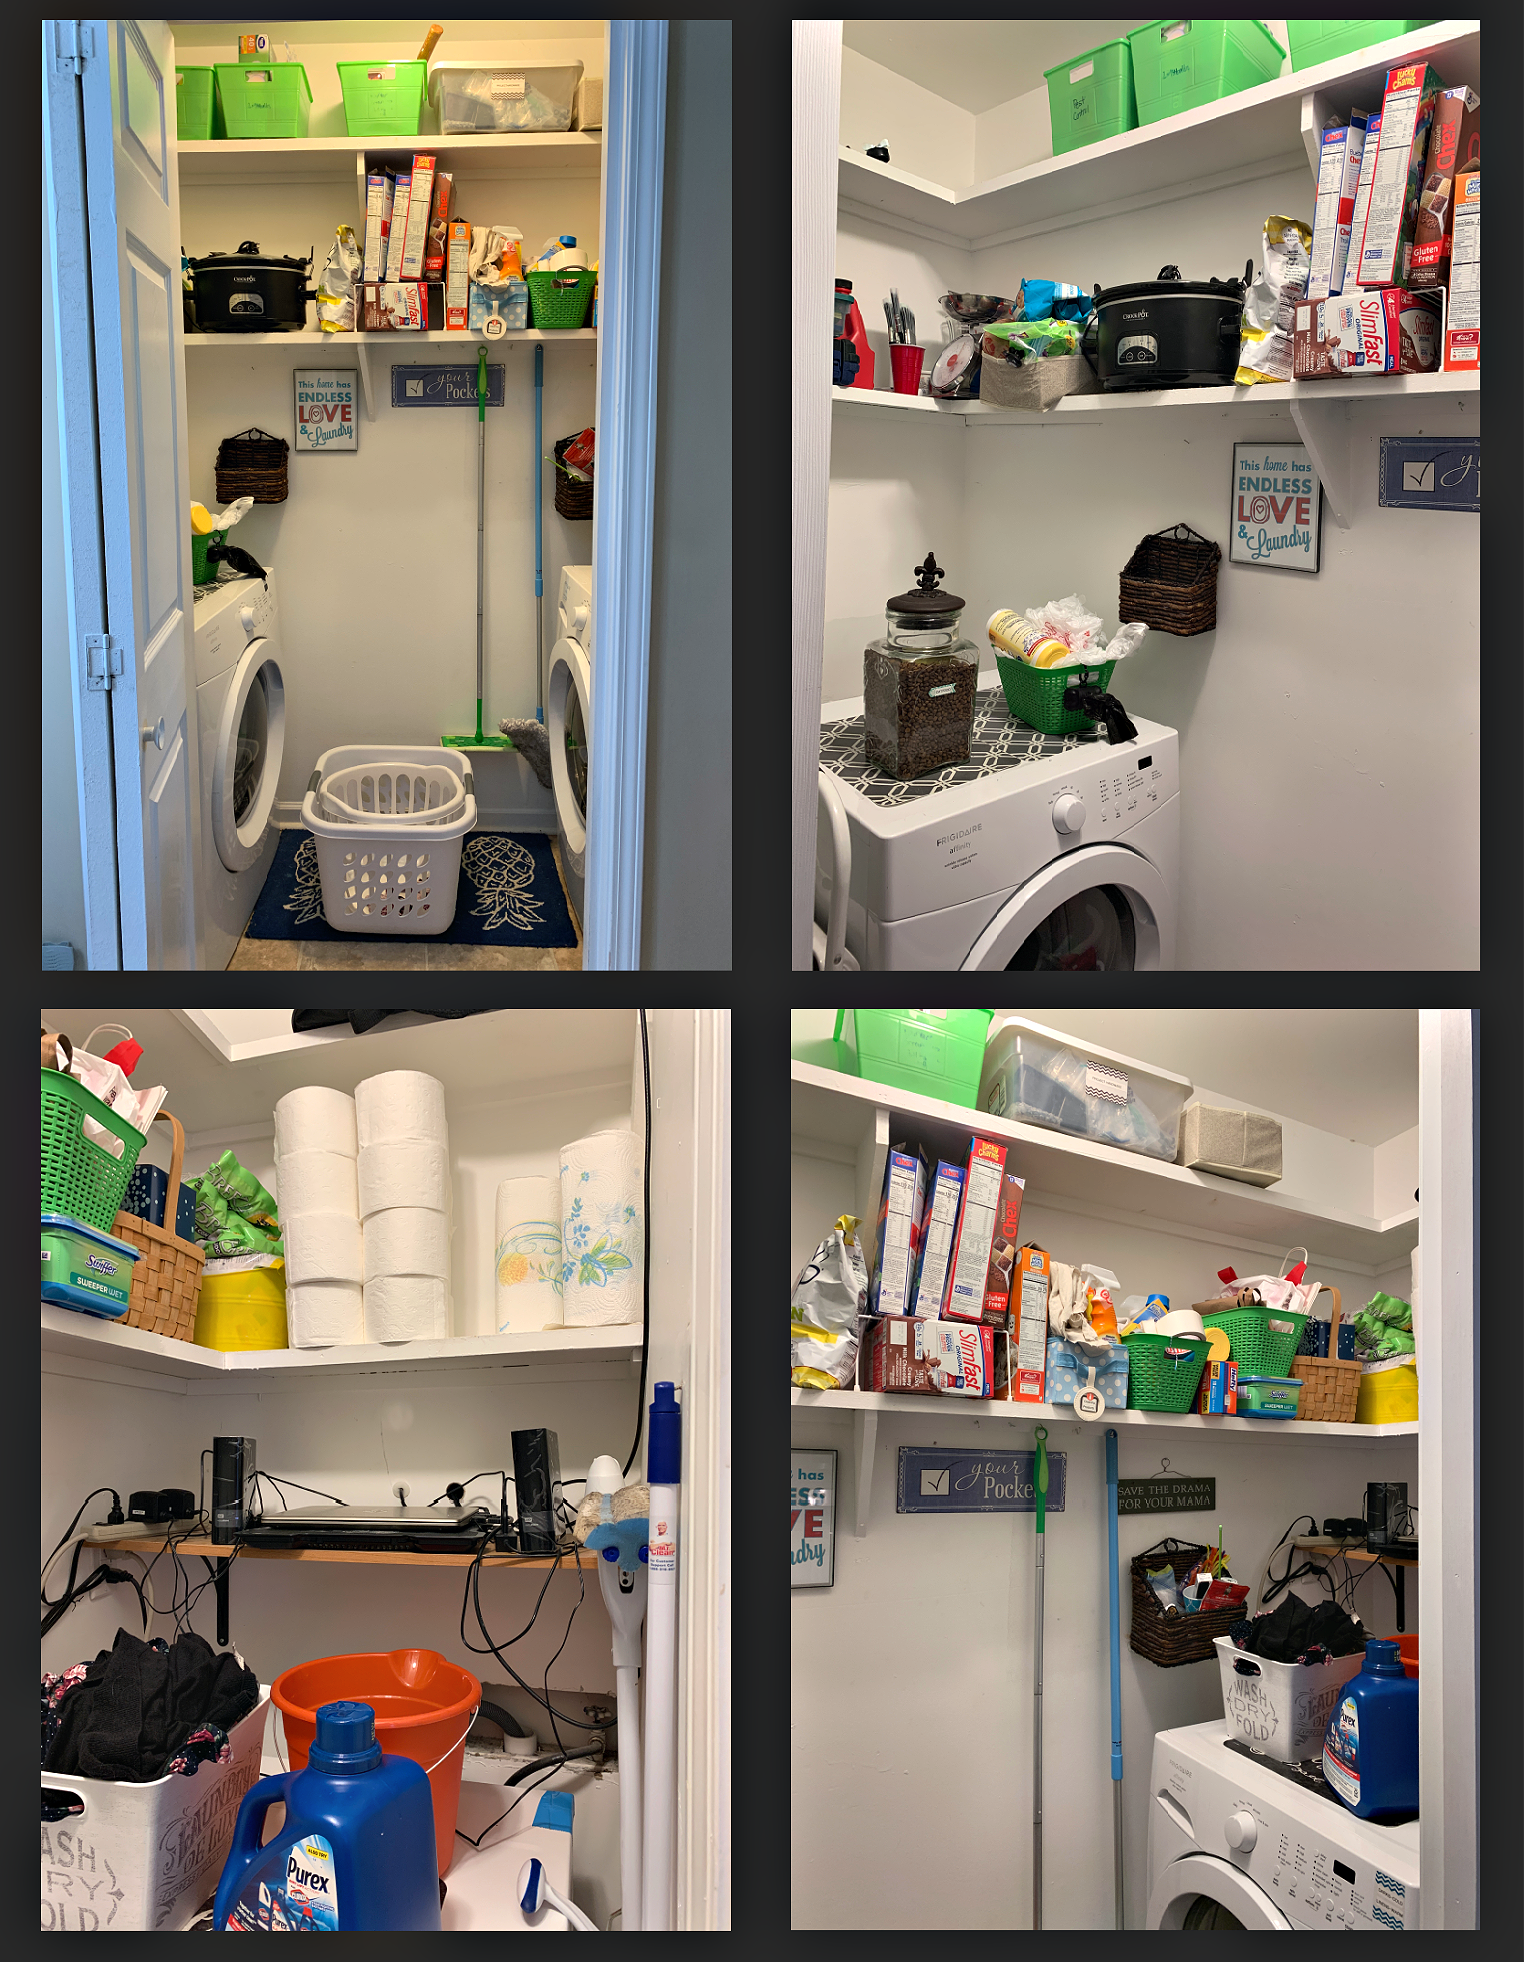
Yikes. Aside from the general disaster, the two things that annoyed me were:
- How hard it was to access anything on the shelves (the lowest shelf is well above my head)
- Having to hang brooms and wet clothes on that main wall – even when the room was tidy, that wall always looked cluttered
I started by taking everything off the shelves and out of the baskets. I sorted, threw away and moved things to other areas of the house where they belonged.
The remaining items were reorganized in new gray bins from Walmart. Normally I use Dollar Tree bins, but I decided I needed sturdier ones since I’m lifting full baskets over my head to get them up and down.
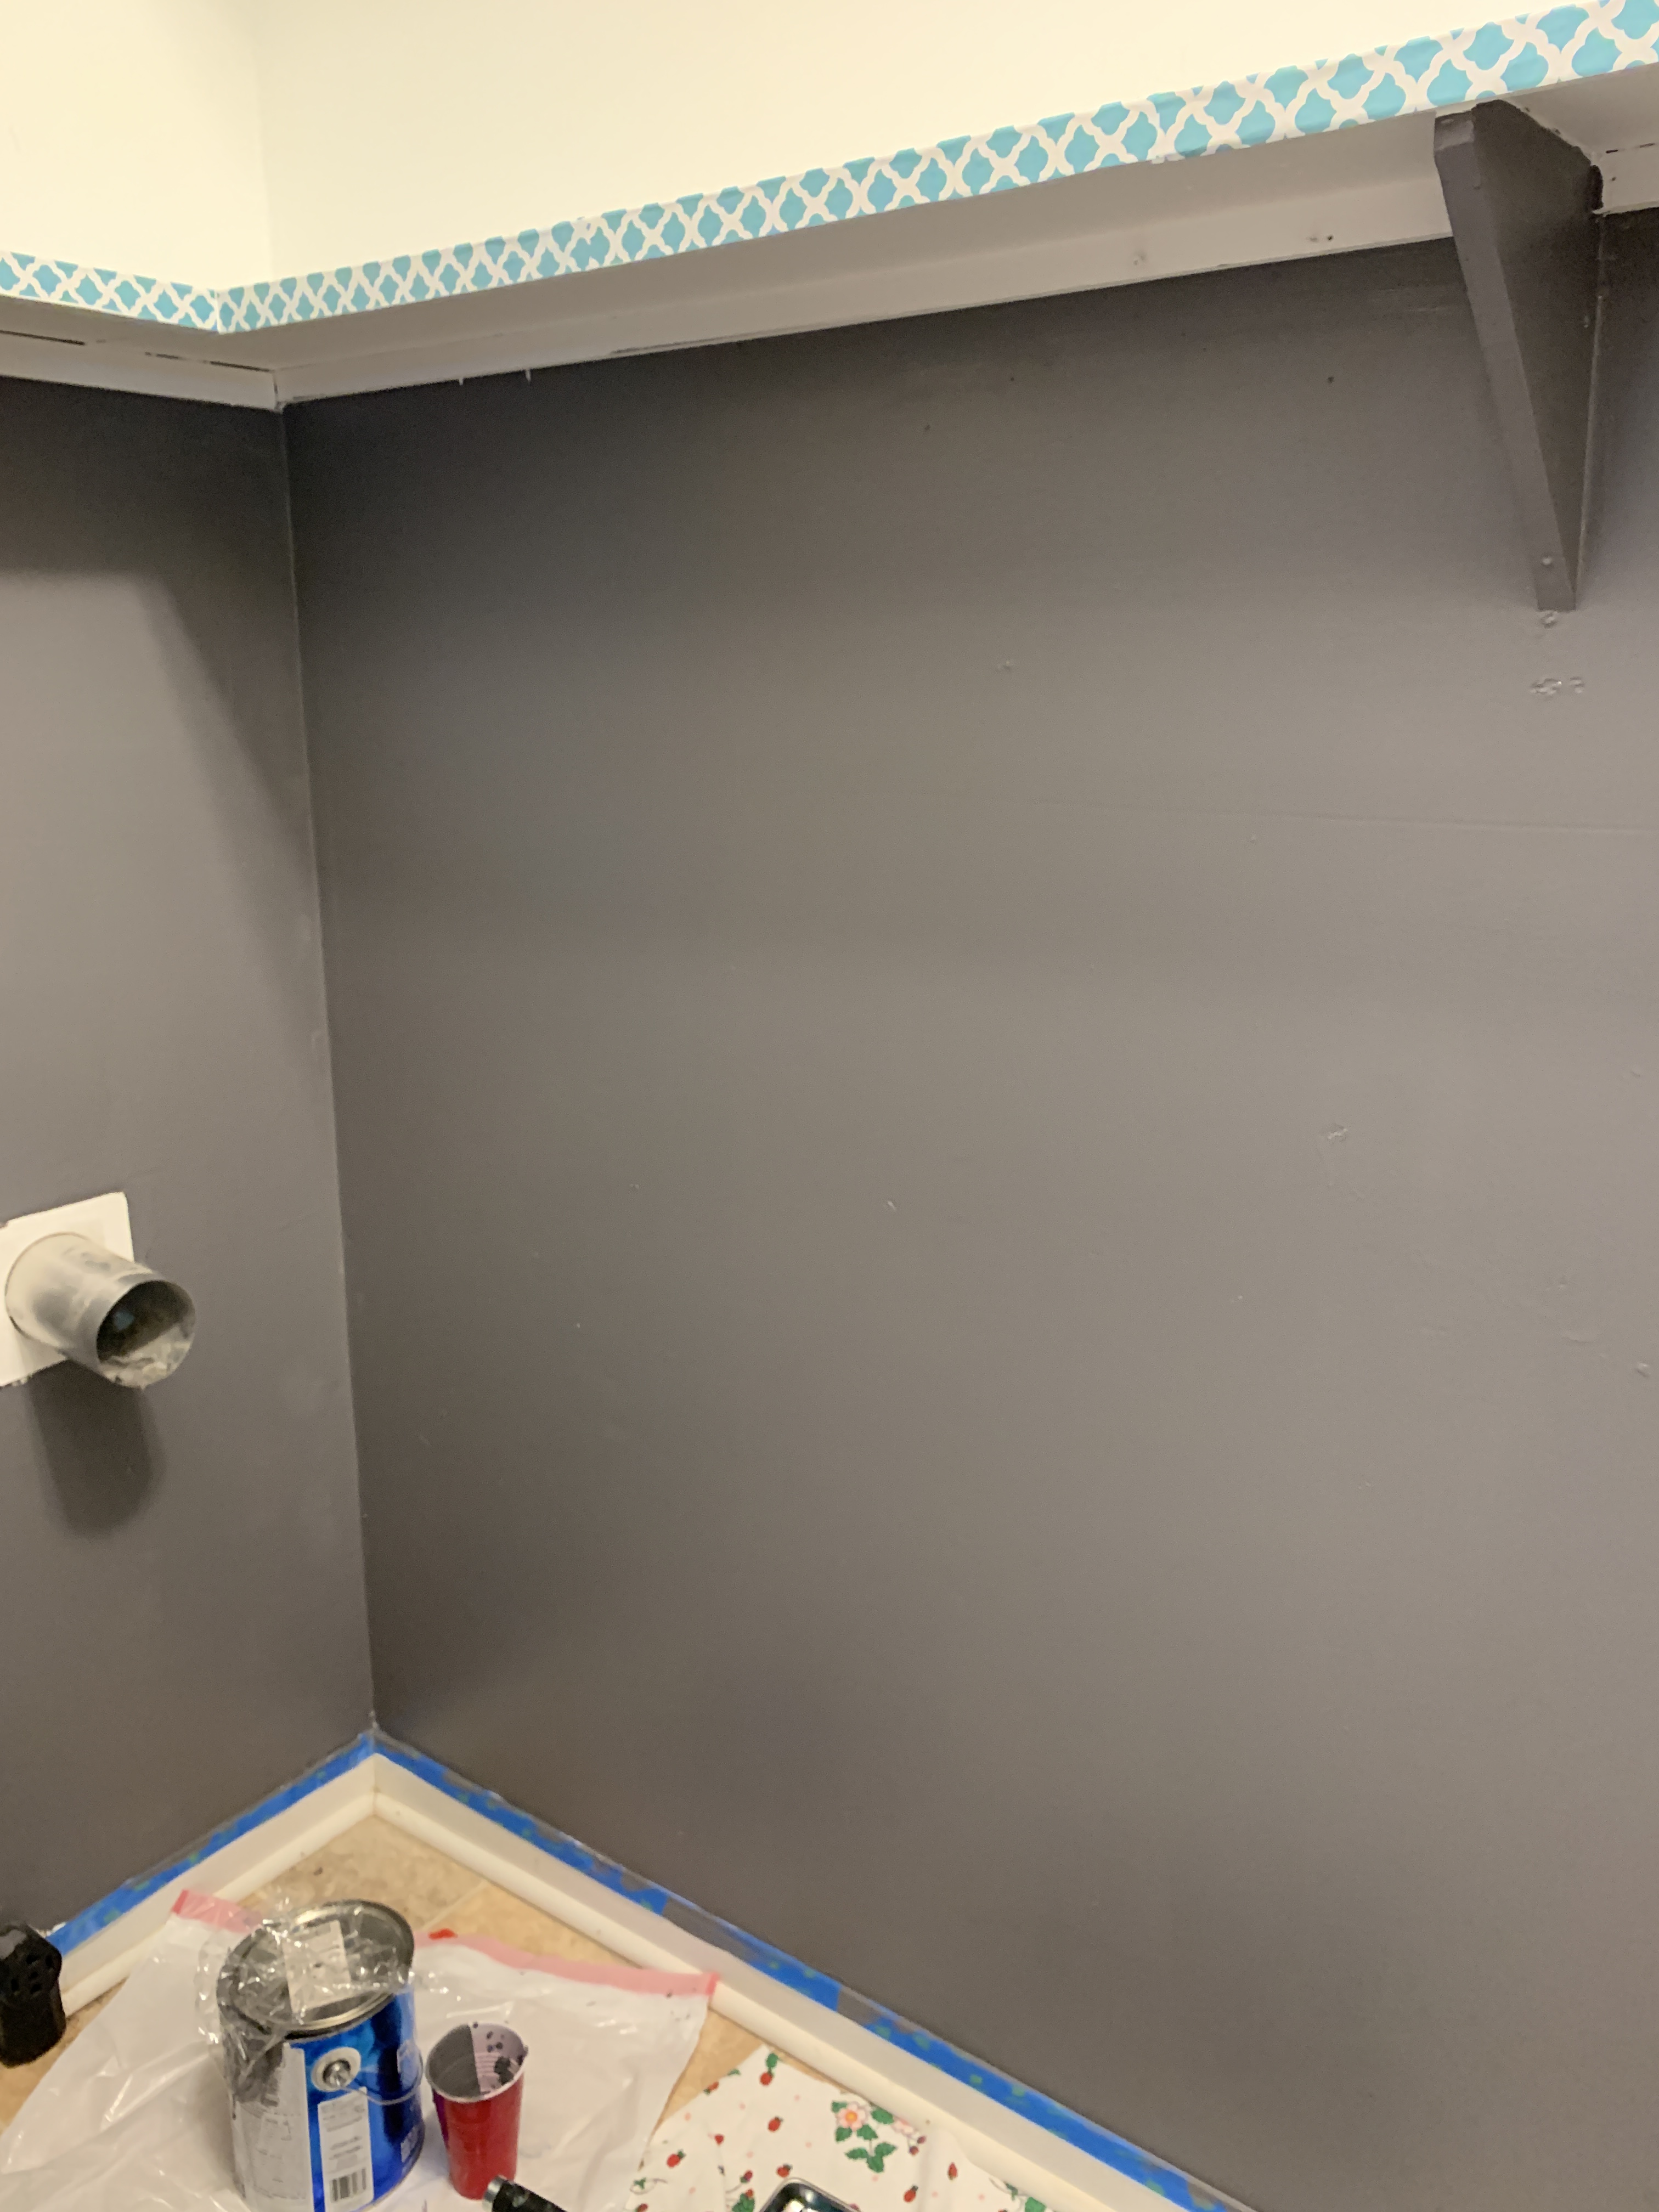
Paul helped me by pulling the washer and dryer out into the kitchen. I went to work repainting the bottom half of the room, using leftover paint.
The shelving is probably original to the house (1960) and really needed help. Being a lazy DIY’er, I covered it with Dollar Tree contact paper I happened to have on hand.
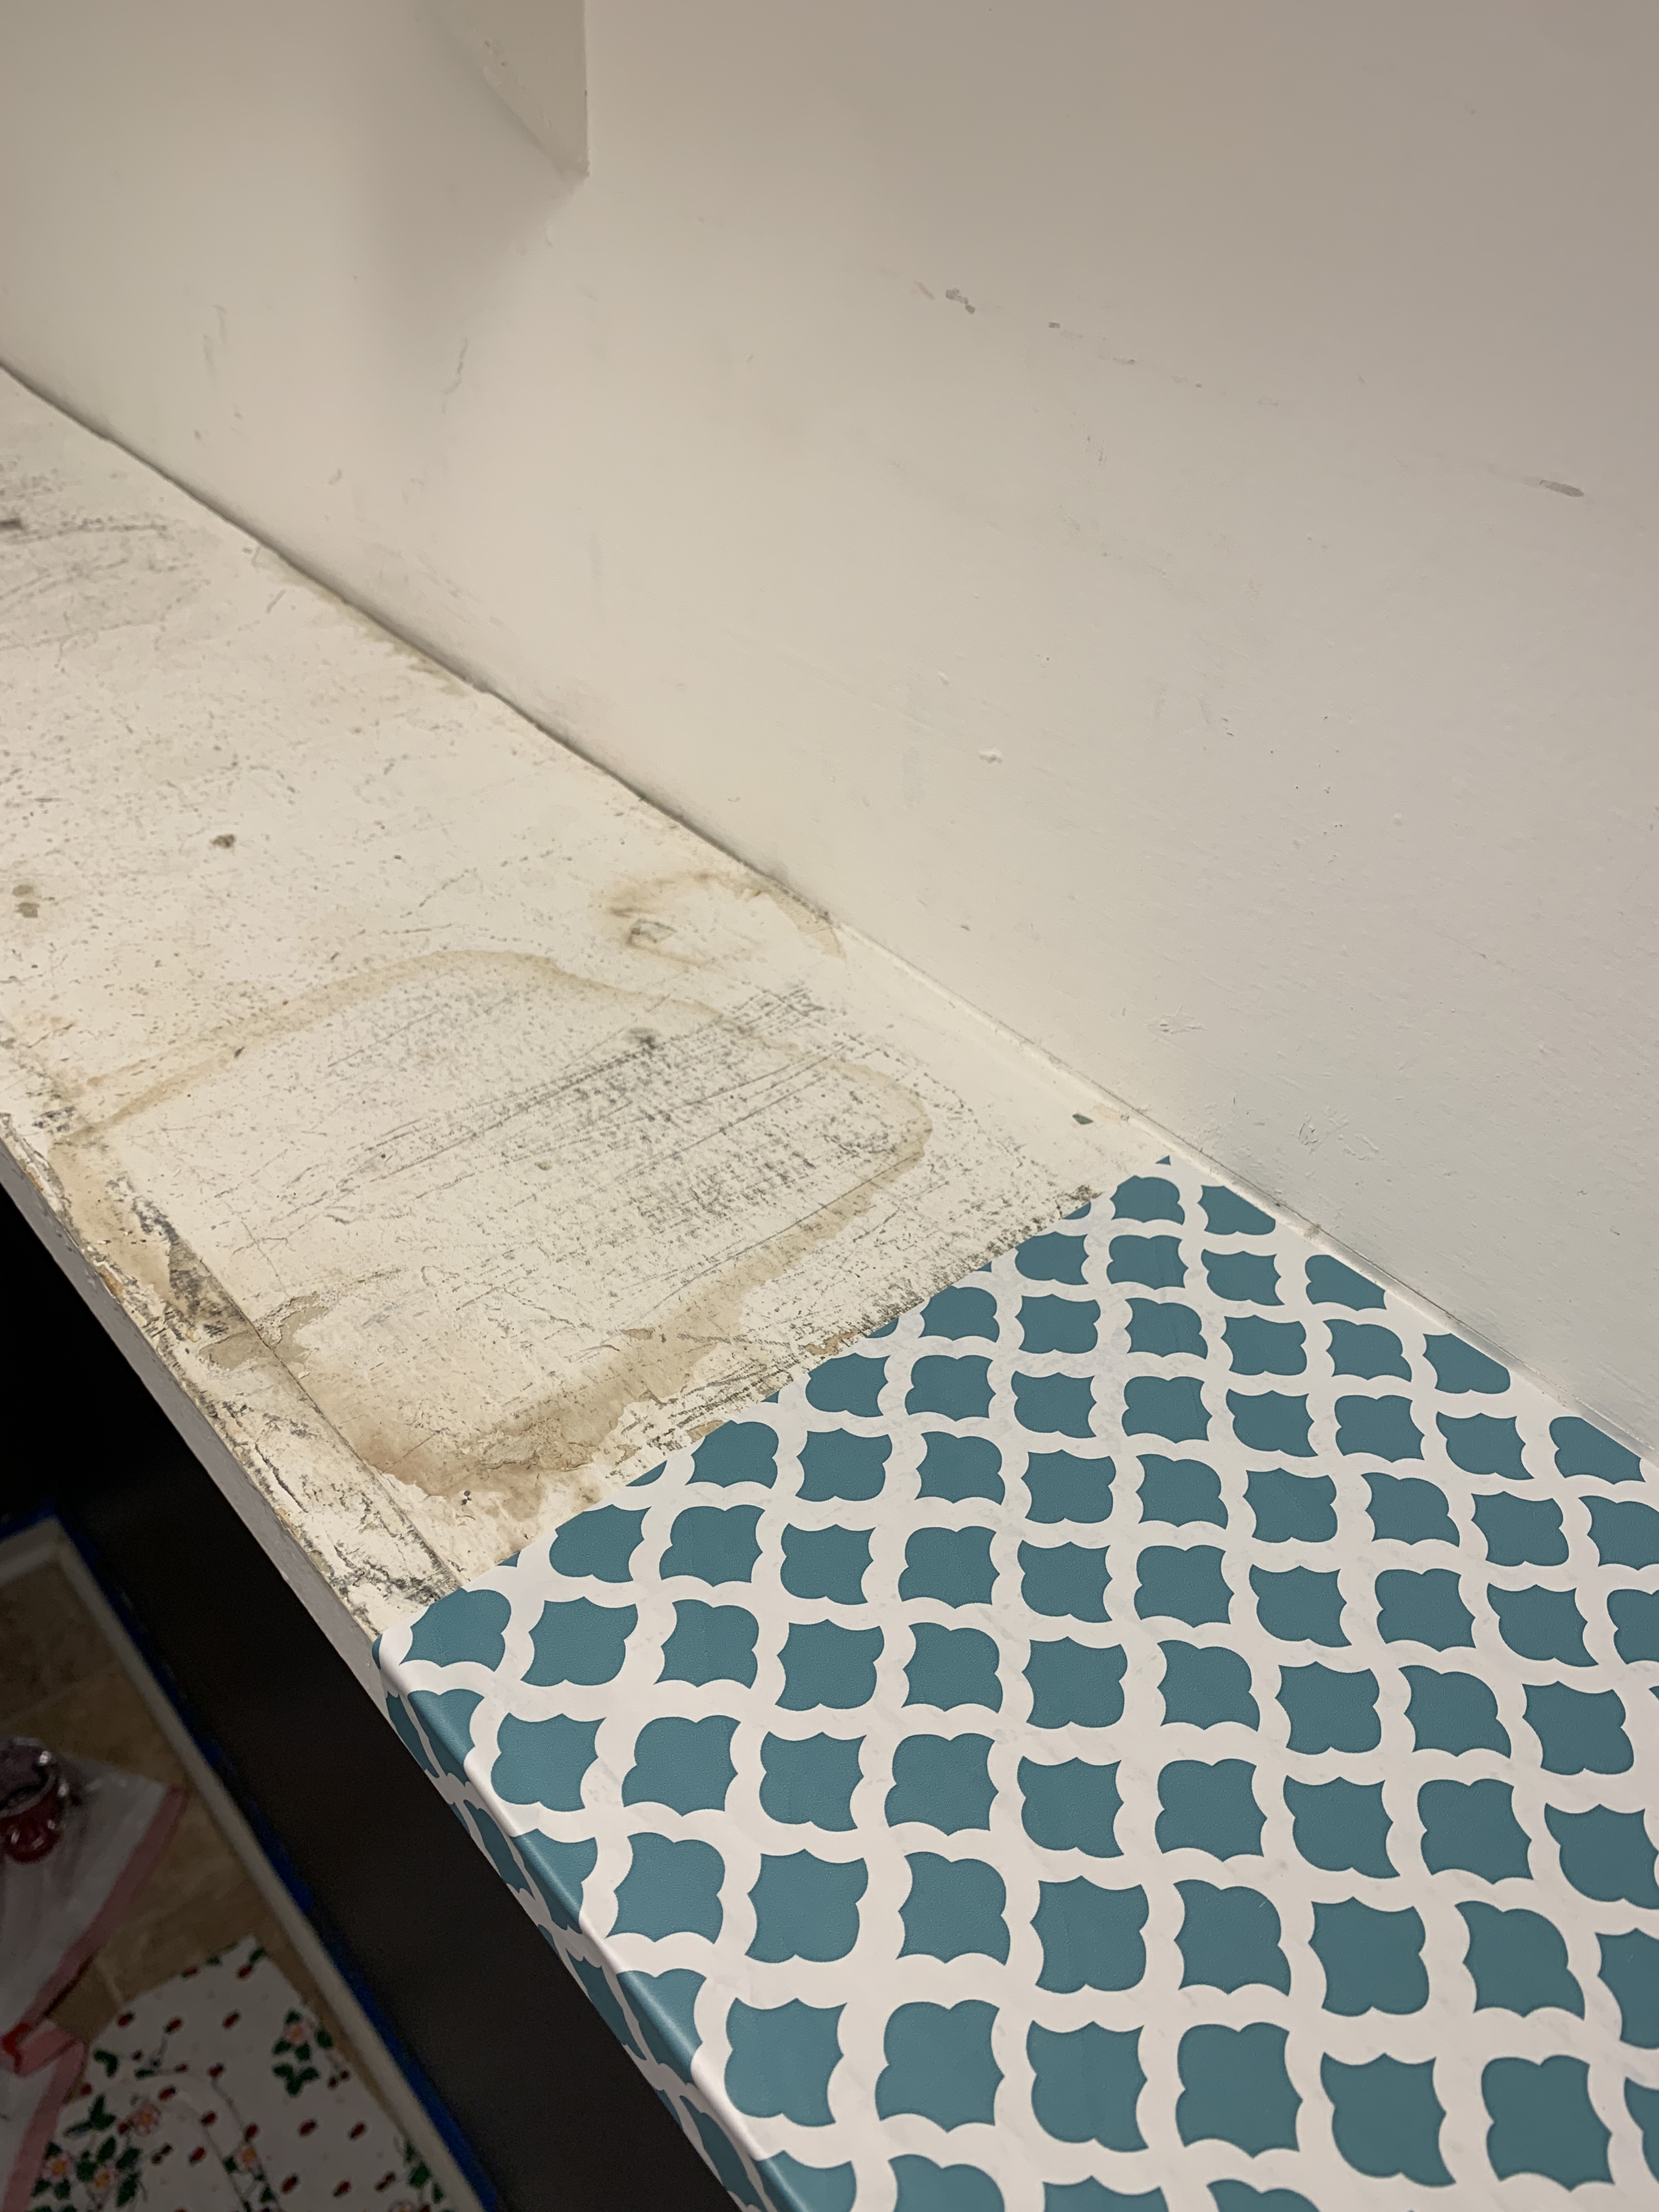
Yes, I know the people that end up living in this house after us (whenever that is) are going to be annoyed that I didn’t just paint the whole room…but by then it will be their problem. 🙂
Are you ready for the reveal? Here it is!
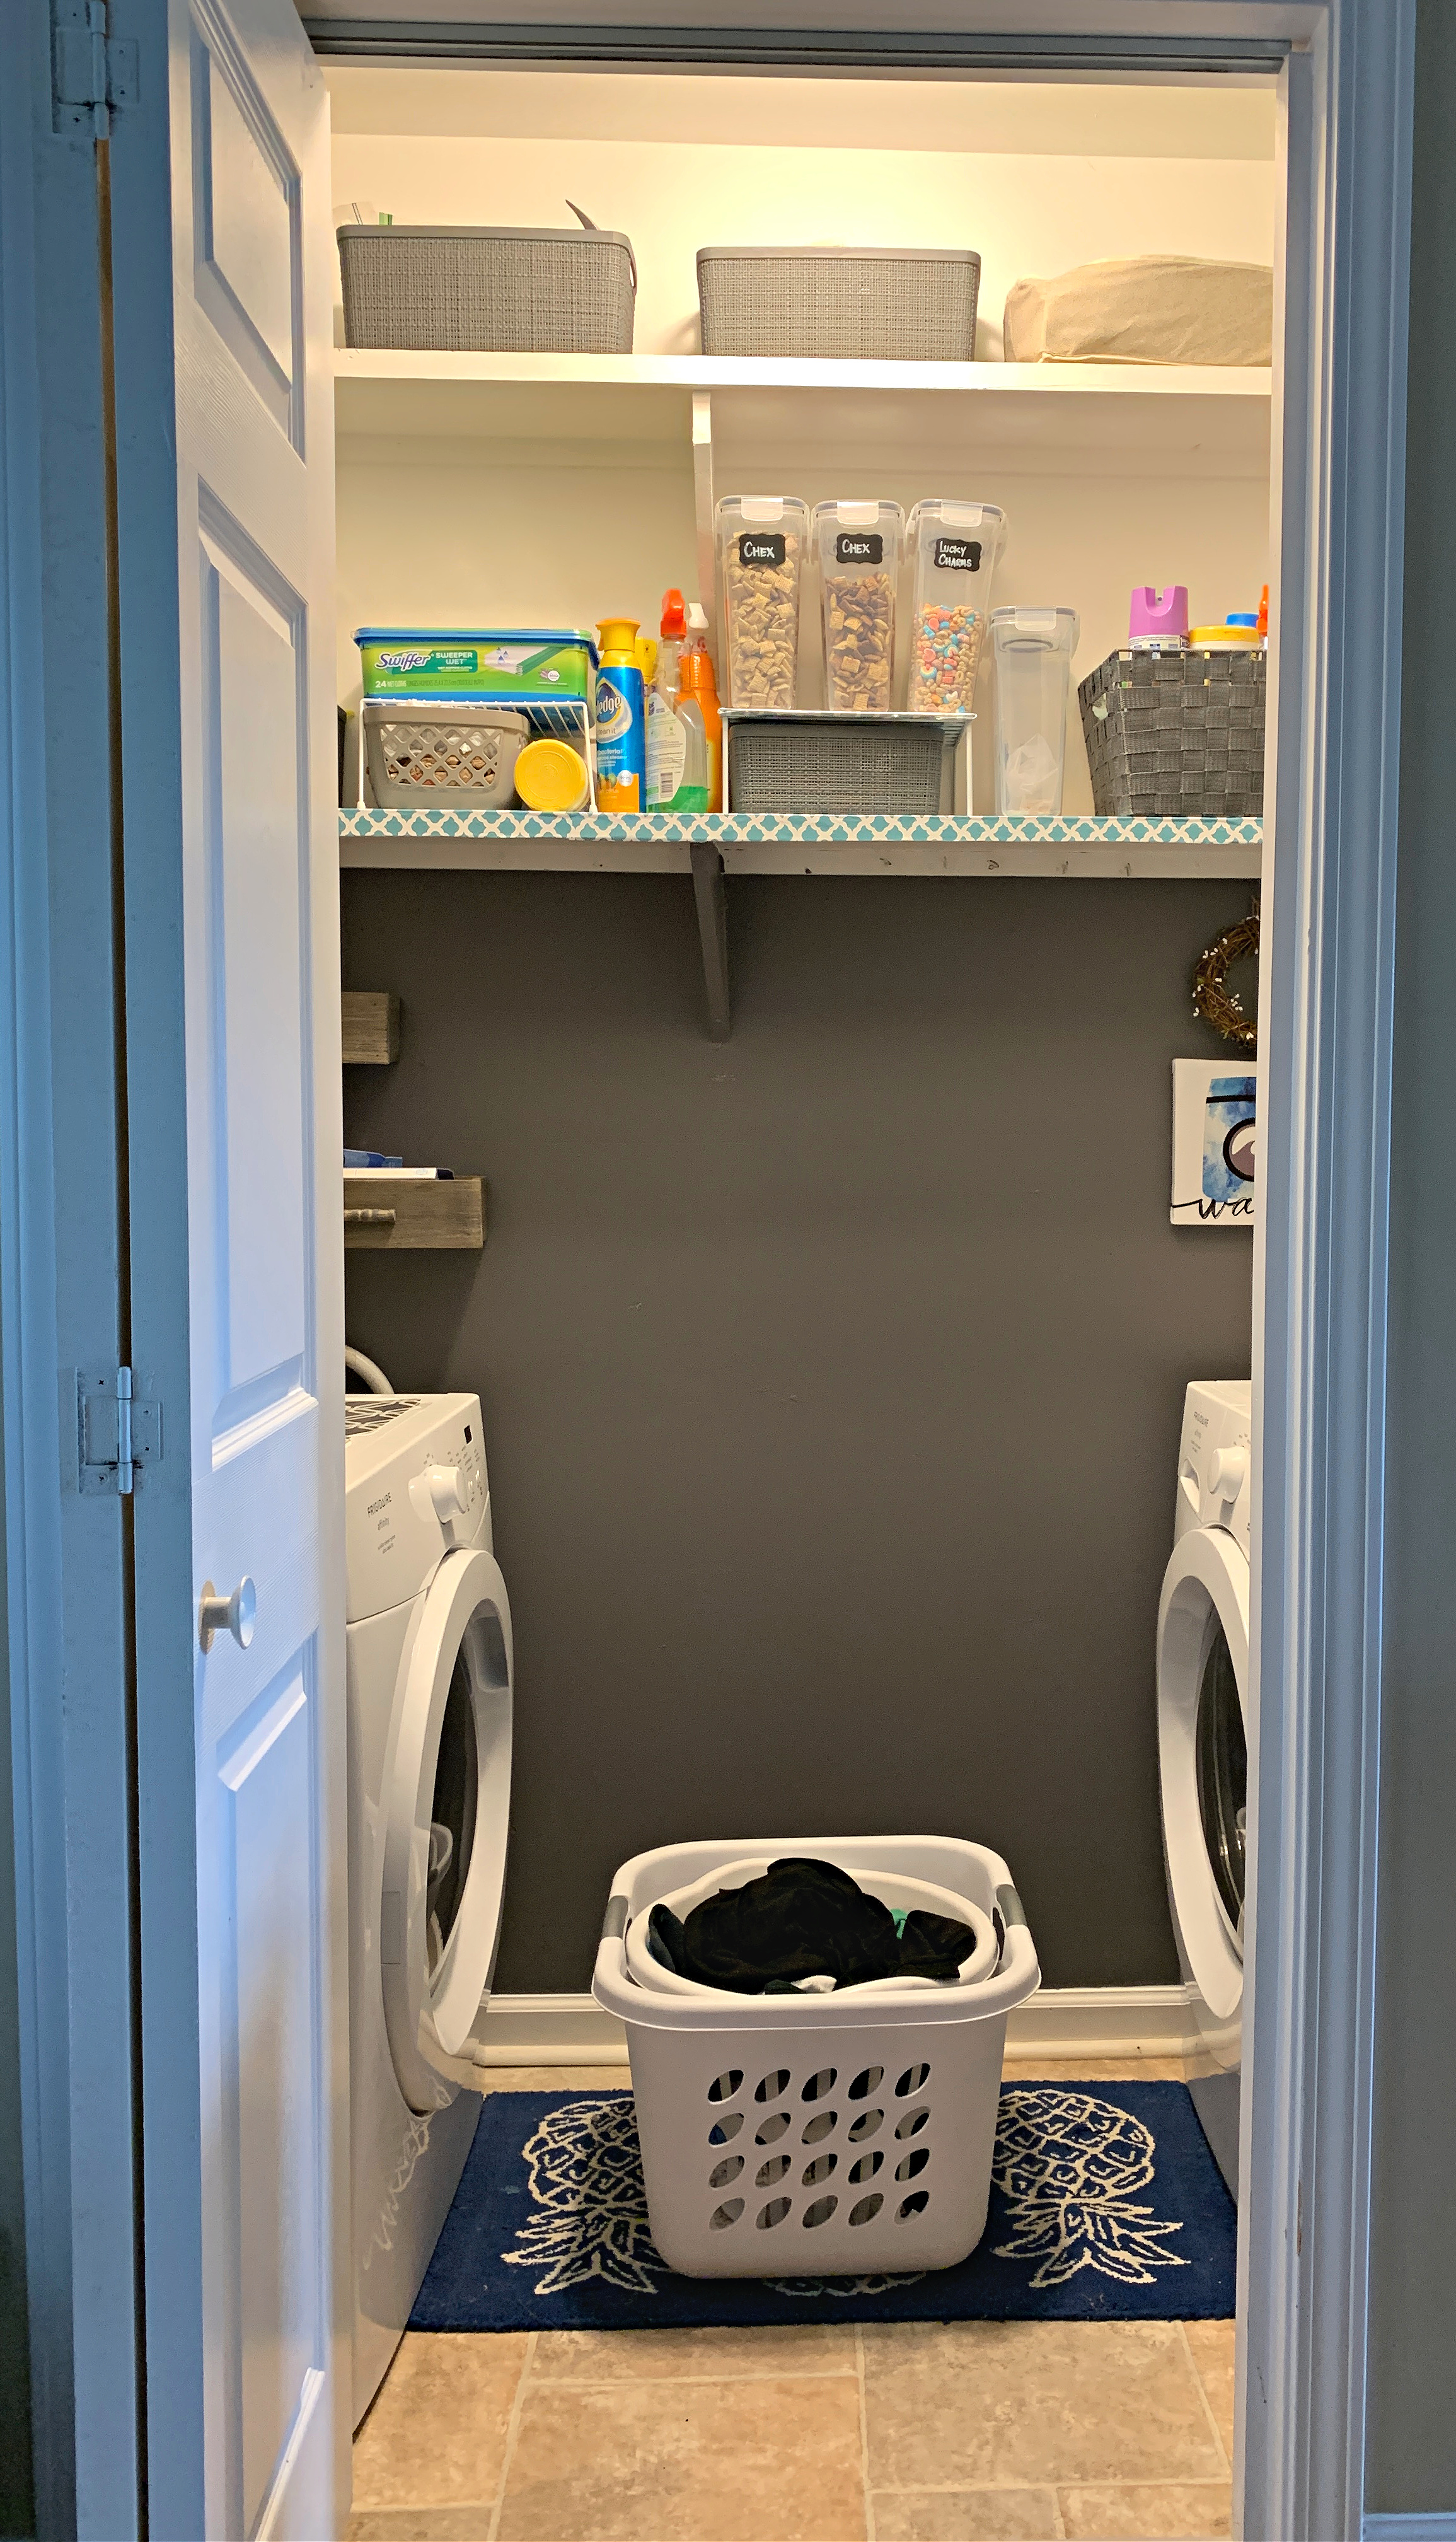
No more brooms or wet clothes on the wall!
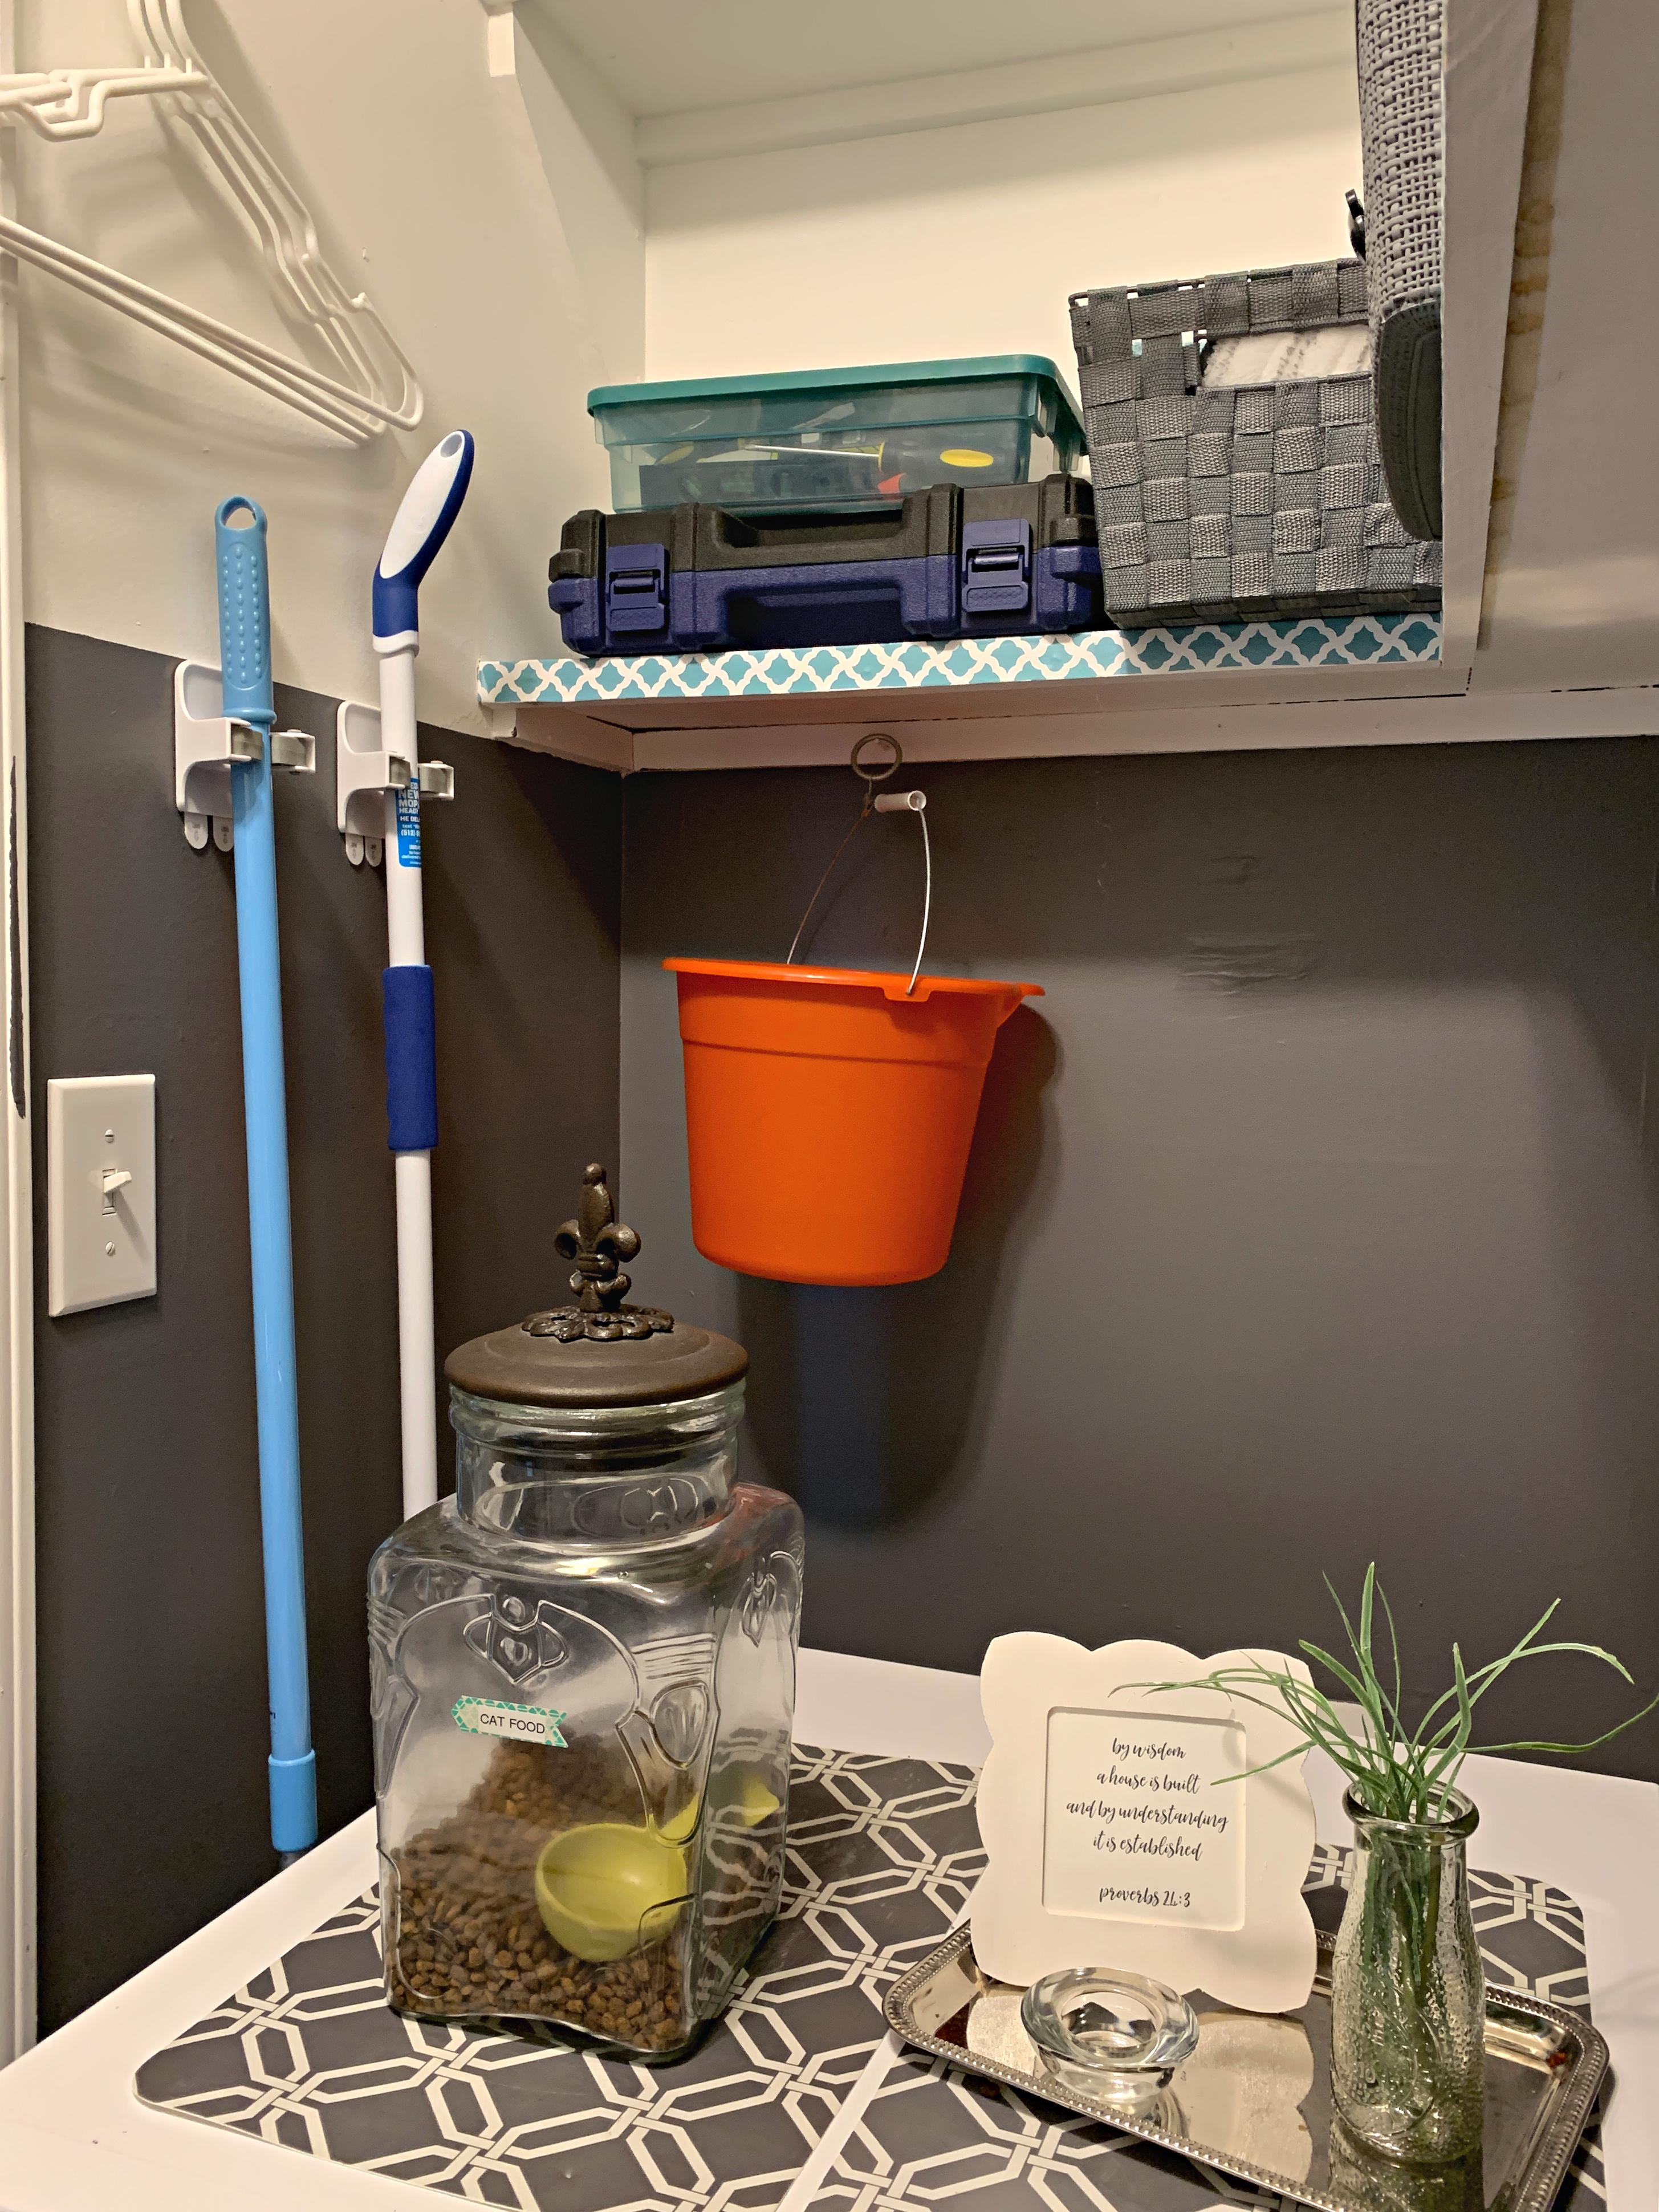
This room has many functions – we don’t have a pantry or a garage, so it has to hold cleaning supplies, extra food items and things like basic tools and light bulbs. It’s also near the cats’ litter box and where I store all the pet supplies.
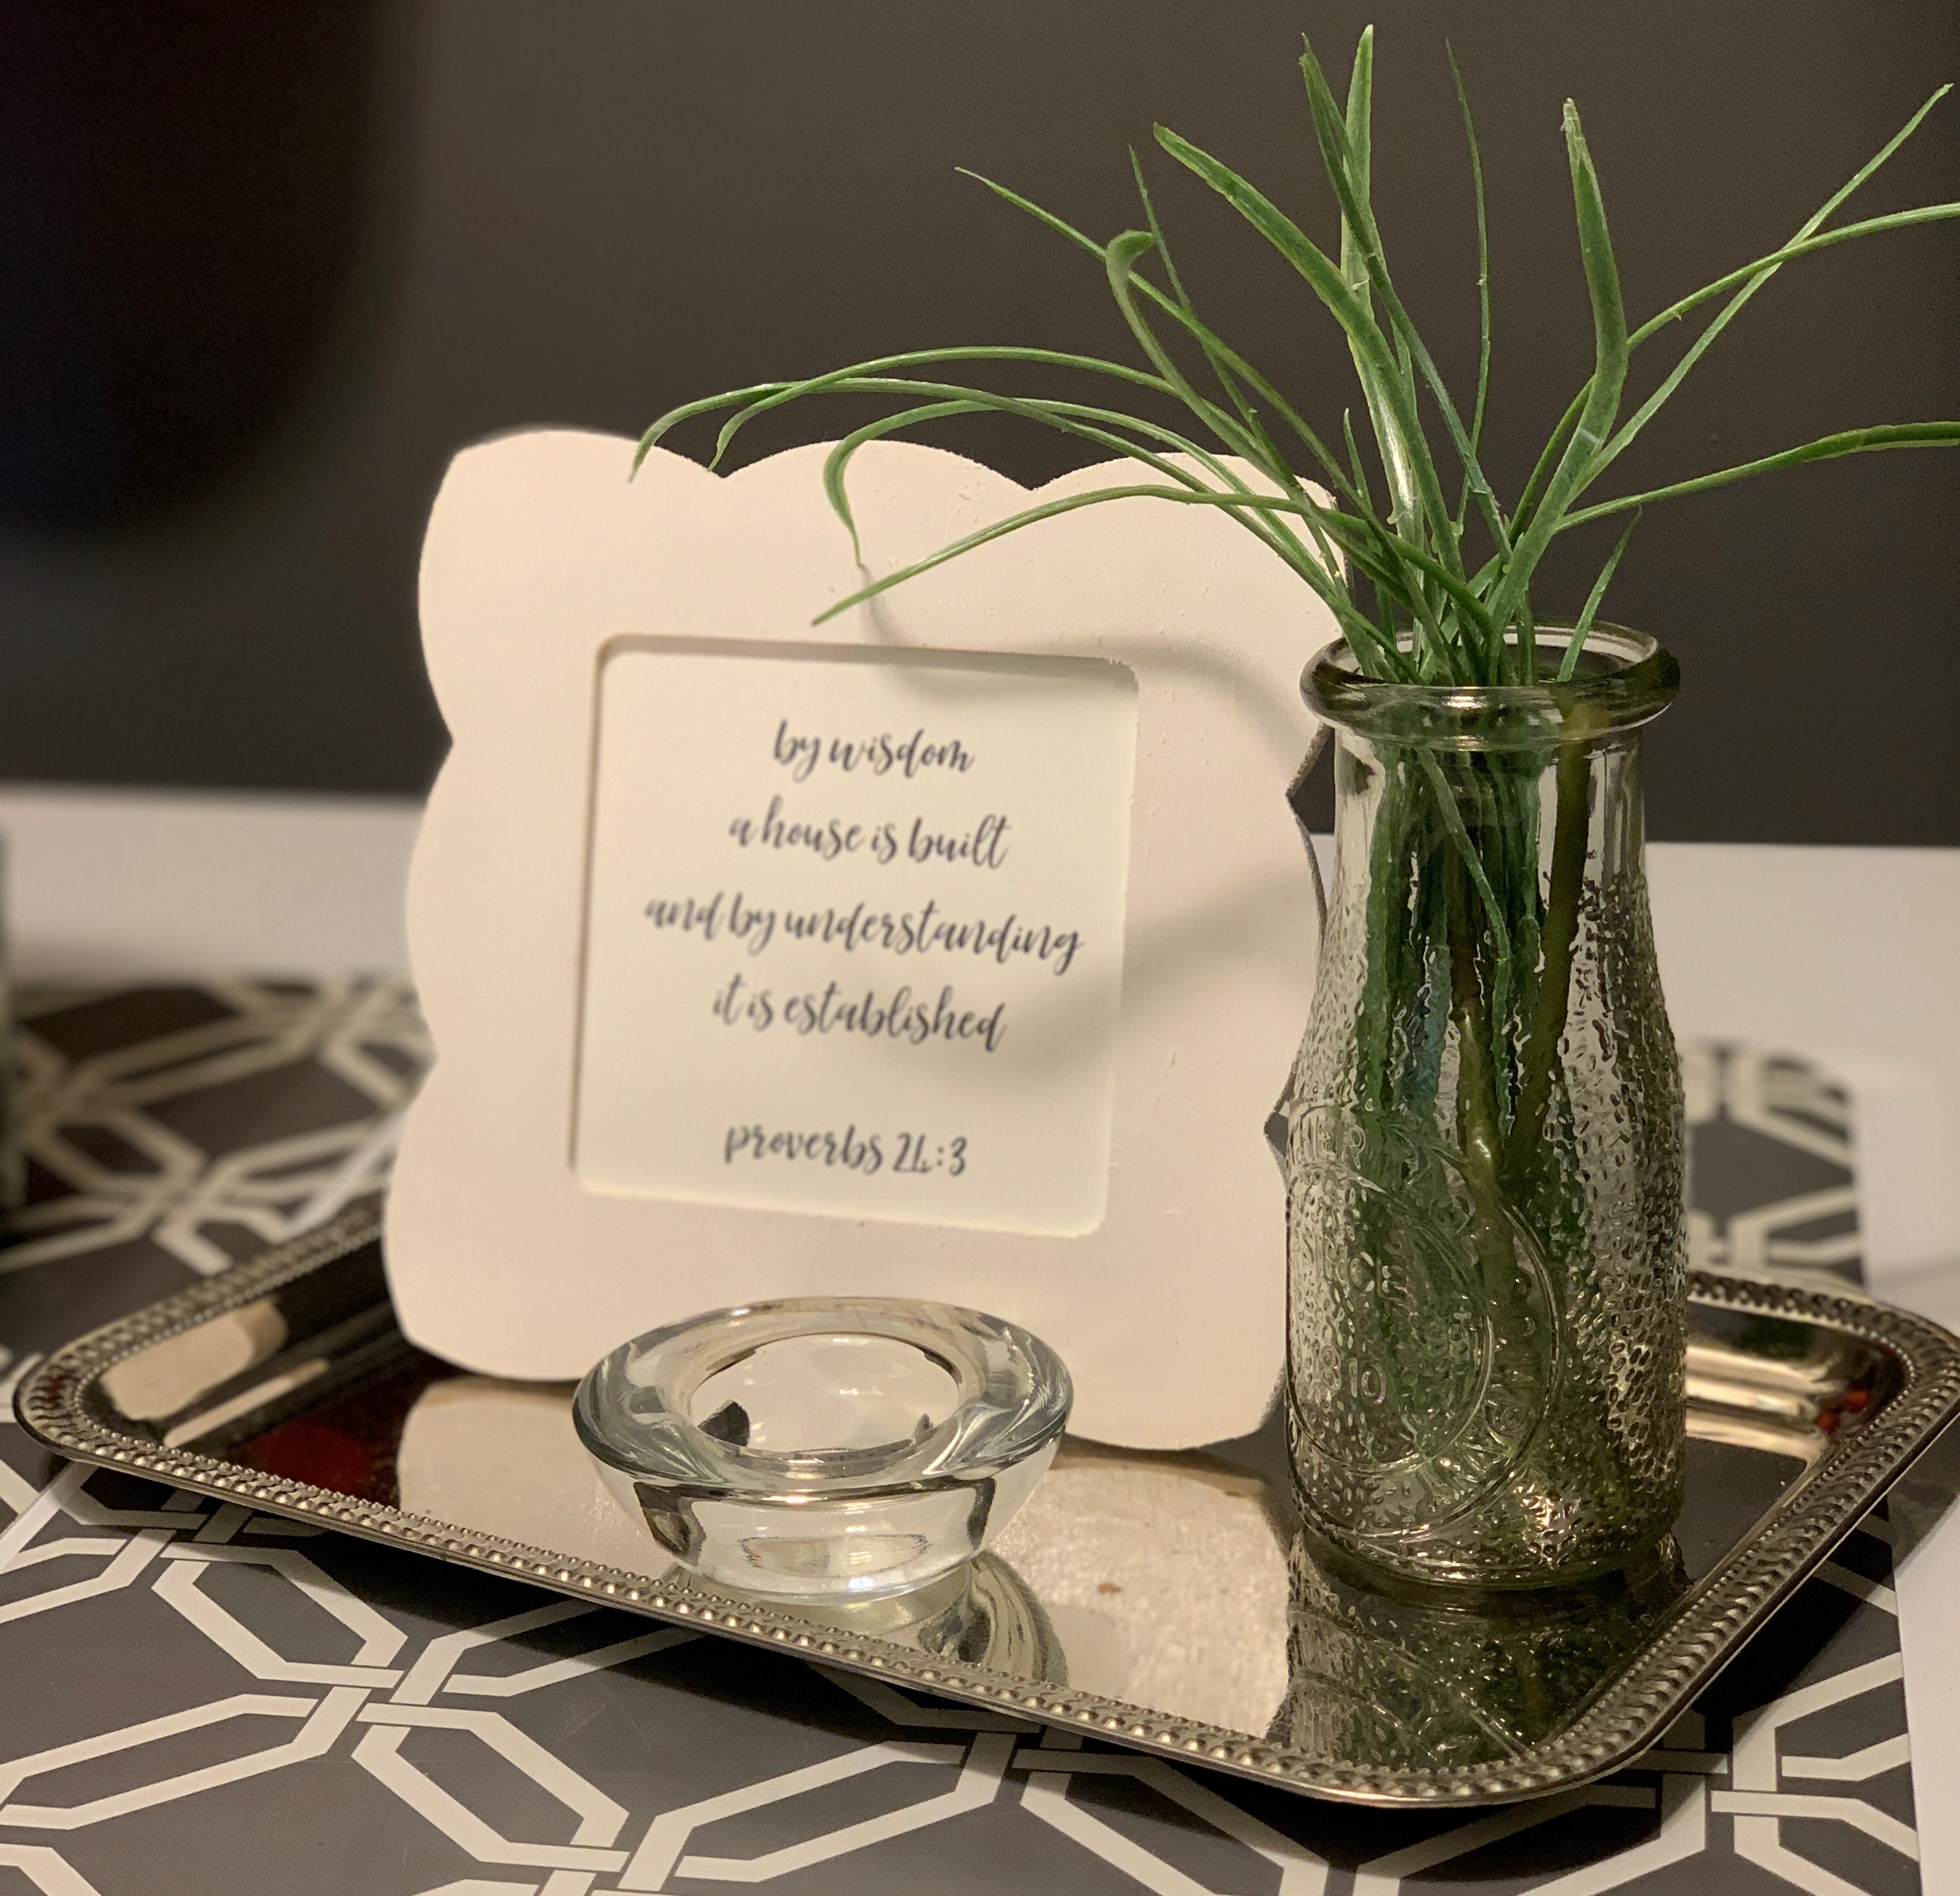
 Almost all the decor pieces in this room came from Dollar Tree and were things I already had in the house. I use that little clear dish to hold change from Paul’s pockets.
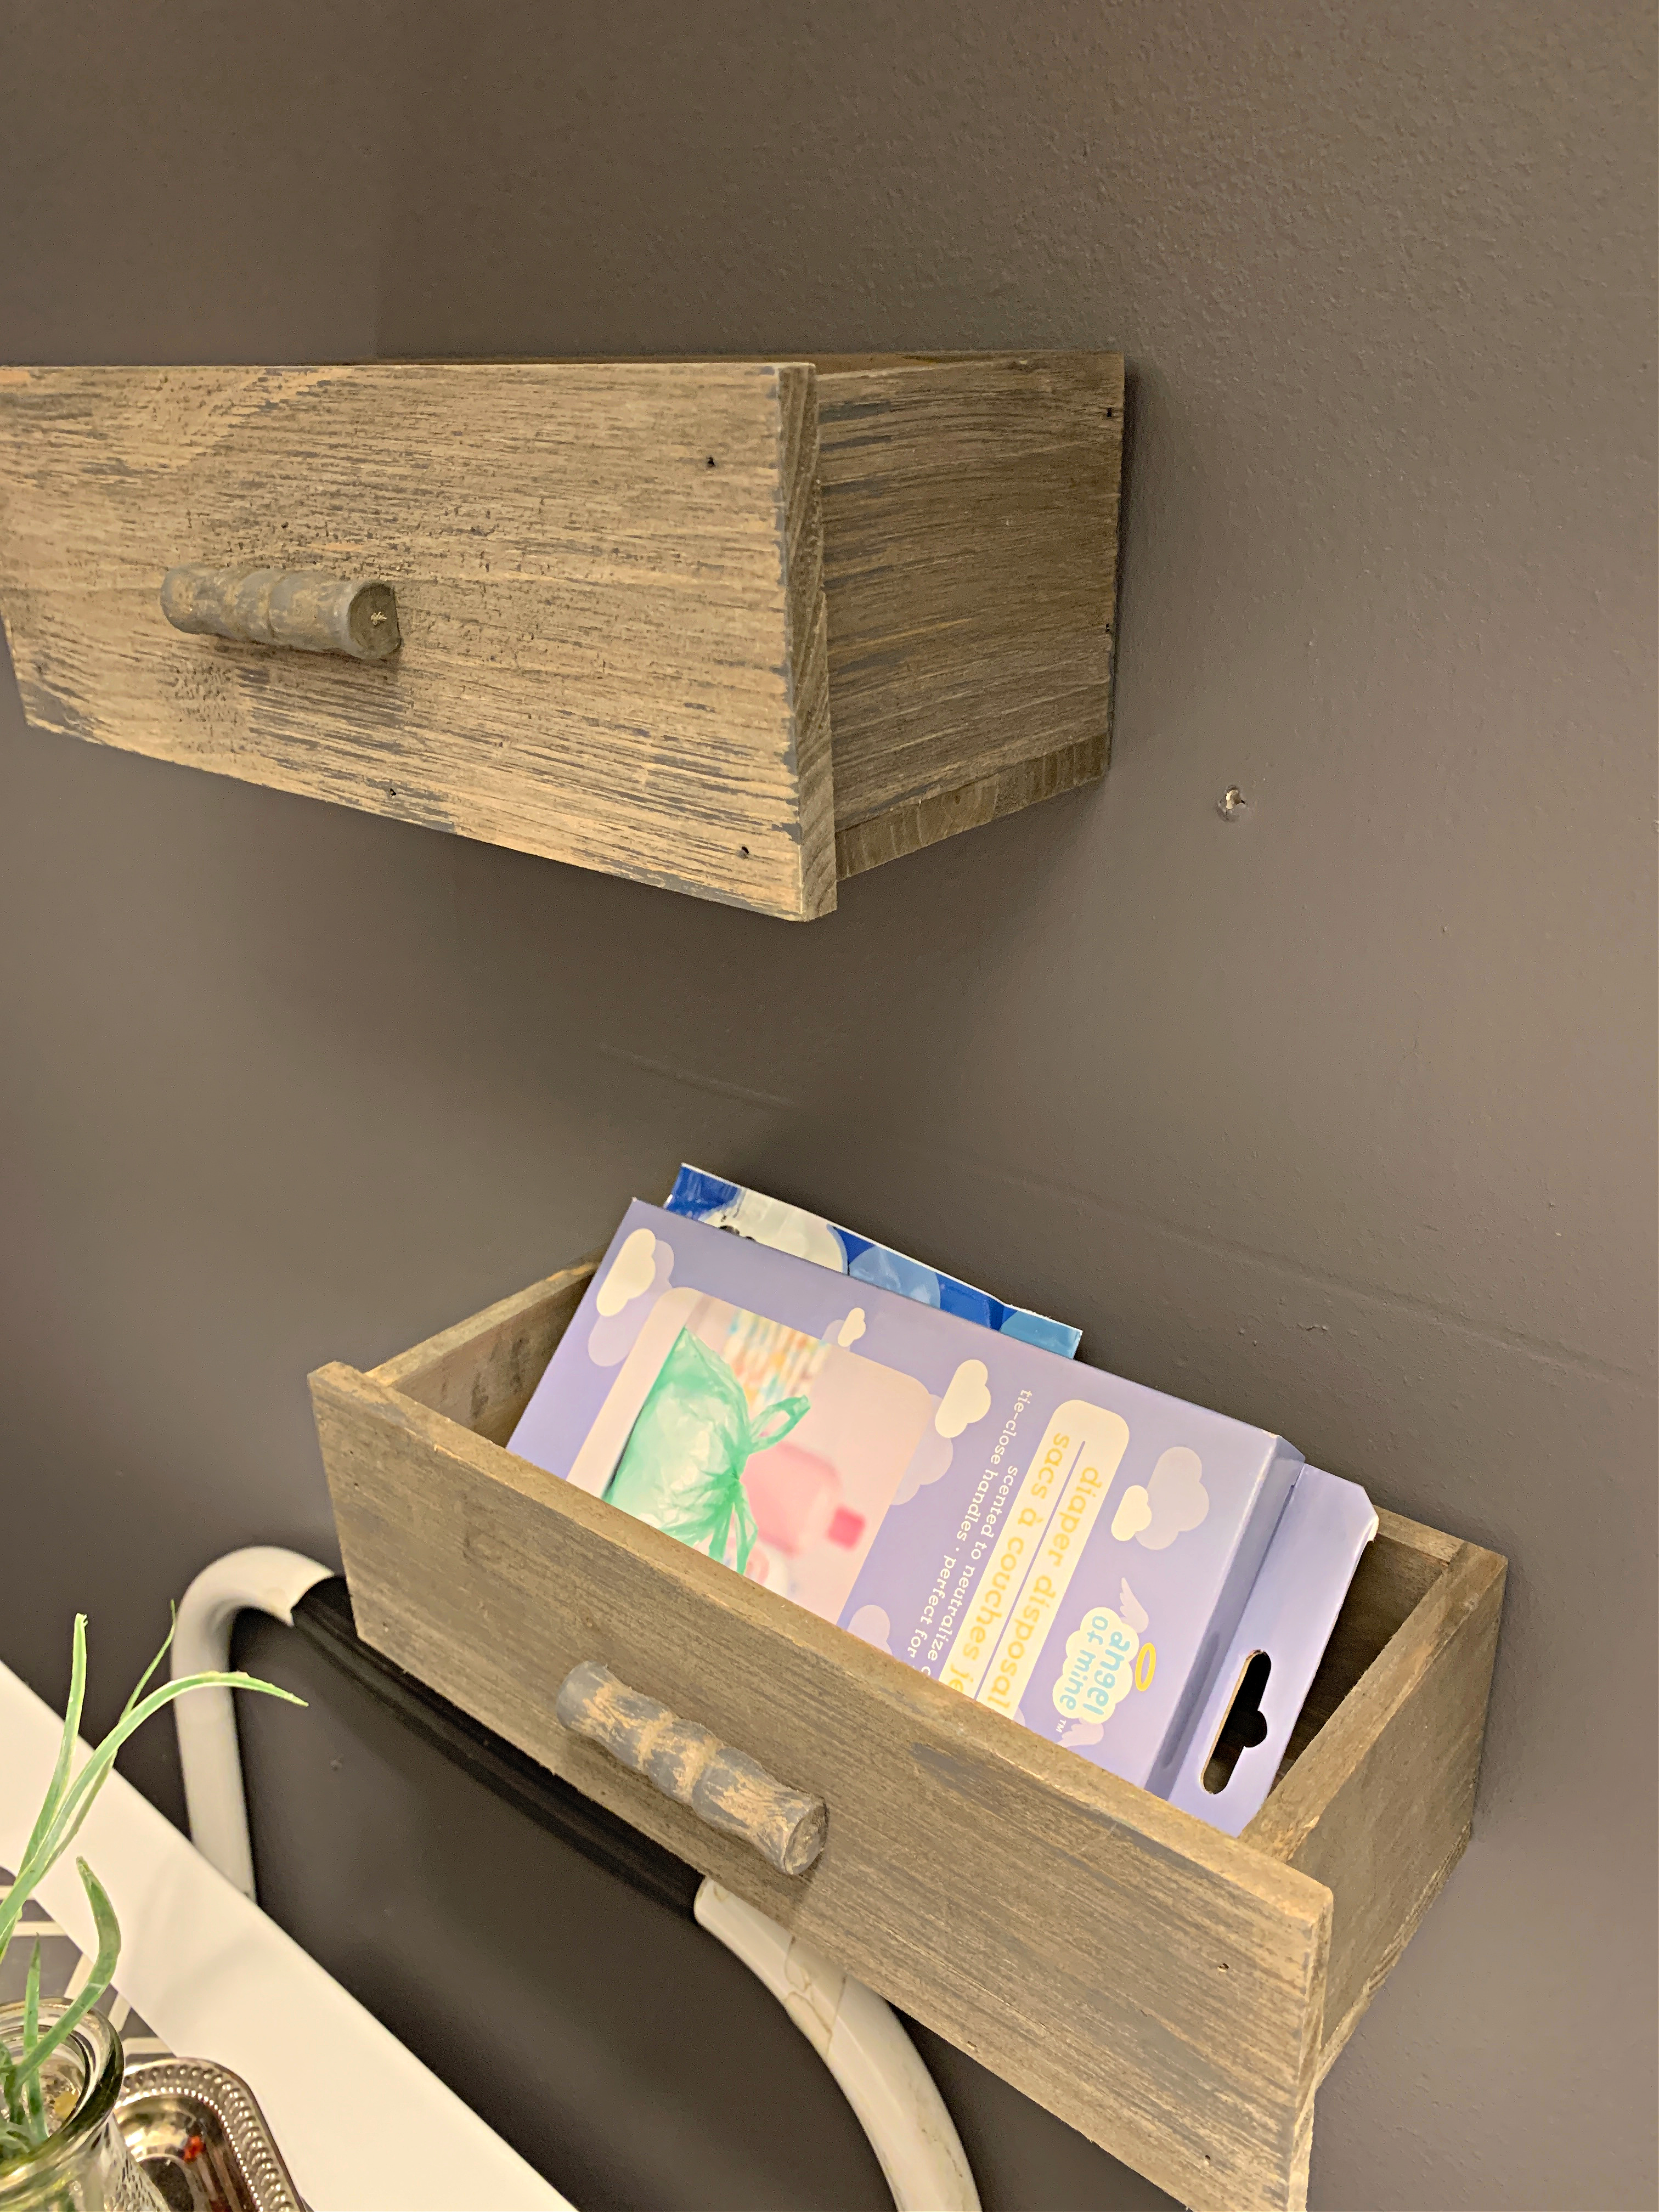
These little “drawer” shelves are from Dollar General and were $6 each. I bought them specifically for this wall – one holds dryer sheets, the other holds litter bags and cat treats. I use the diaper disposal bags from Dollar Tree for the cat’s litter!
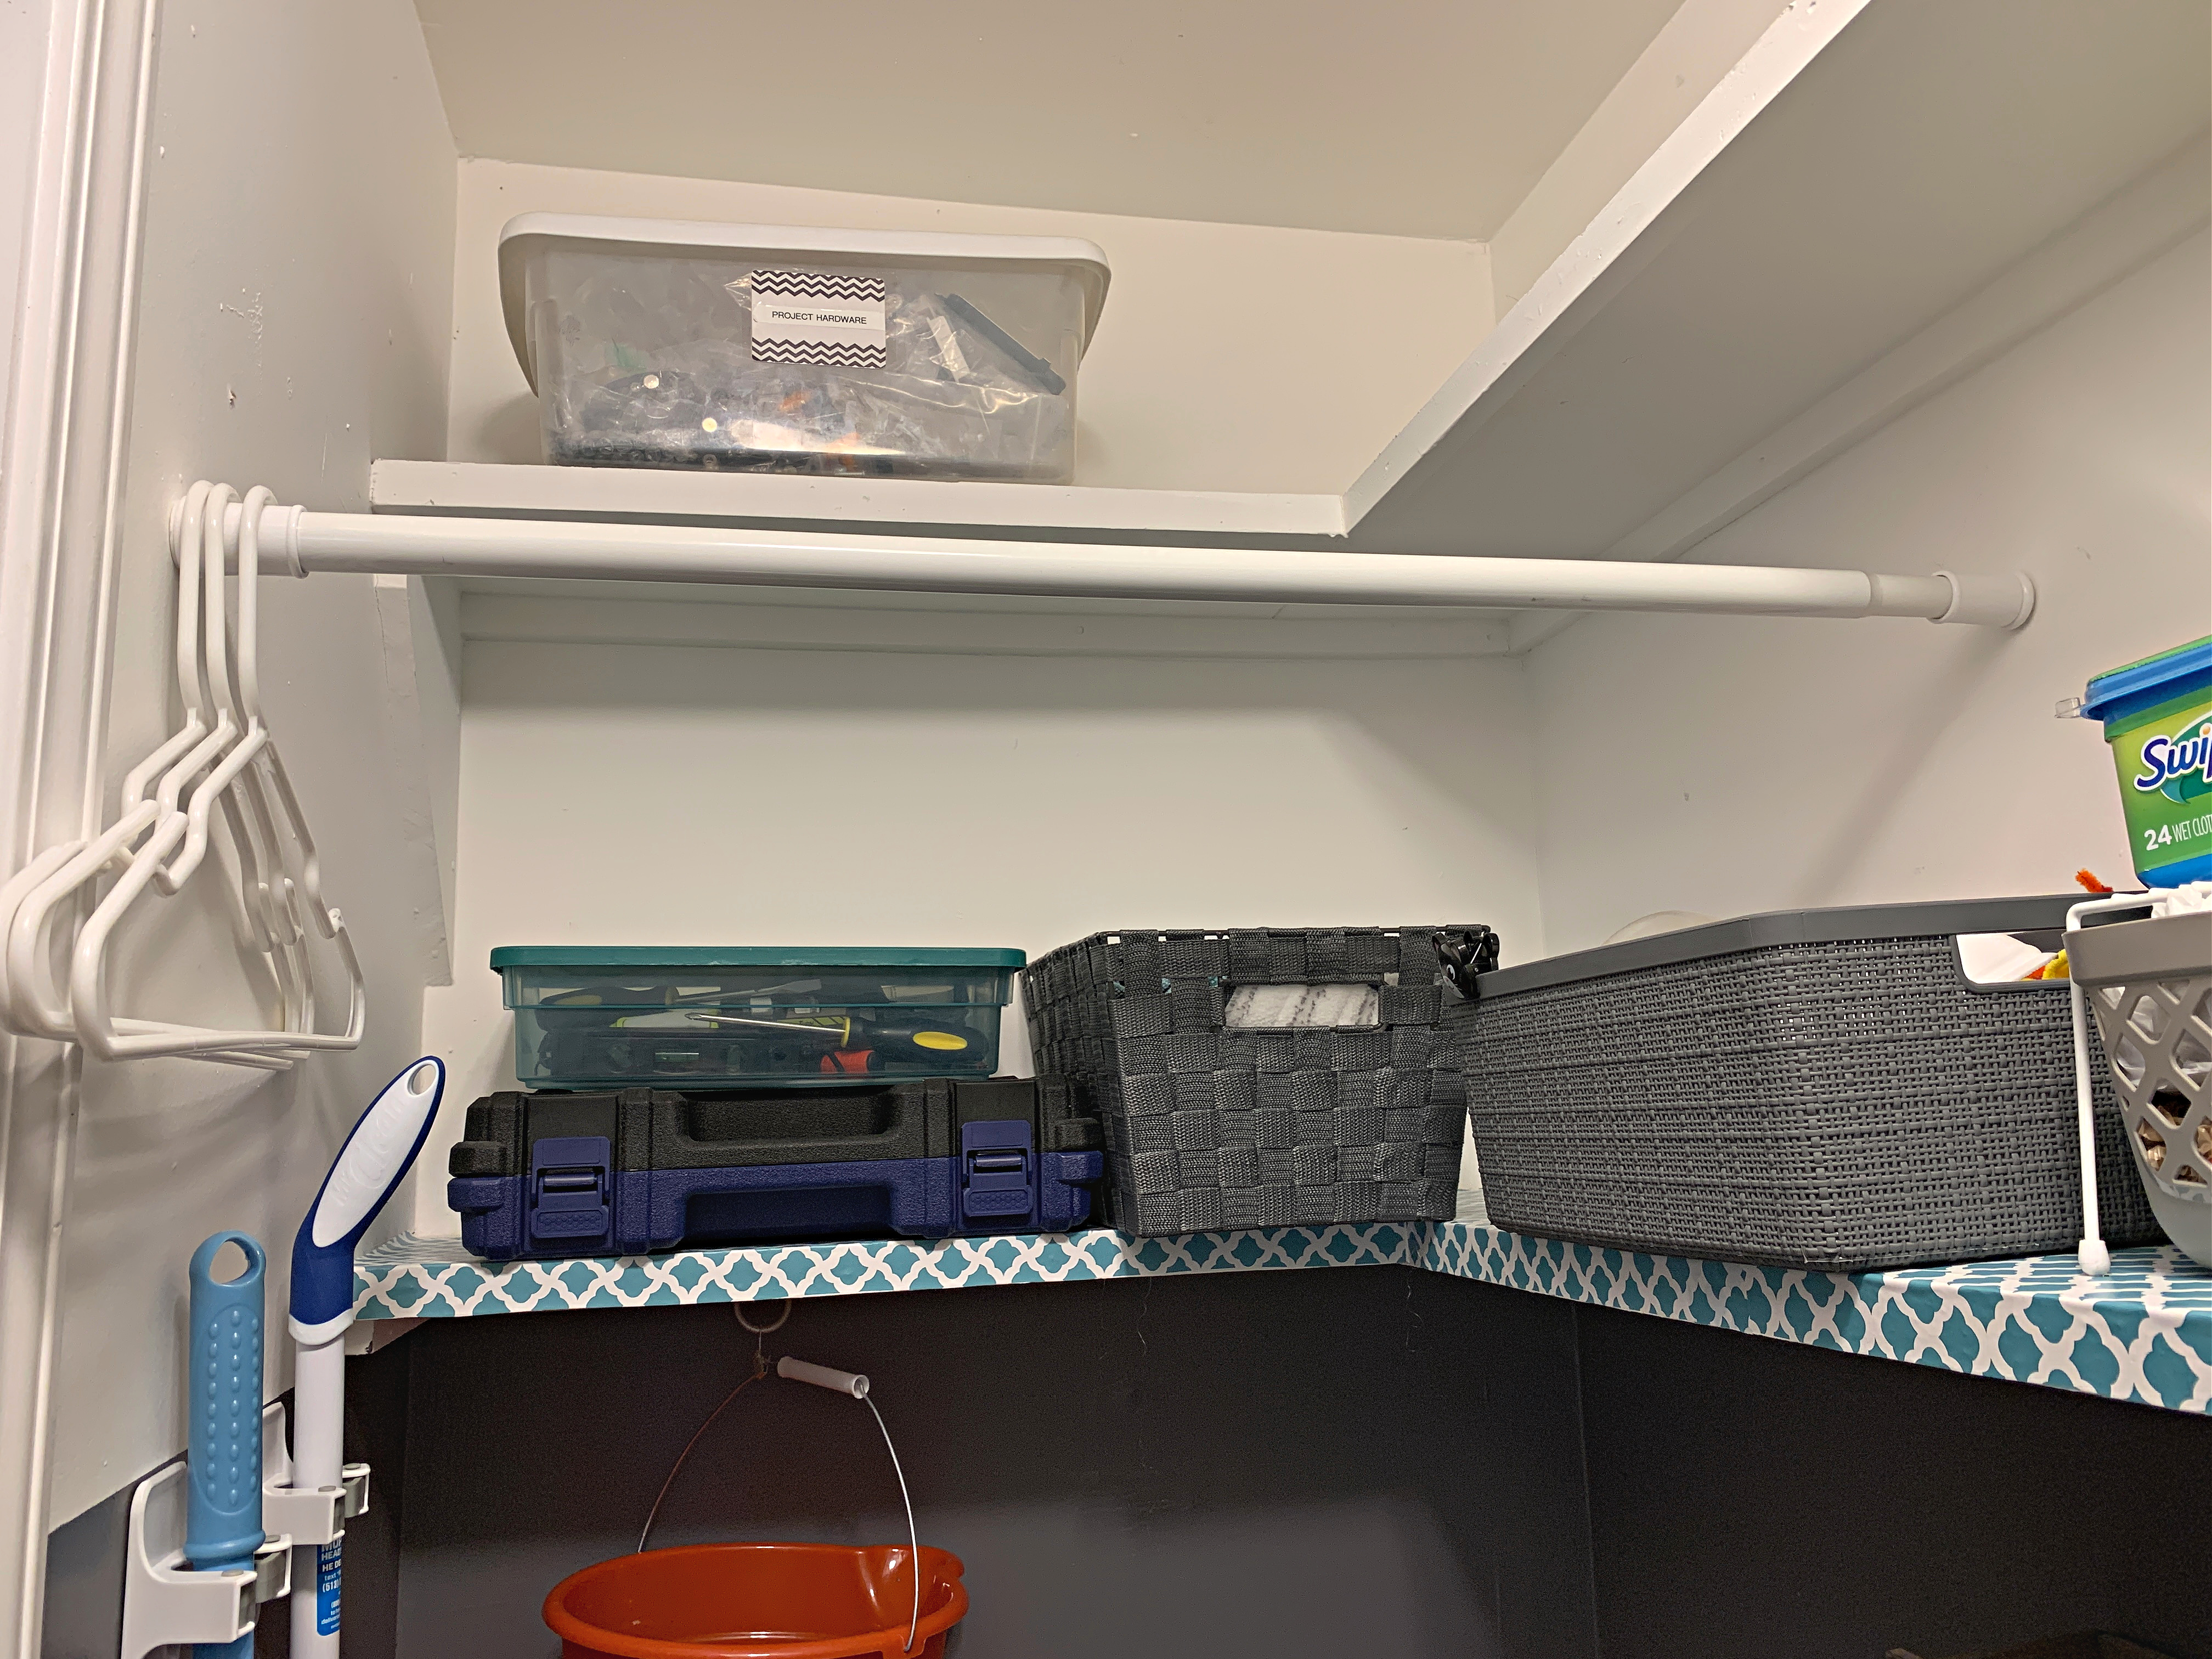
 More problems solved here: I never had a good place for my Swiffer cloths, and I hated pulling a bin down just to grab a cleaning spray. This little section has extra litter bags, Lysol wipes and the cleaning sprays I reach for most often. I maximized the space with a Dollar Tree wire shelf.
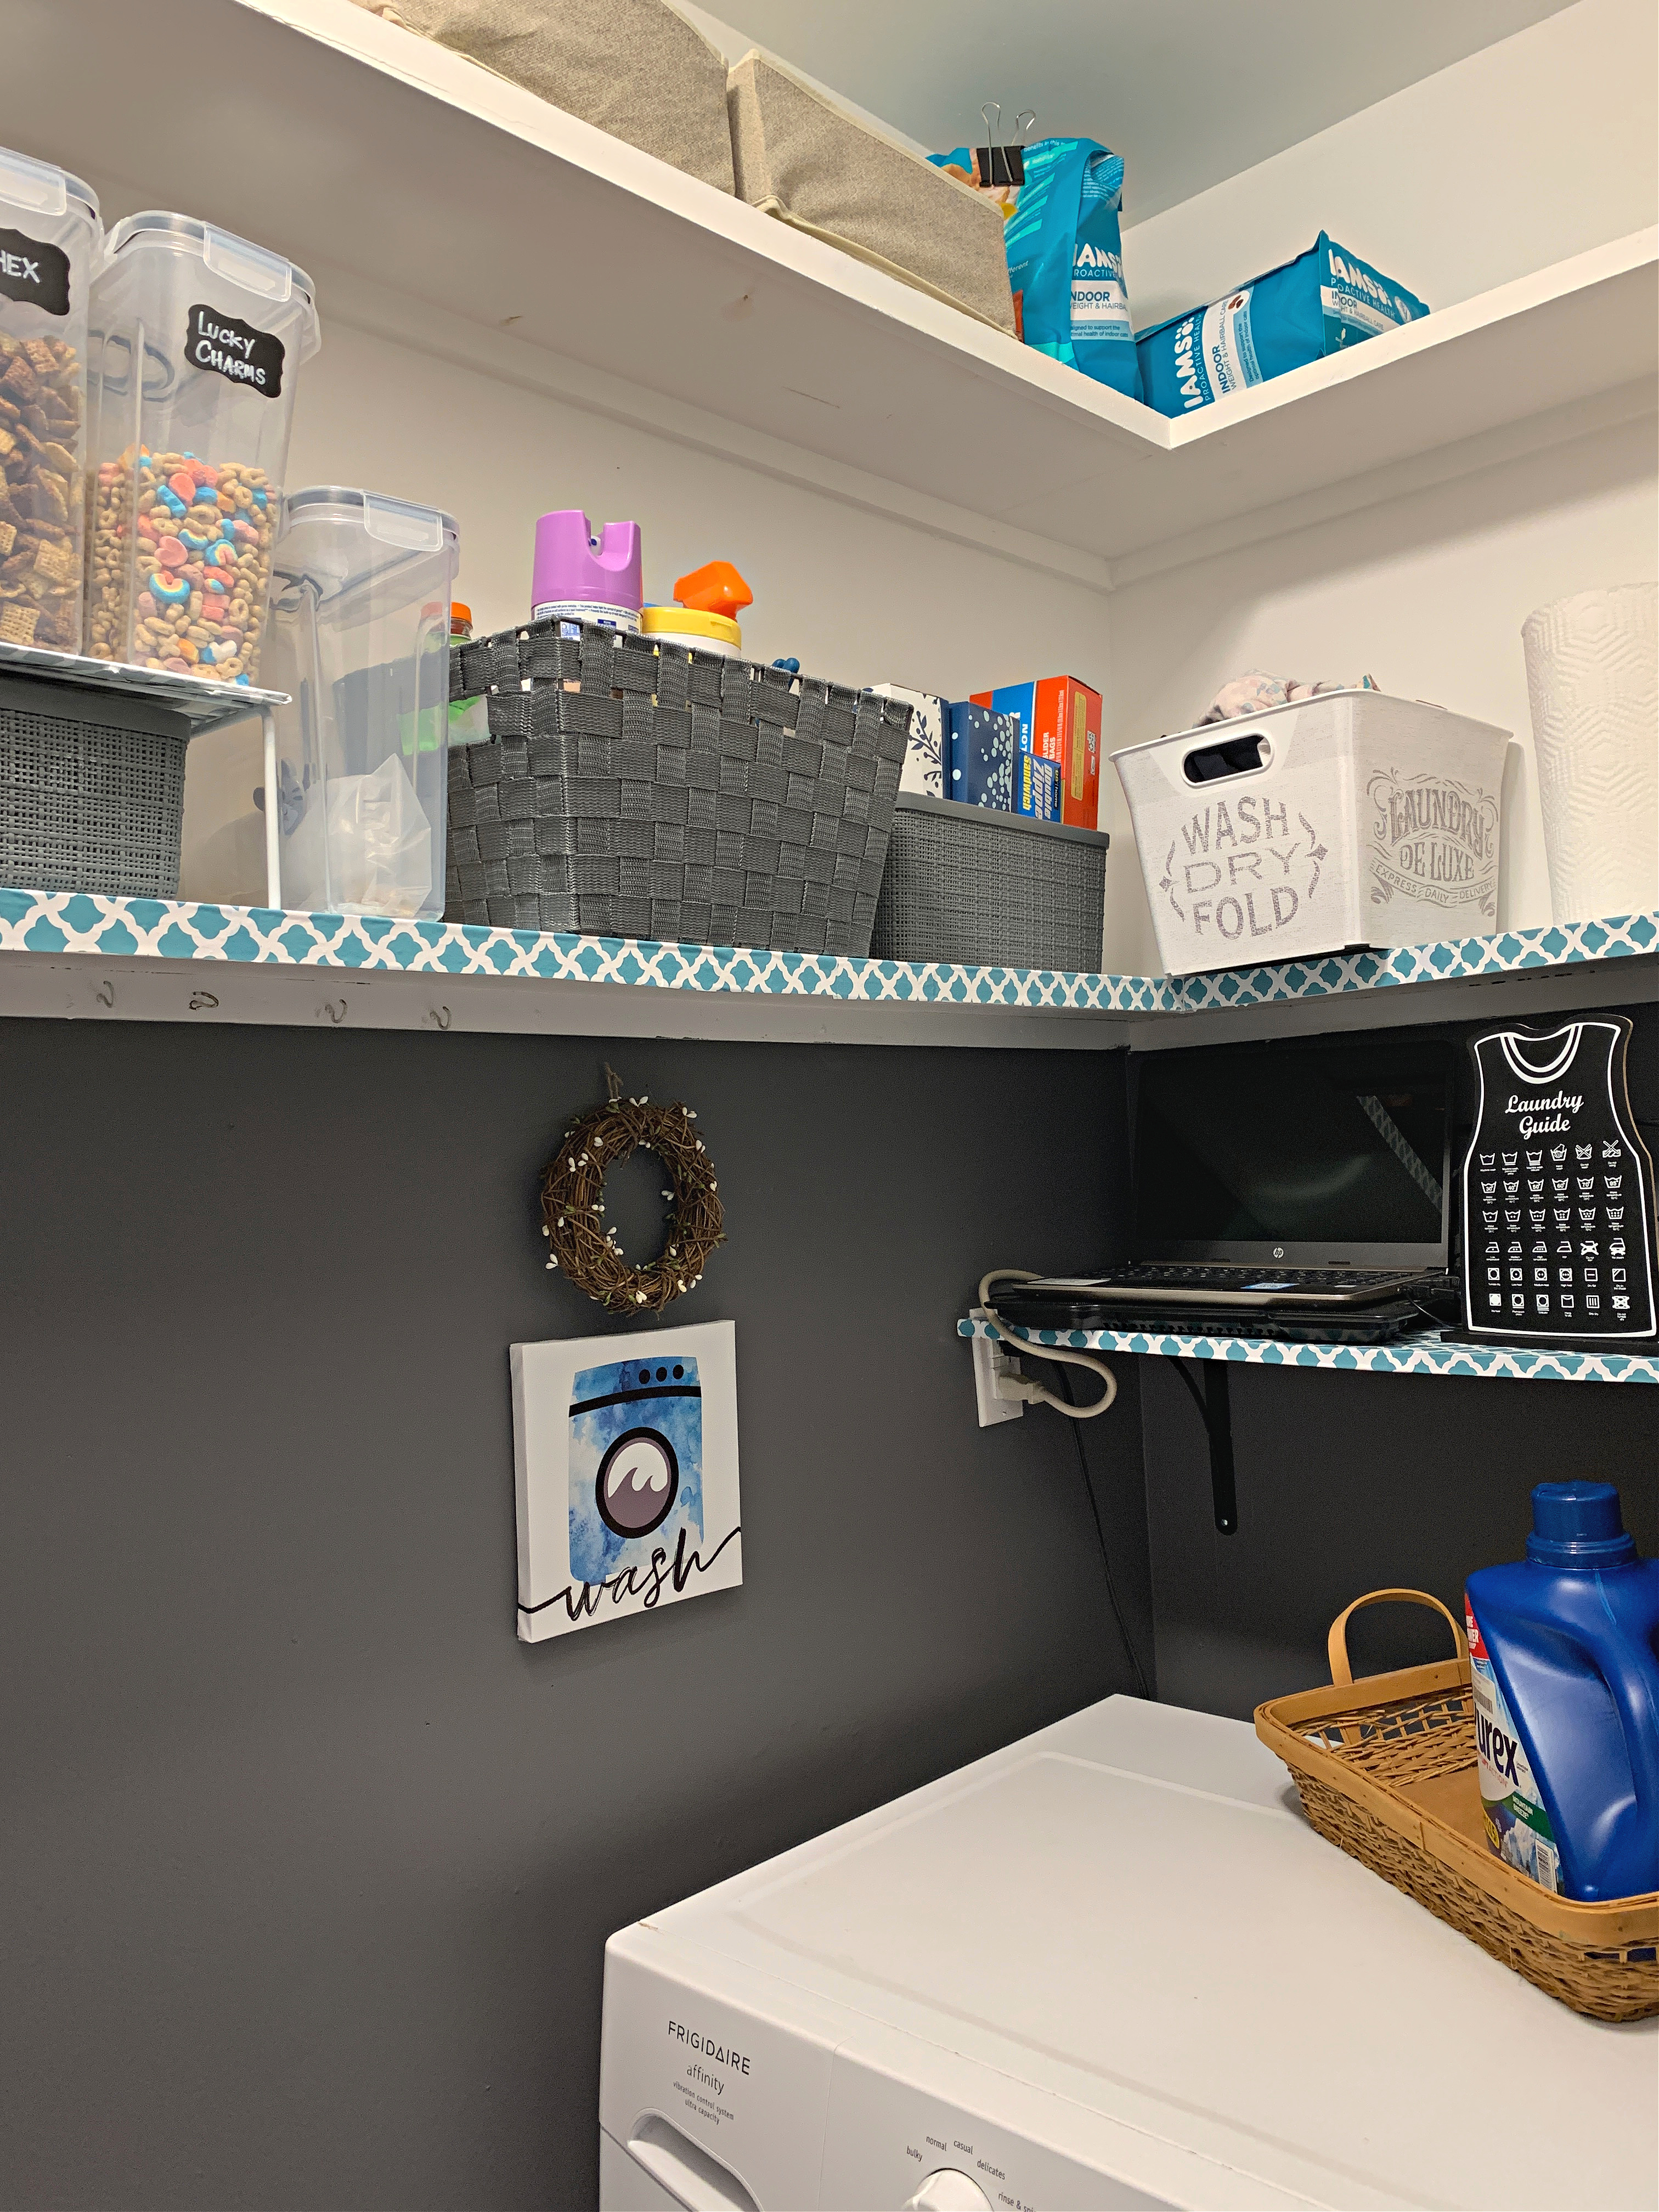
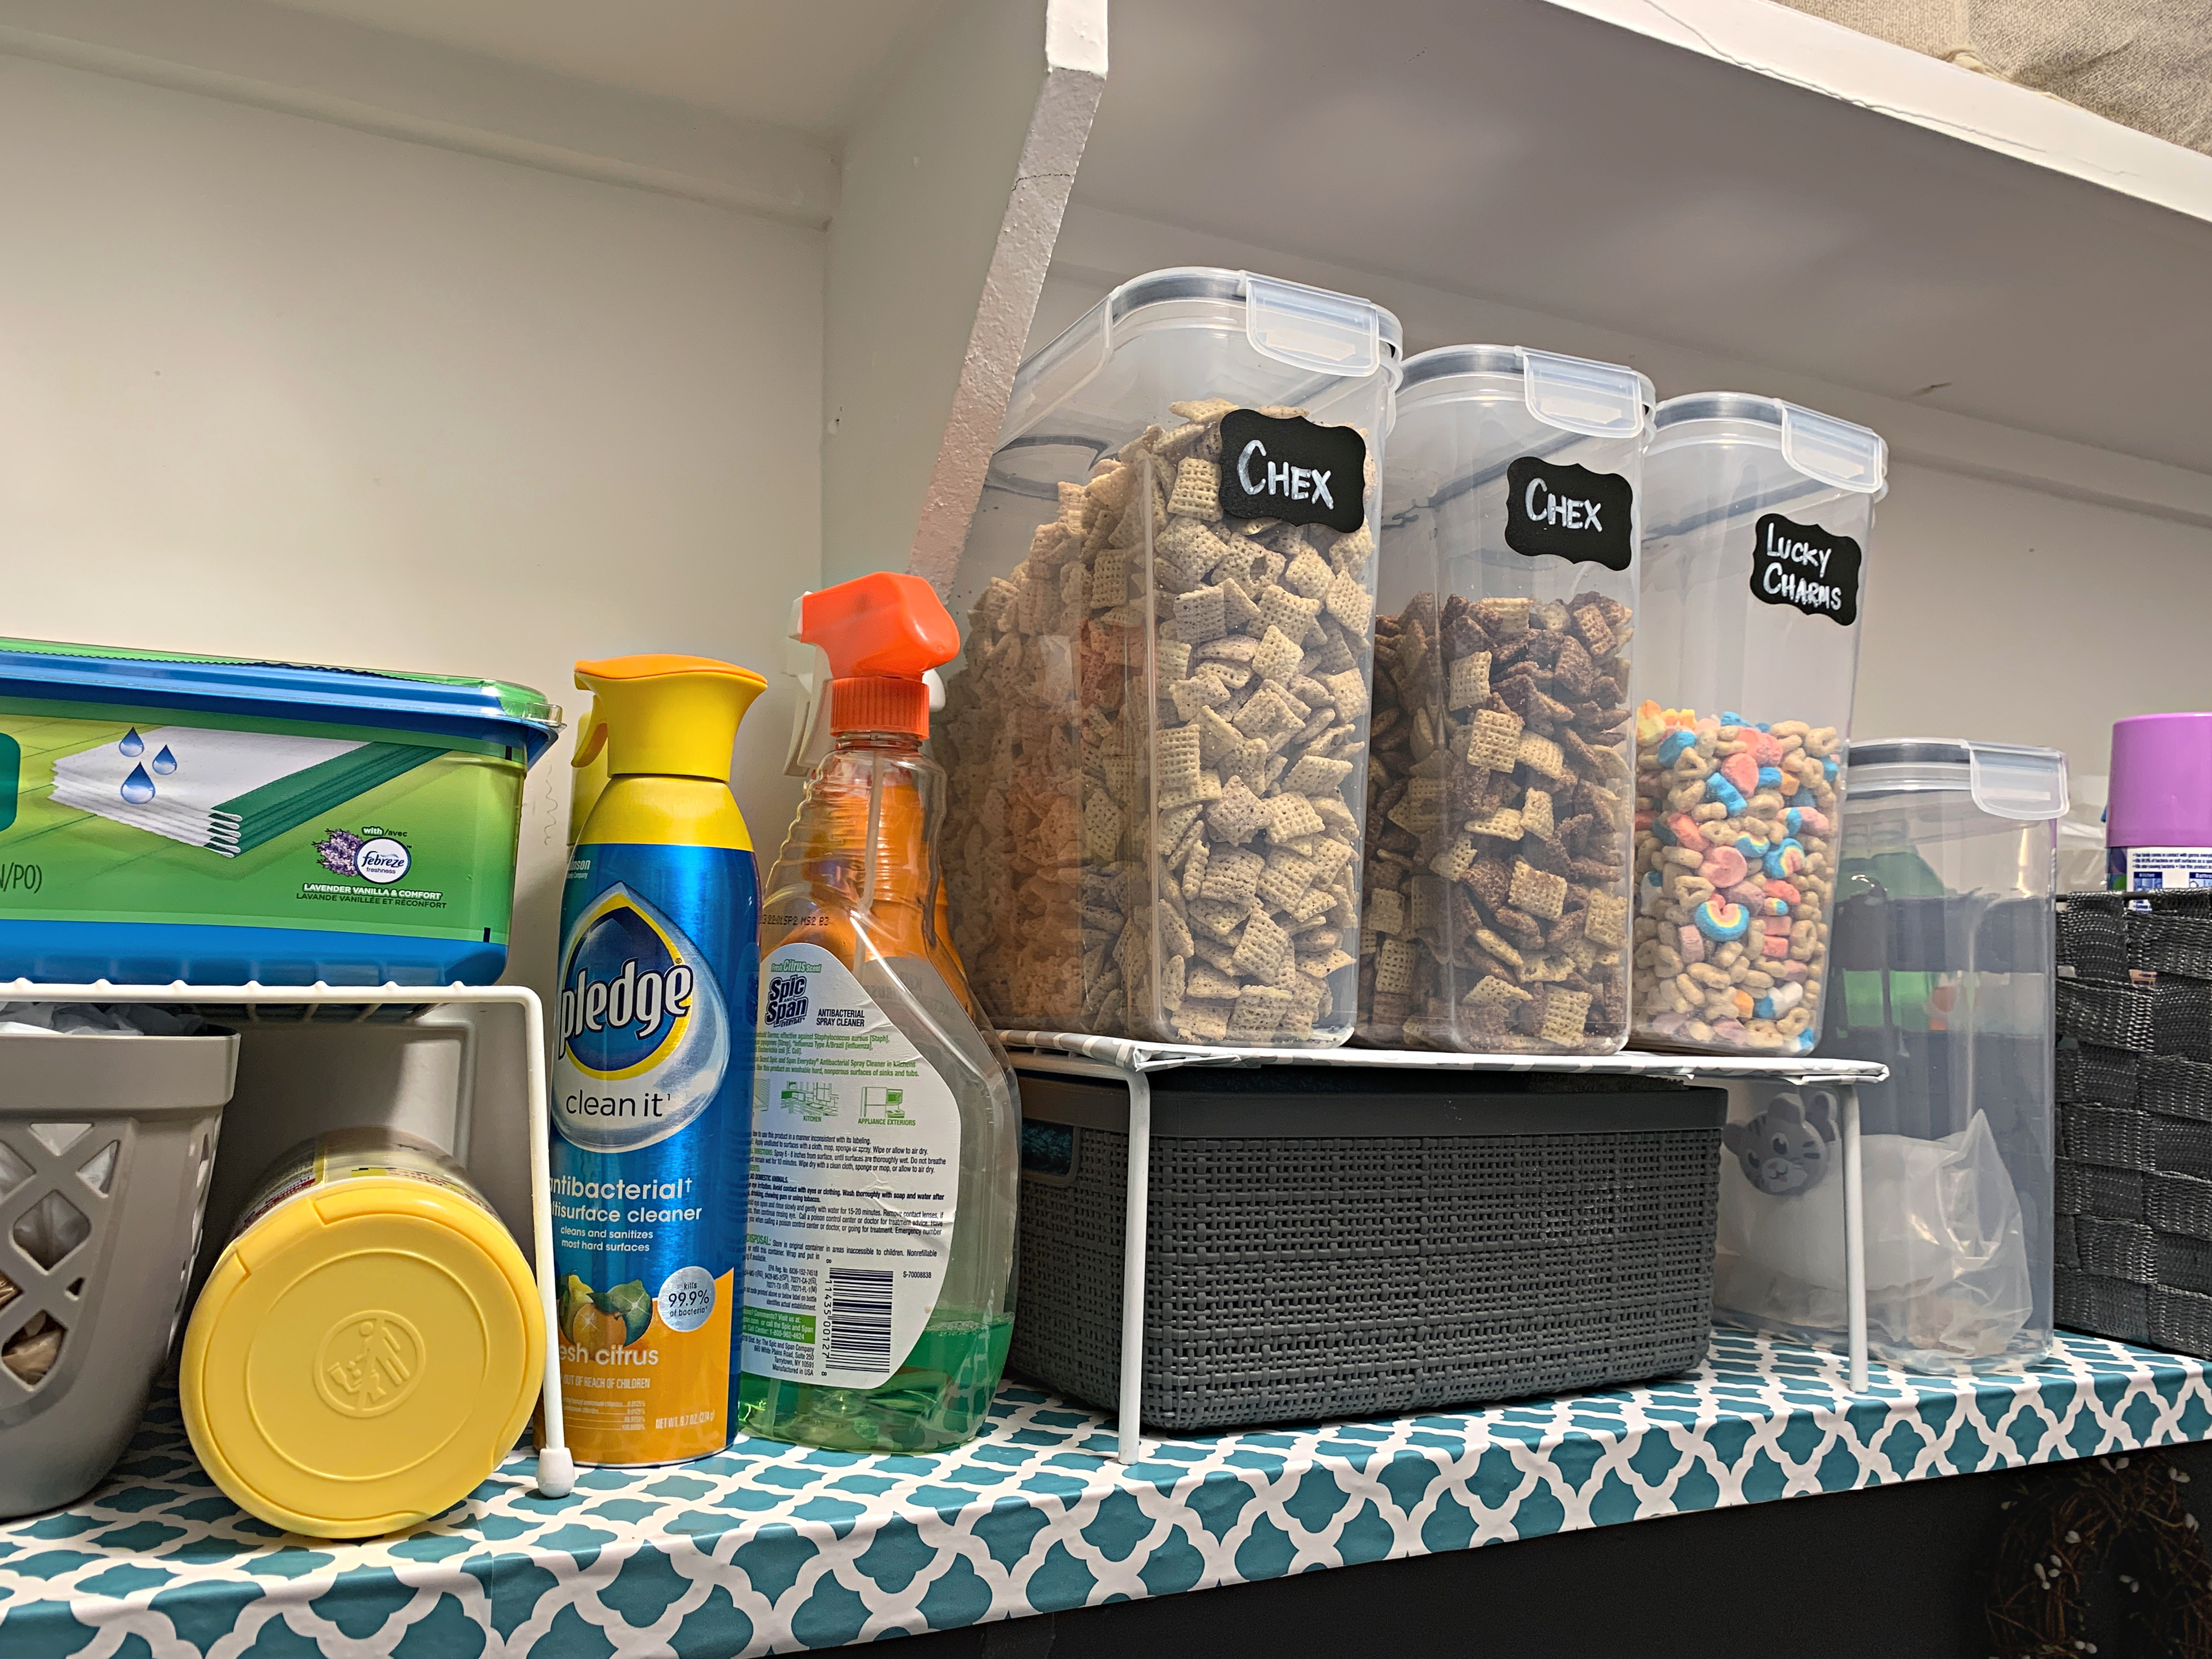
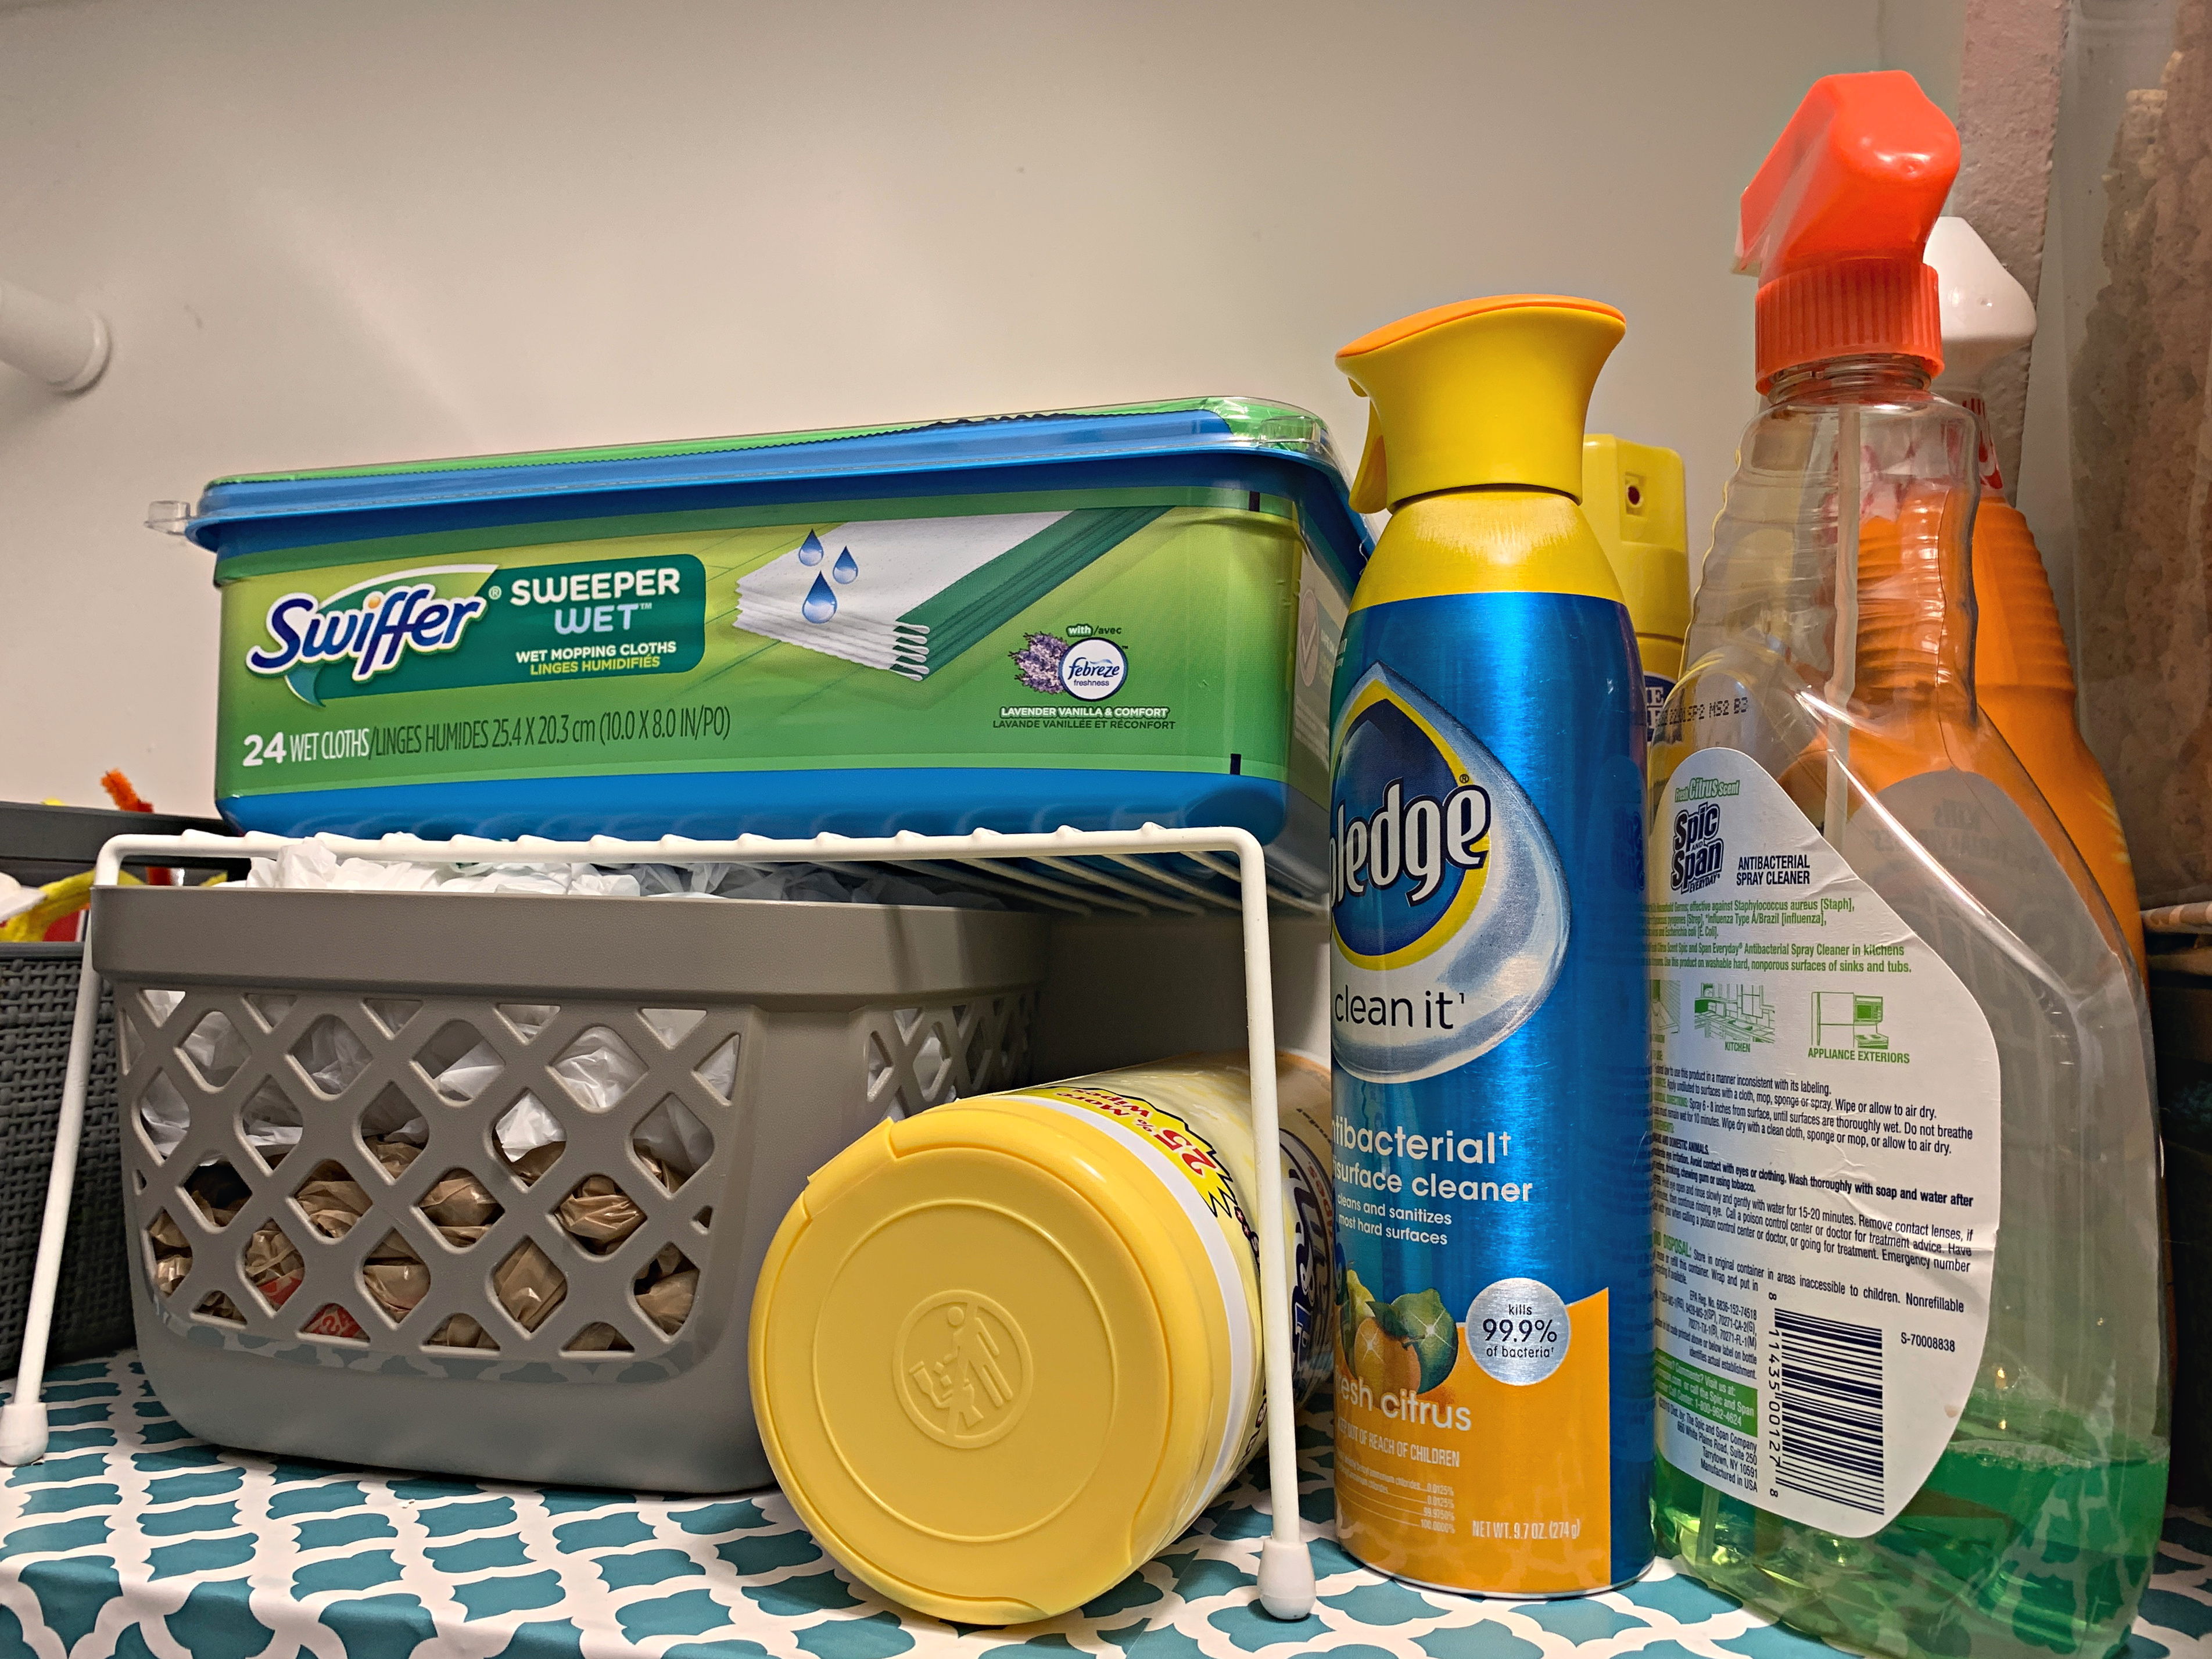 Cereal containers are surprisingly expensive! I went with this set of four from Amazon, the best deal I could find, and have been really pleased with them. They come with chalkboard labels that have held up well and don’t smudge.
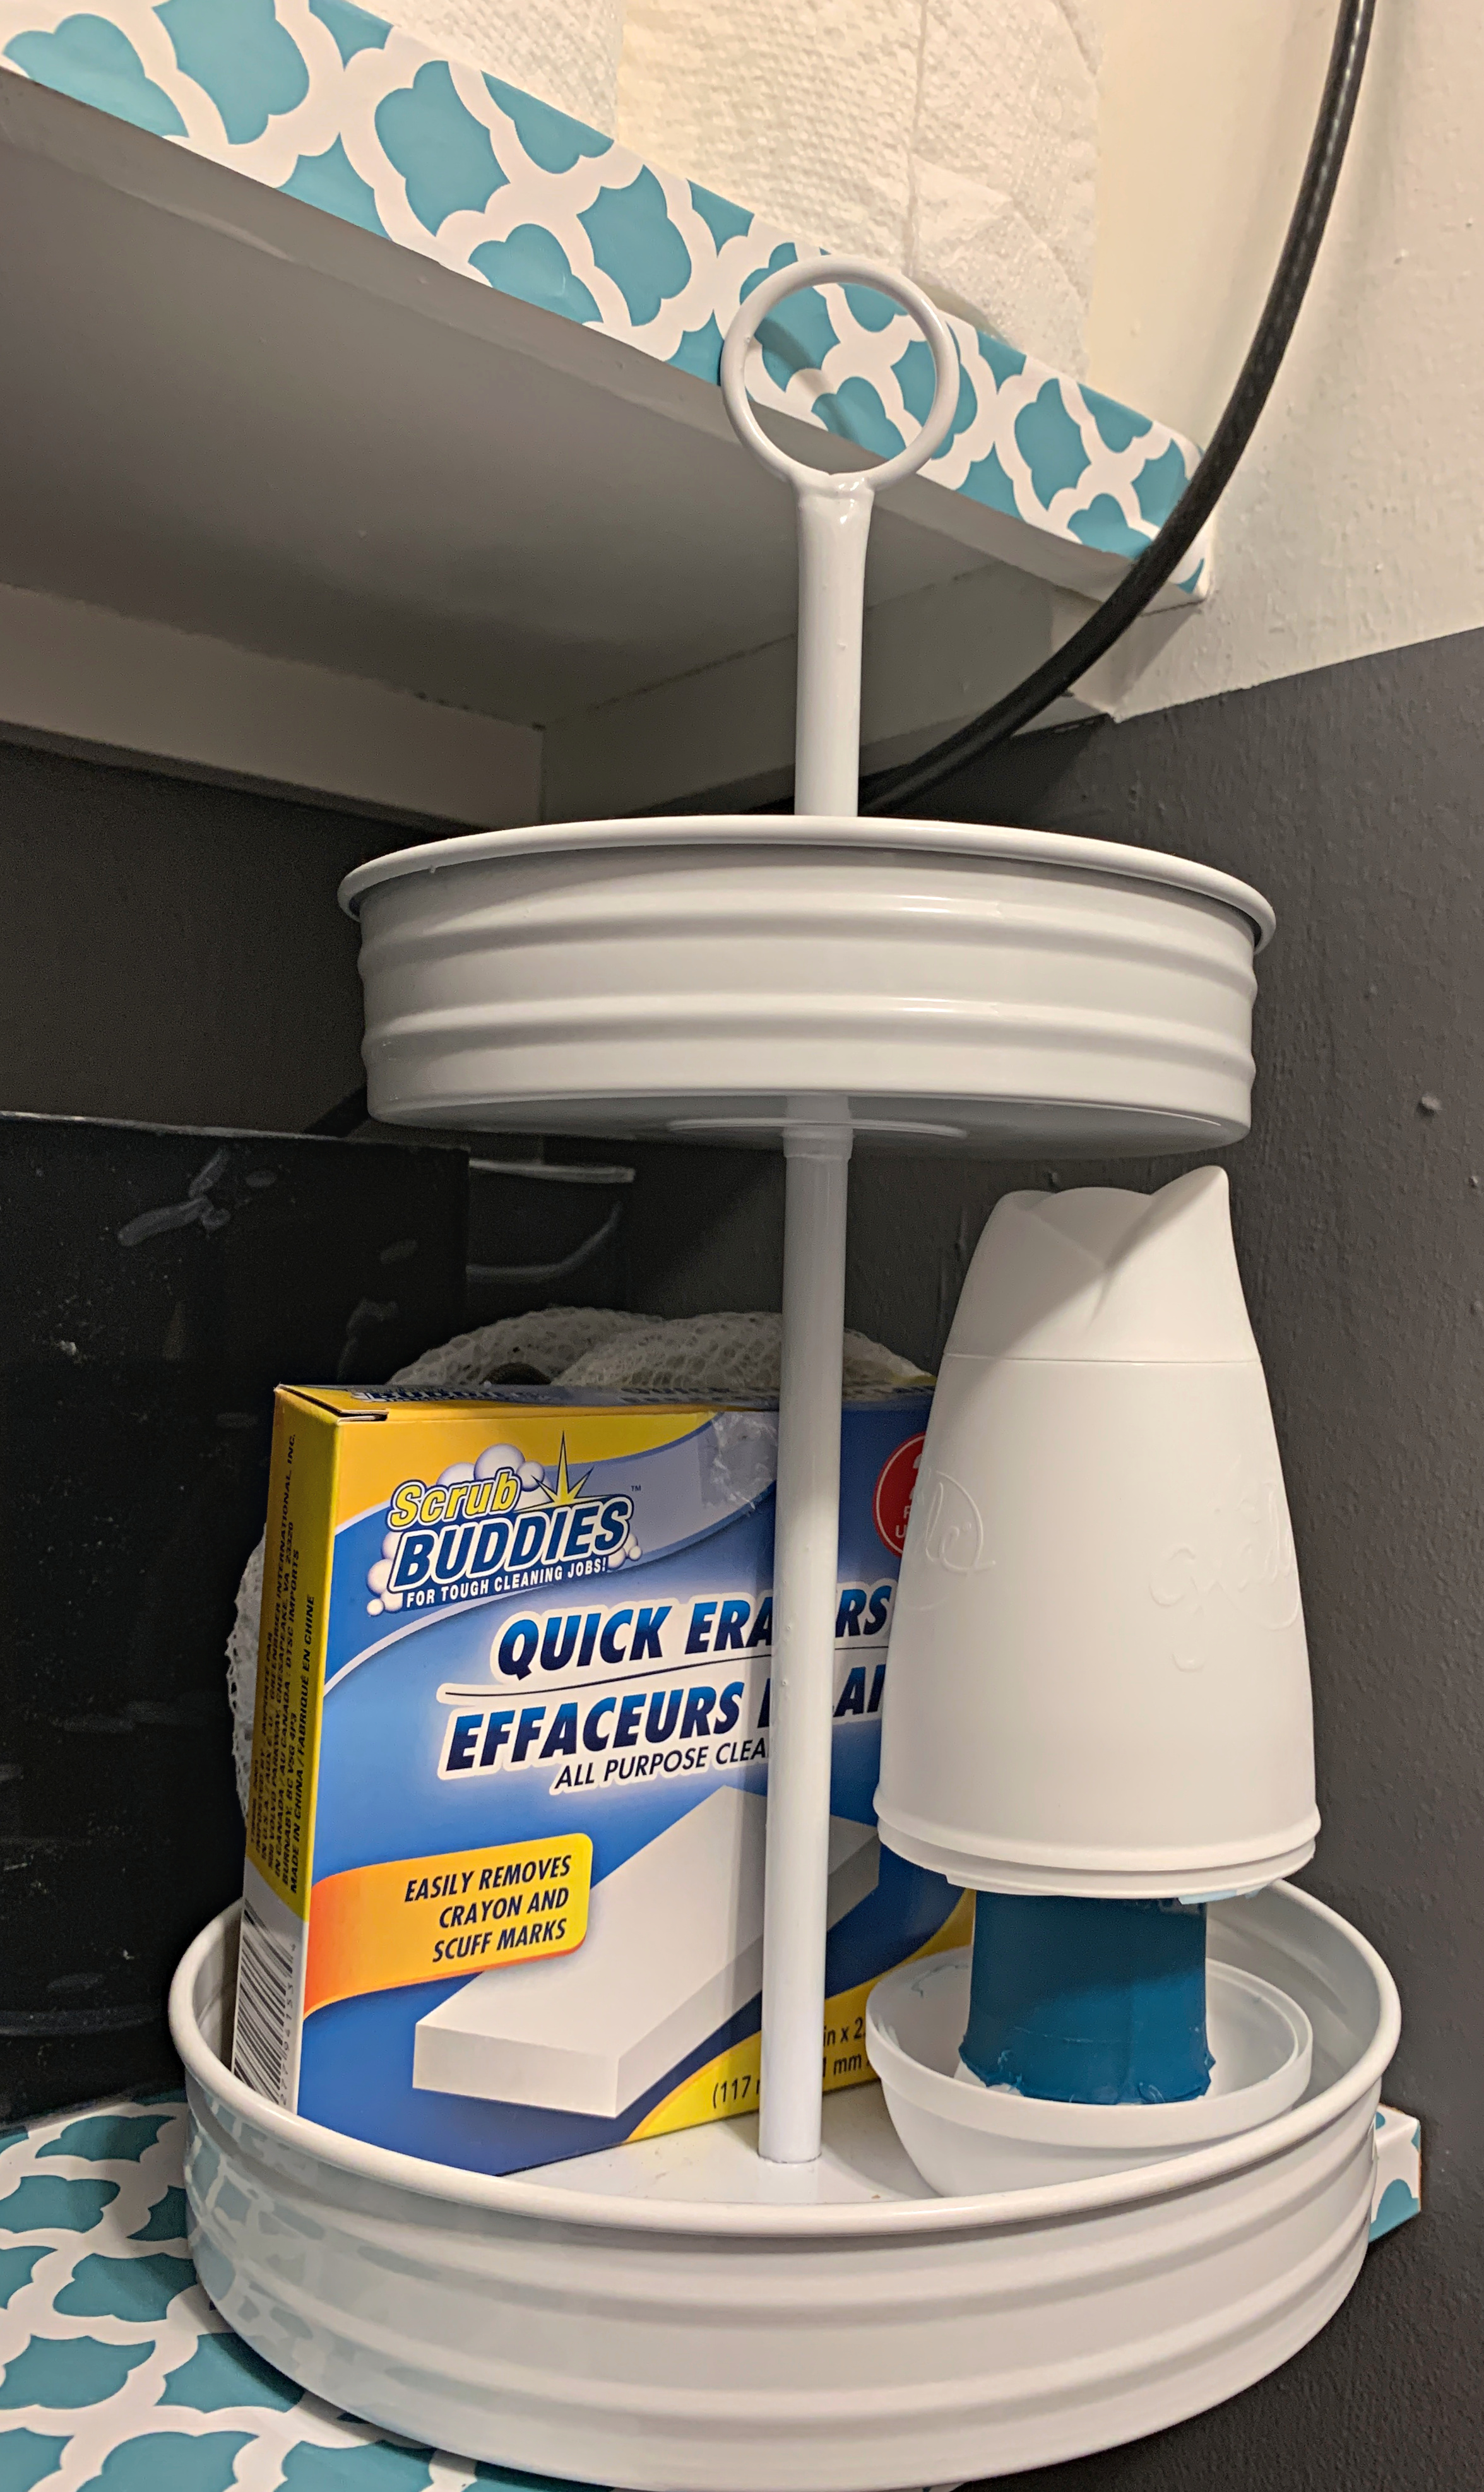
 The TV hangs on the other side of this wall, but the computer and all our techy stuff is on this shelf in the laundry room (see the setup here). It’s pretty hard to make a million cords look neat, but Paul did the best he could. I added a few things in front to hide/distract from the mess, including a tiered tray with a few essentials.
 Taking paper products out of their packaging is a great way to make it look a little less busy! The basket holding the detergent is wide enough that it won’t fall behind the washer during a shaky spin cycle and also hides some of the plumbing features on the wall!
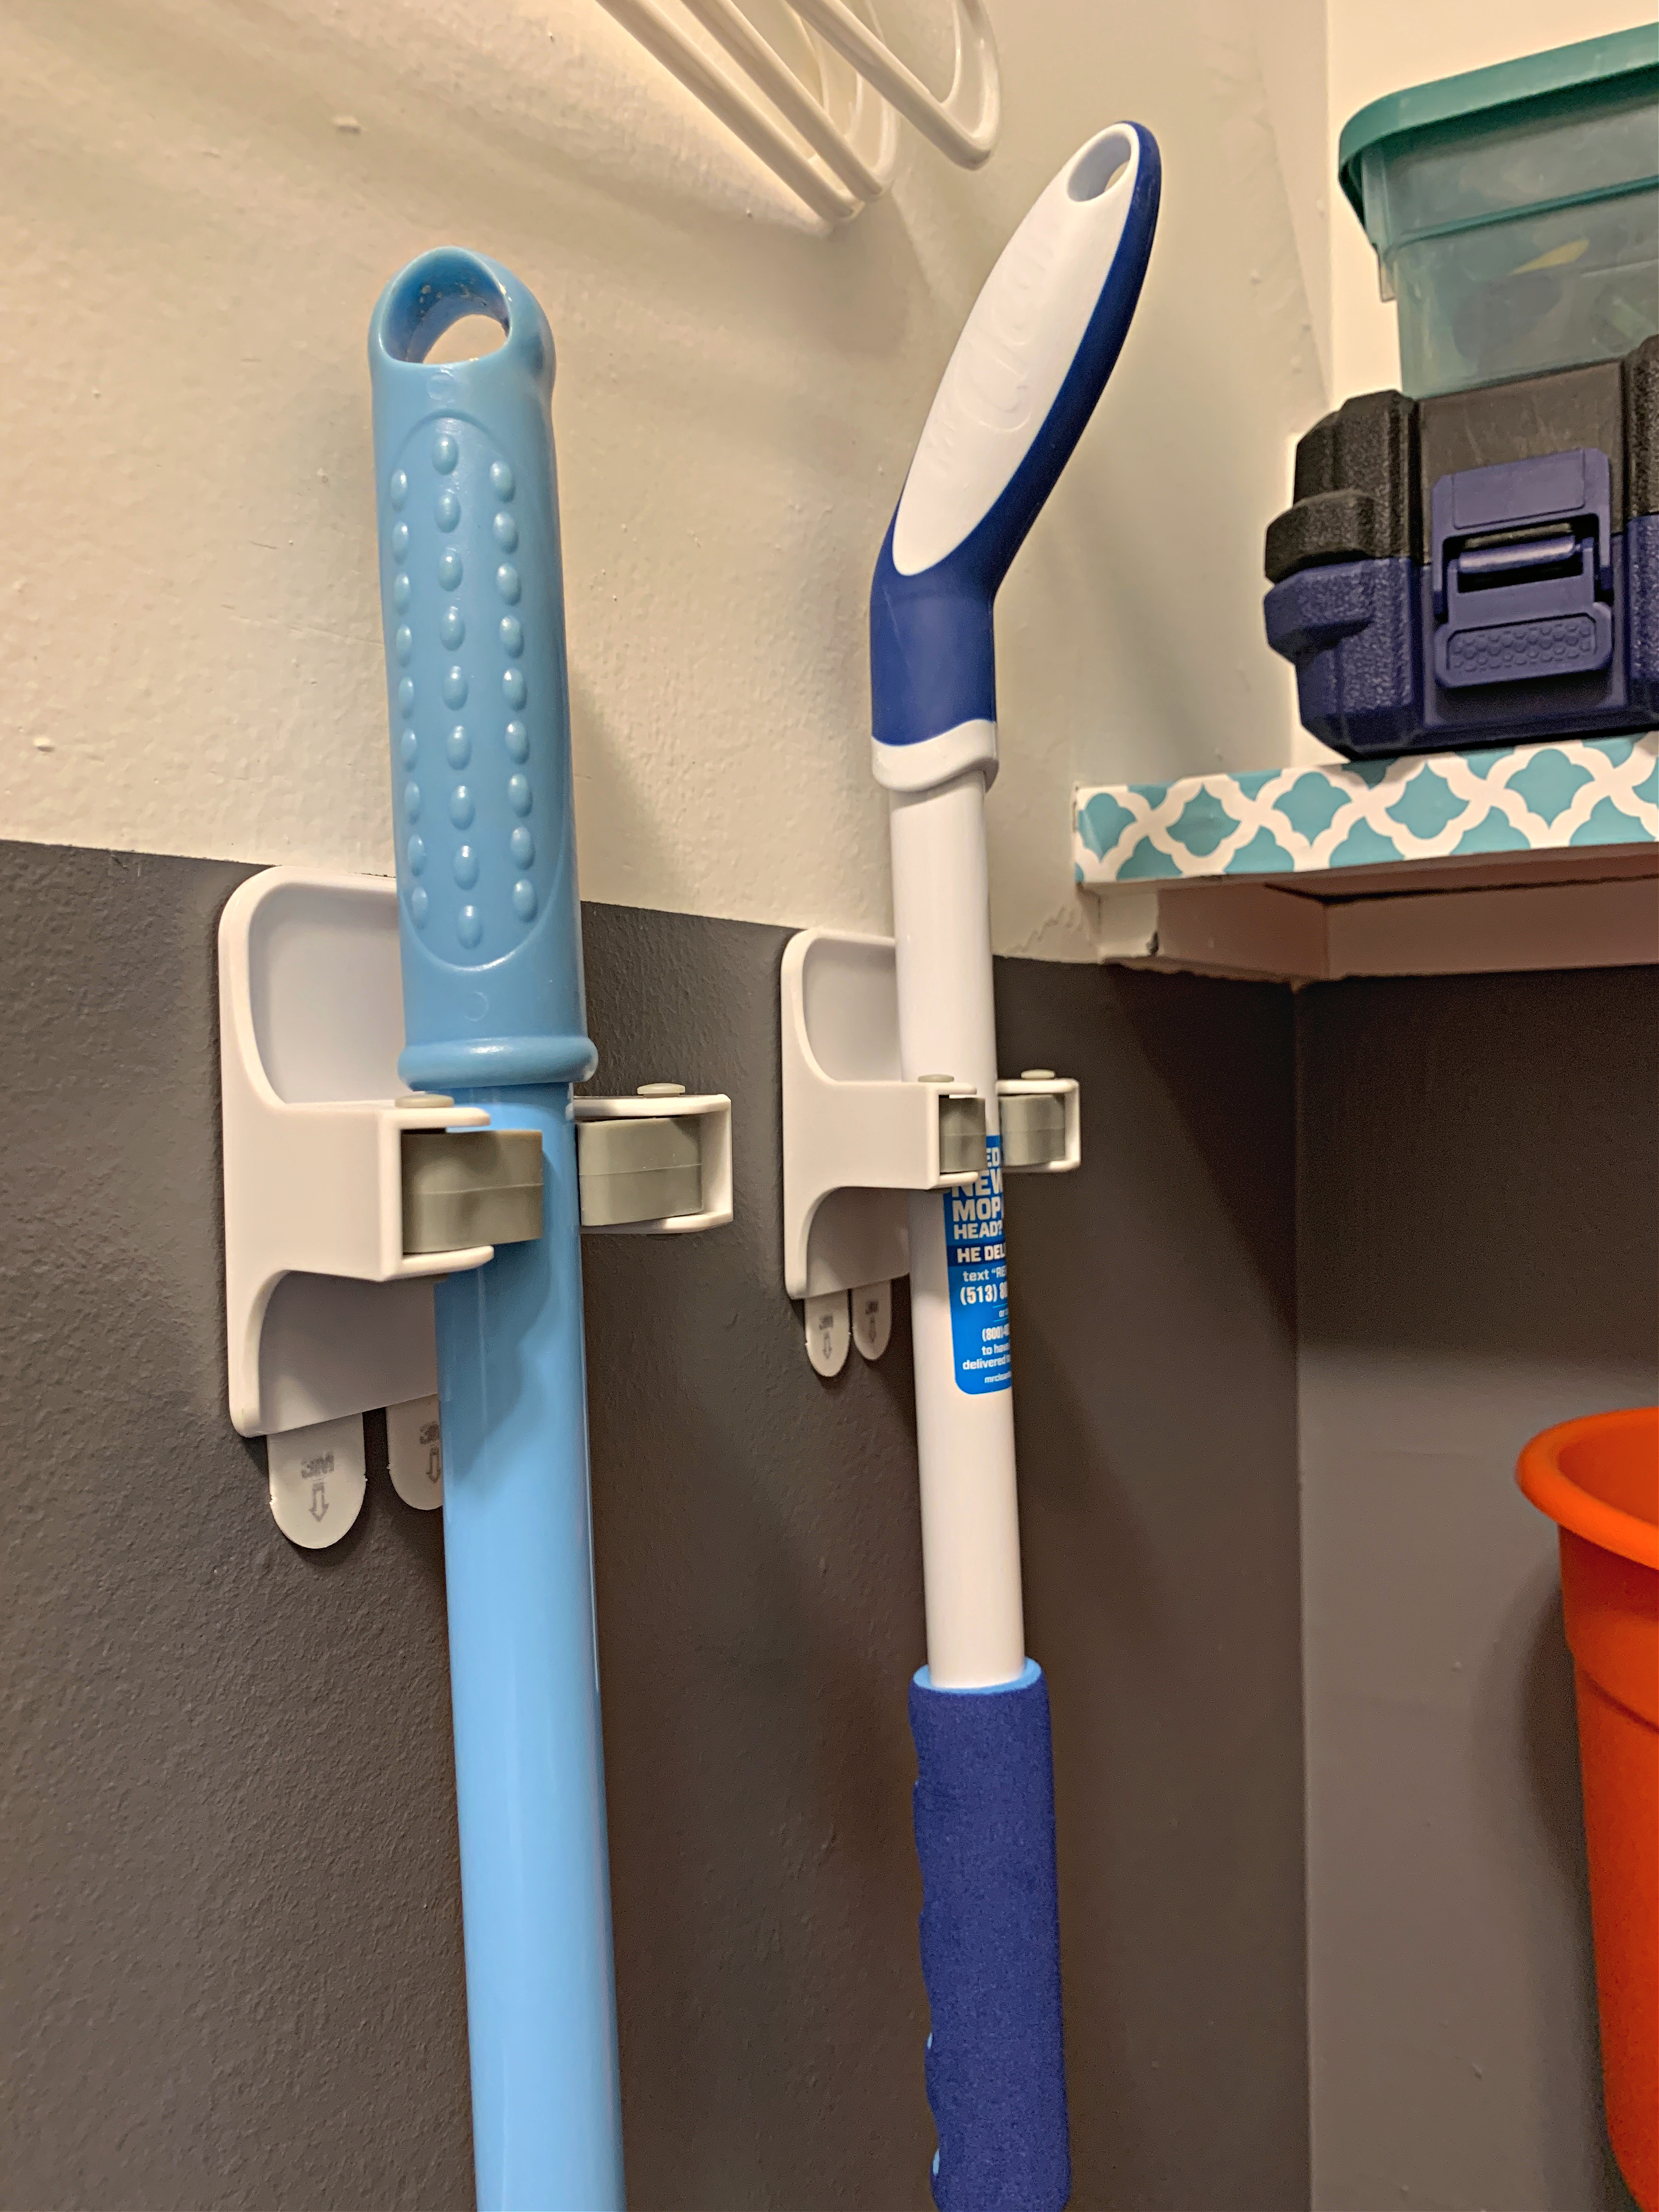
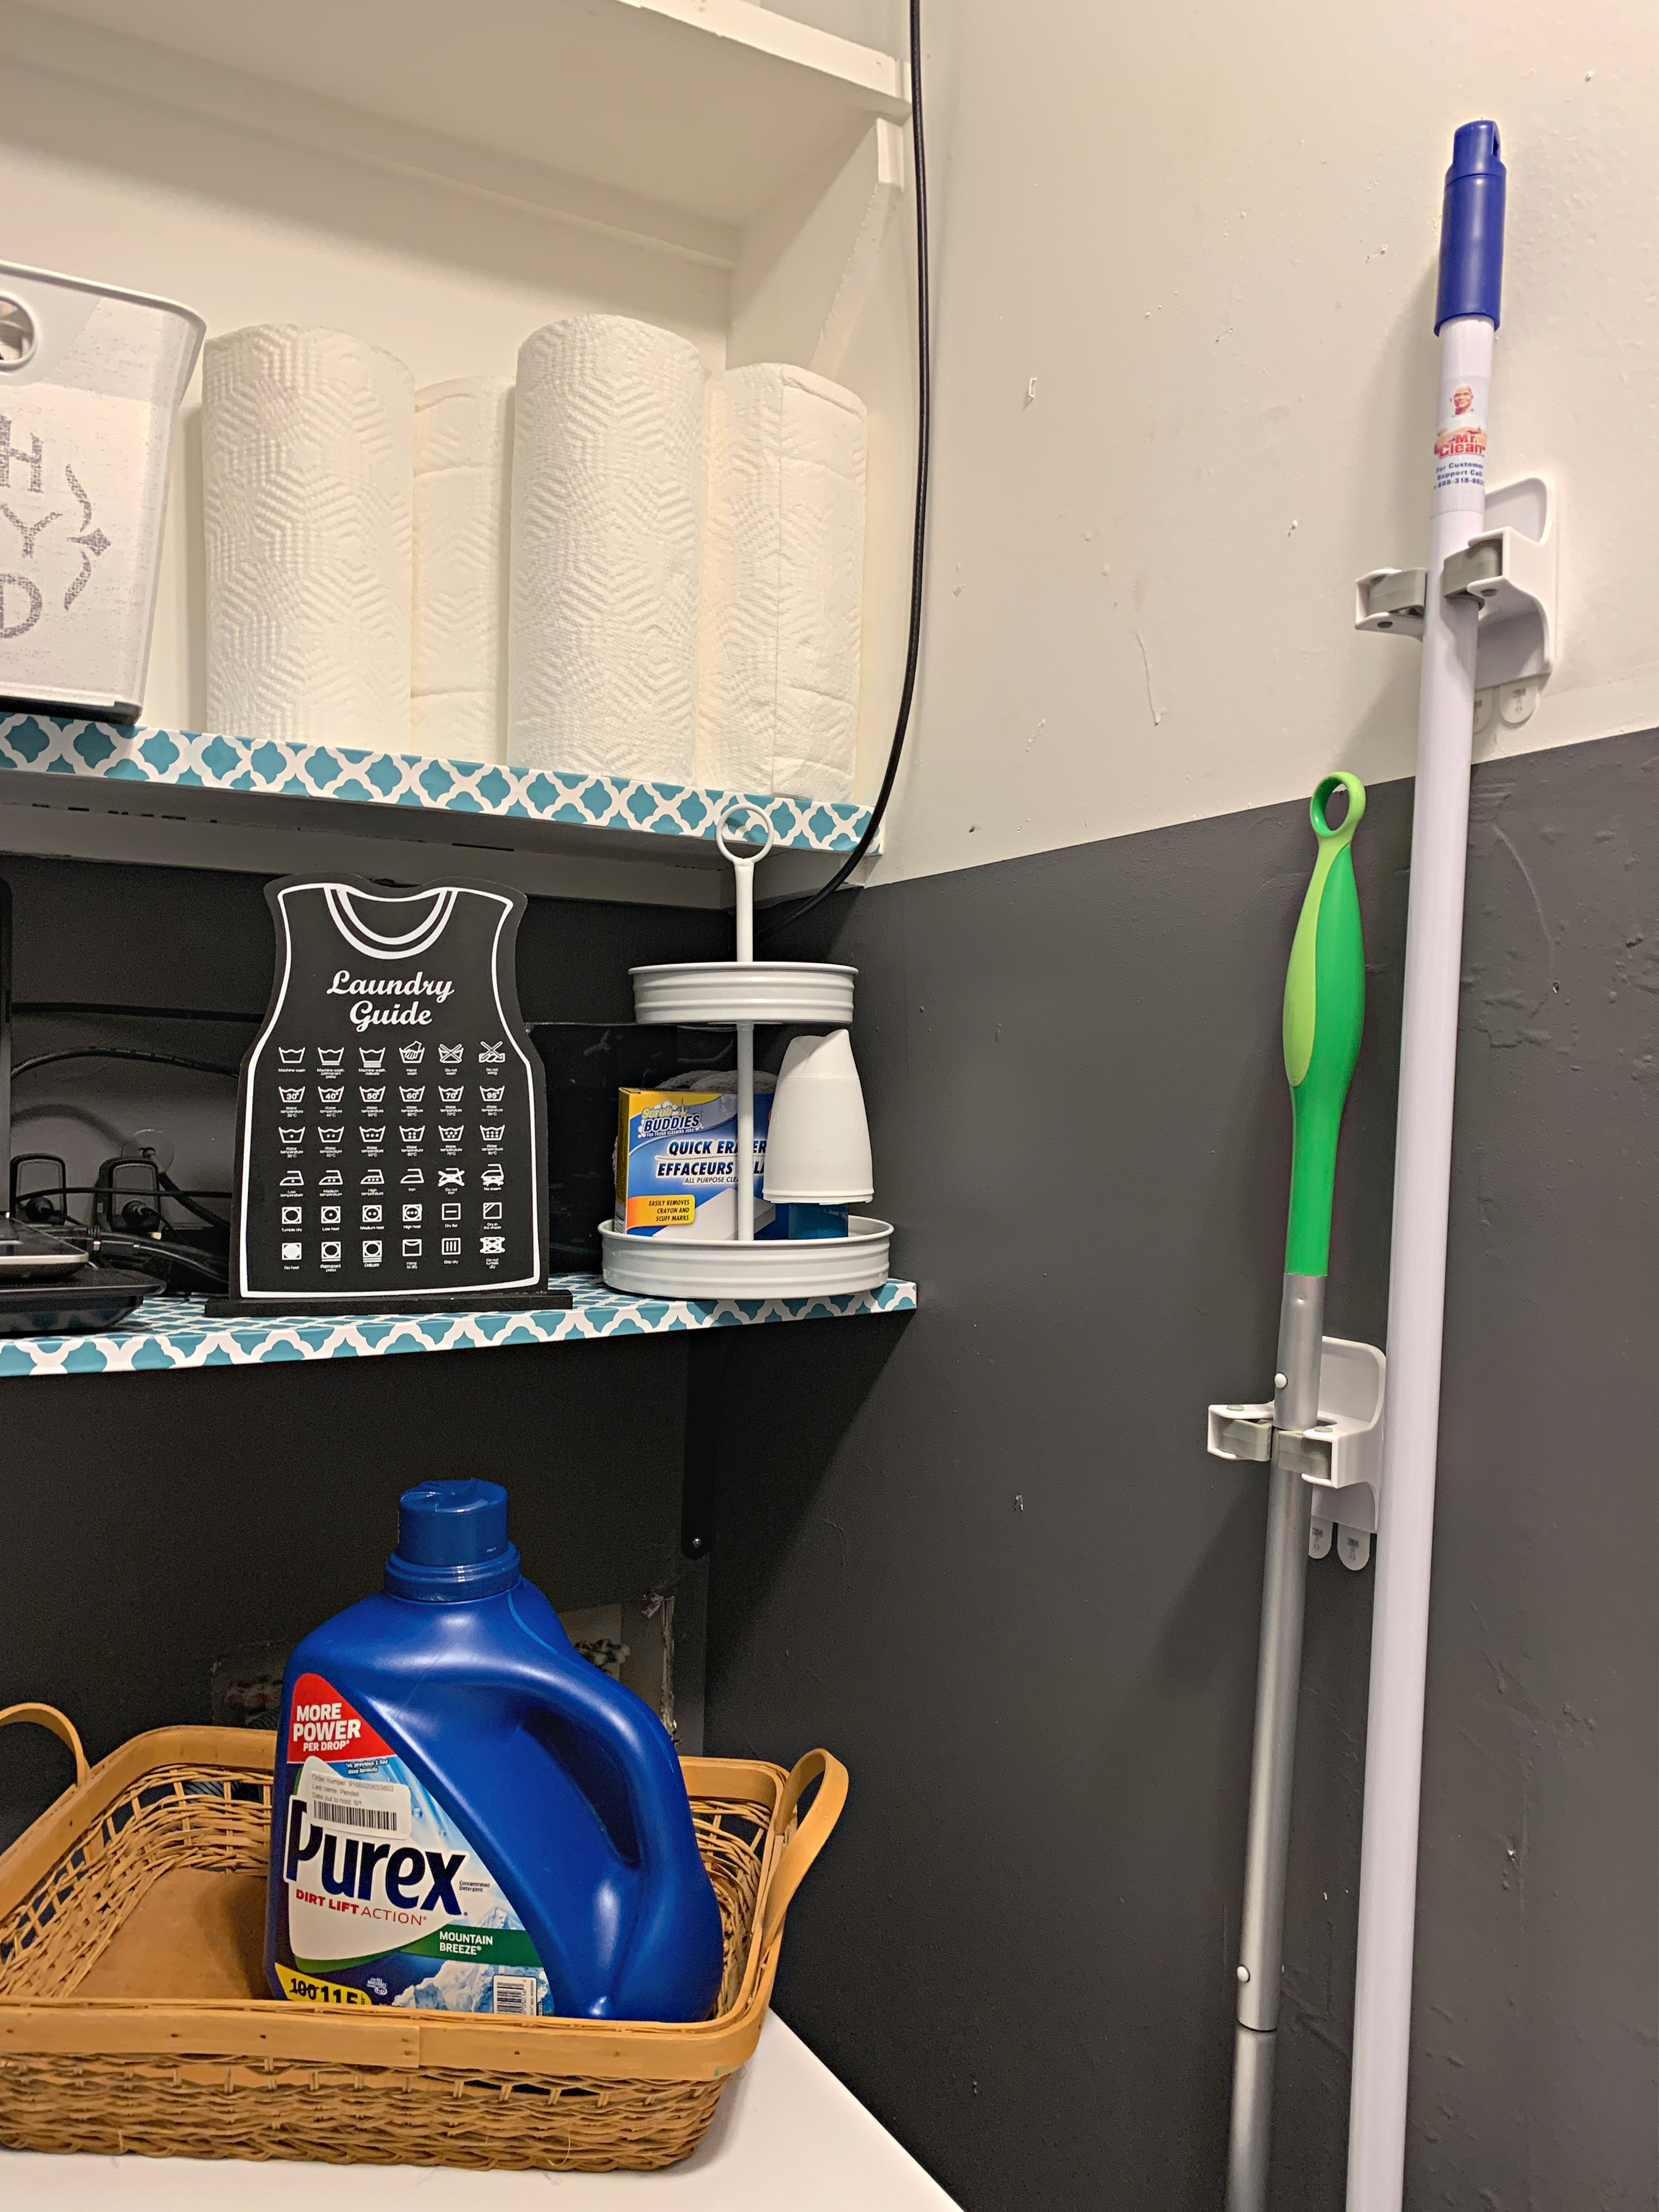 The broom and mop grippers I found on Amazon are also surprisingly expensive, but they are amazing! This is the perfect solution for a small space where pretty hooks are not an option.
 Finally, here’s my solution for hanging wet clothes. I remembered that Rhoda used a curtain rod in her lovely laundry room makeover – but I didn’t want anything that had to be mounted on the wall. I picked up an inexpensive tension shower rod at Dollar General and placed it high enough to hang our clothes over the dryer. It’s perfect!
 Let’s look at a side-by-side of the before and after! Even with dirty laundry in my basket, the second picture is such an improvement!

I titled this post “real life laundry room makeover” because that’s just what it is. Let me share some encouragement with you. When I started preparing for this project, I went to Pinterest and found lots of inspiration for small laundry rooms.
The problem was this – those laundry rooms had almost no “stuff” in them! The shelves were filled with pretty decor and almost no functional items. With those pictures in my mind, I became very frustrated as I tried to put my room back together. It wasn’t looking like any of the rooms from Pinterest!
I had to give myself a reality check. I have to store all these things in my laundry room. They don’t have to be messy, but they have to be in there. I can’t afford new light fixtures, a custom cabinet system or fancy wallpaper.
Here’s what I decided – I can do my best with what I have.
So can you. If you are working on a laundry room makeover, don’t take on someone else’s standard. Set your own standard, do your best and leave it at that. It’s much more enjoyable that way! ❤
You Might Also Enjoy:
- Organizing My Small Bathroom
- How I Fight Perfectionism As A Homemaker
- Why Our Housekeeping Habits Matter More Than Ever


Well said! I have to be real and on budget too. I also like, very much, everything on one page. It is such a timesaver for me.♥️♥️♥️
Peter & Sheryl Morris gmamorris8@gmail.com
>
LikeLike
Thanks! 🙂
LikeLike
Love the transformation! The grey paint on the bottom sets the whole room. It’s neat and tidy. The contact paper was a good idea. Looks so good.
LikeLike
Thank you, Nikki!
LikeLike
Awesome! You made quite the transformation look easy.
LikeLike
Trust me, it was hard work! 🙂
LikeLike
Thank you for this. My laundry room is a mess. I don’t have a garage or attic for storage and my house is so tiny. I have things stored in there that have to be there and a freezer jammed in because there is no where else to put it. It reminds me of a dingy basement. This inspires me to look at what I have on hand and see what I can do. I have done lots of organization in it, so it is better than it was, but I would love to try to spruce it up a little. Thank you! 💕
LikeLike
Yes! I don’t have a garage or attic either, so it does make the laundry area more of a multipurpose room. I’m enjoying it so much more now – you can do it, too! 🙂
LikeLike
I could tell from Instagram that you were working hard on a project. It turned out sooo great! I laugh every time you refer to yourself as lazy. No way are you lazy! Only painting half the wall looks like a design choice. The room might be too dark otherwise. I need those holders from Amazon. I just lean my Swiffer in the corner, behind the door.
LikeLiked by 1 person
Ha yes – let’s just call it a design choice! 🙂 I used to hang my mops and brooms on little nails, and I am SO glad I went for the new holders. They are wonderful!
LikeLike
I don’t like this post, I LOVE it!! The looks of it are stunning and it’s so practical and makes everything accessible – which is crucial to “real life.” Doesn’t it make you smile every time you use it? Great job, Whitney!
LikeLike
Thank you for your encouragement! ❤
LikeLike