
This post contains affiliate links – I will be compensated if you make a purchase after clicking on my links. ❤
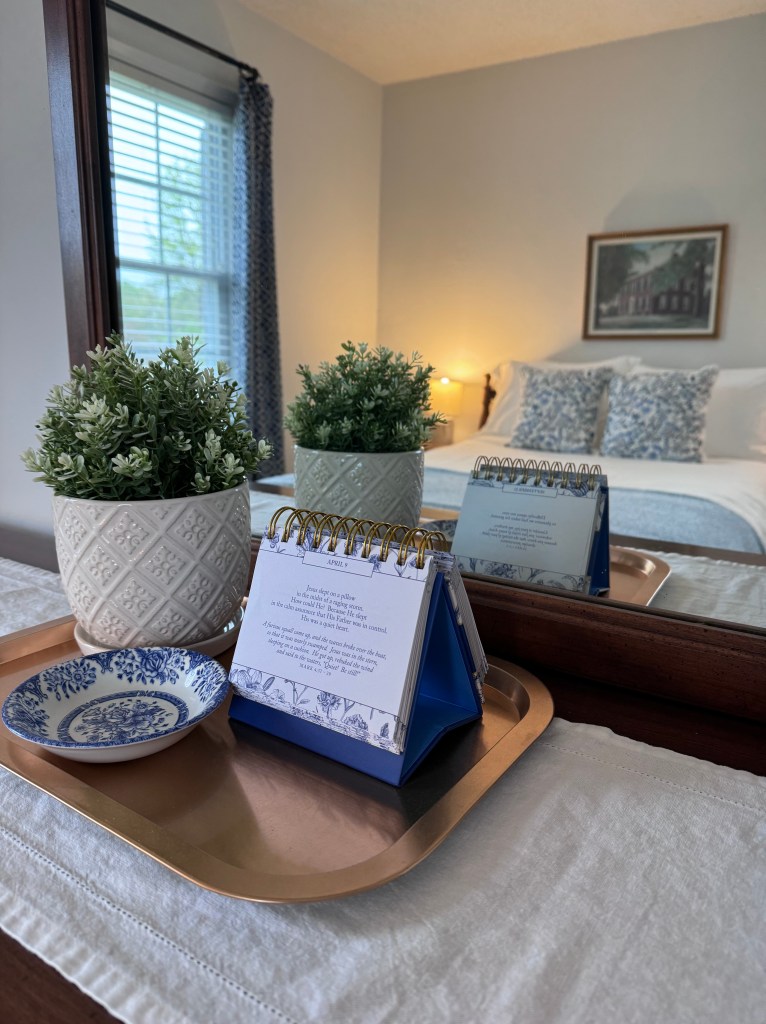
I’m excited to share my guest room makeover with you today! I spent minimal money, updating the room with a new paint job and fresh accessories.

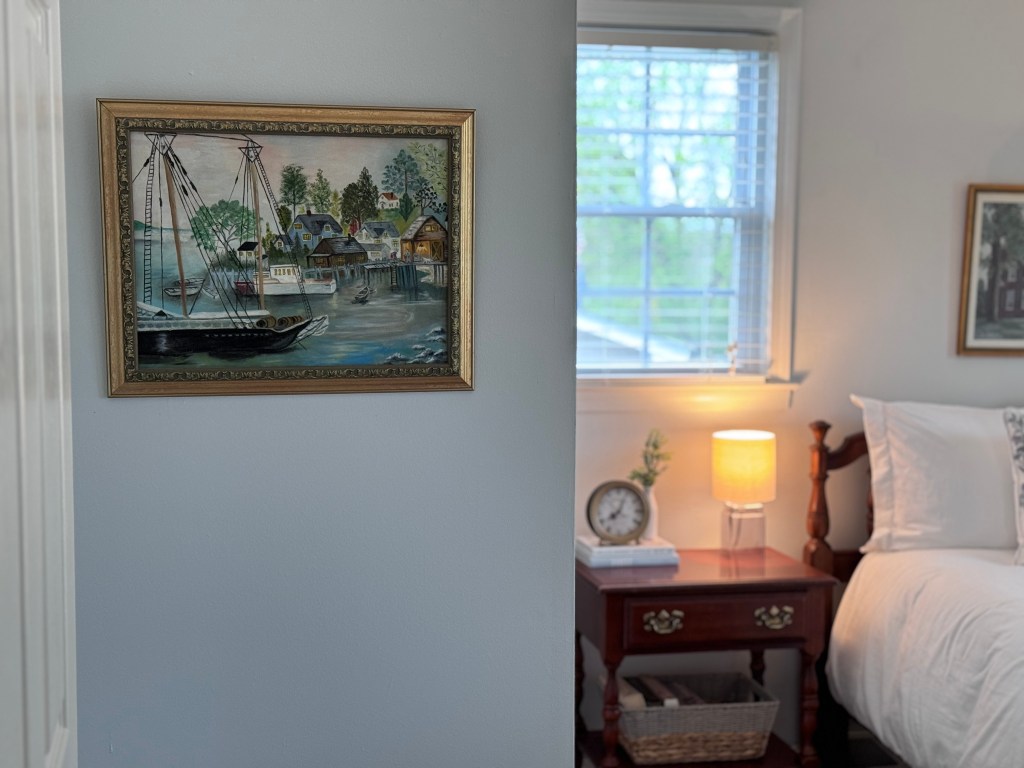
I always work with an inspiration photo. This really helps keep me on track when I’m shopping and gives me ideas for colors and styles. I never seek to duplicate the photos, just to carry the elements over into my home. Here’s the photo I used, from an account I really enjoy following on Instagram.
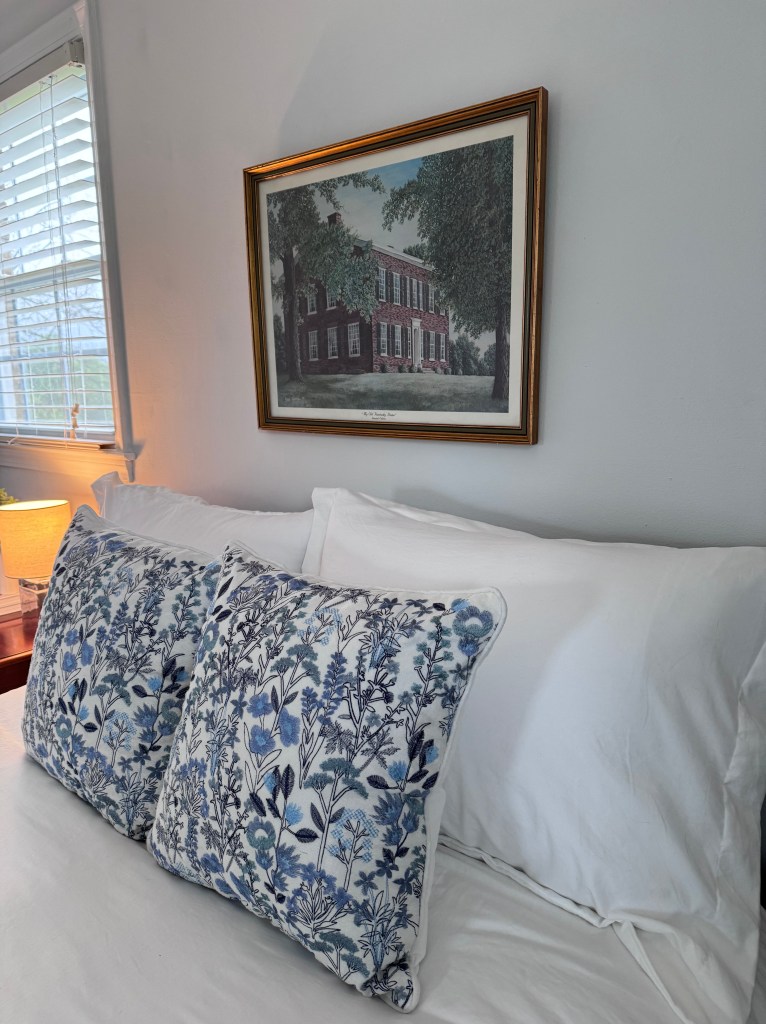
I liked the patterned pillows, black curtain rods, featured photo over the bed (instead of a grouping), and the symmetry in the lamps.
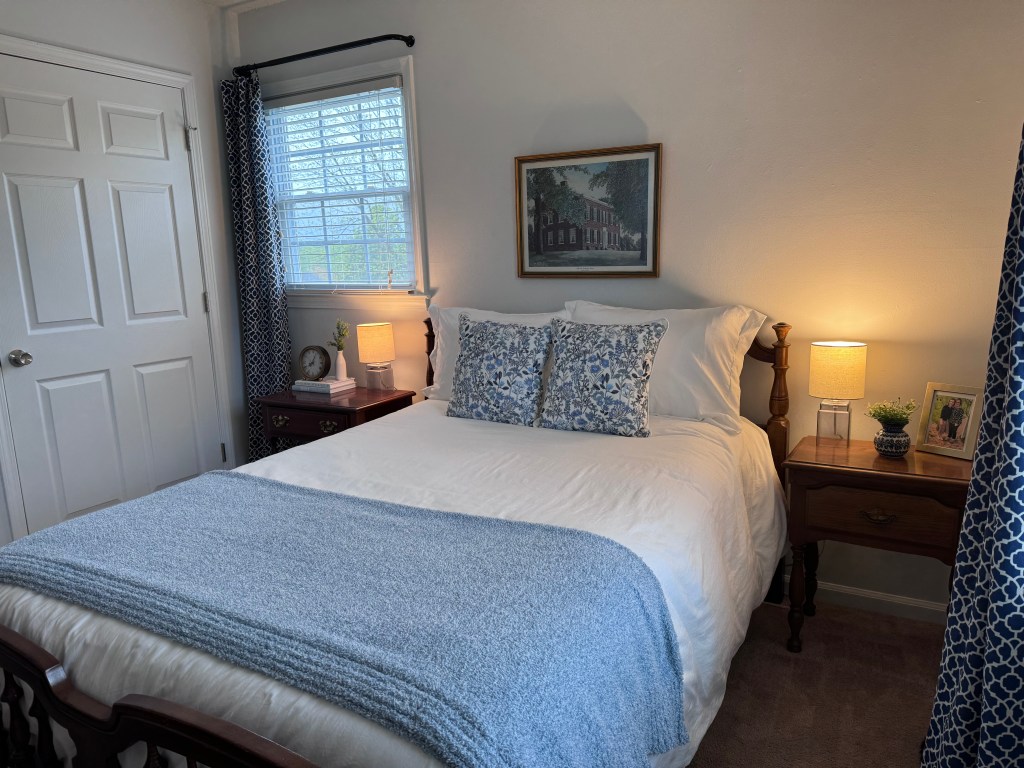
My curtains were a thrift store find – I paid less than $1 for each panel. The curtain rods and drapery curtain rings came from Amazon
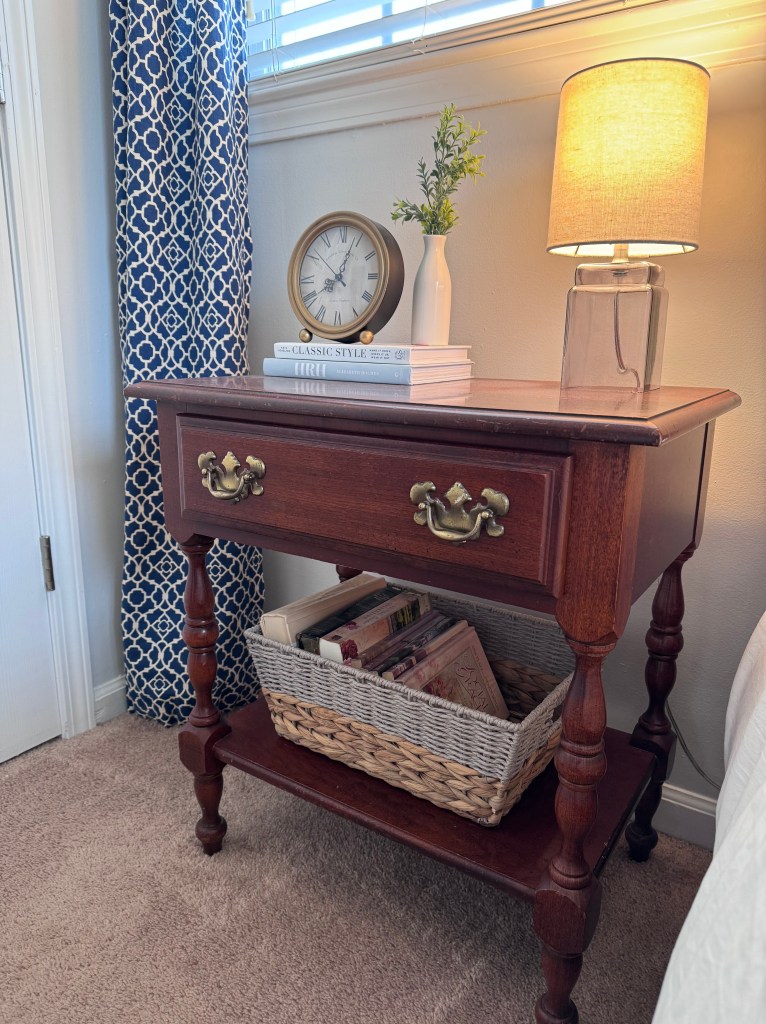
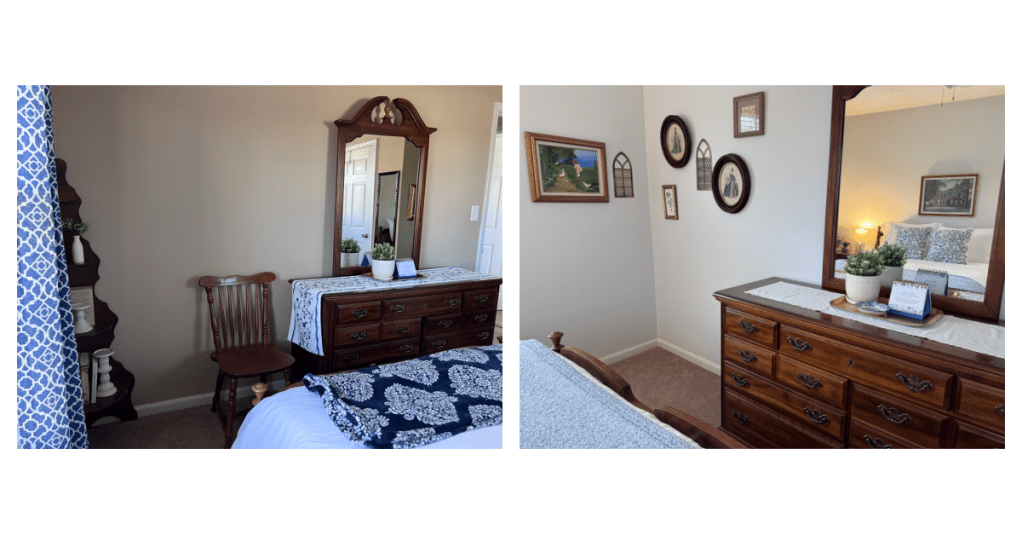
All of the furniture in this room is at least 30 years old, if not more. It’s pretty well loved but still does the job. I’m thankful to have it!
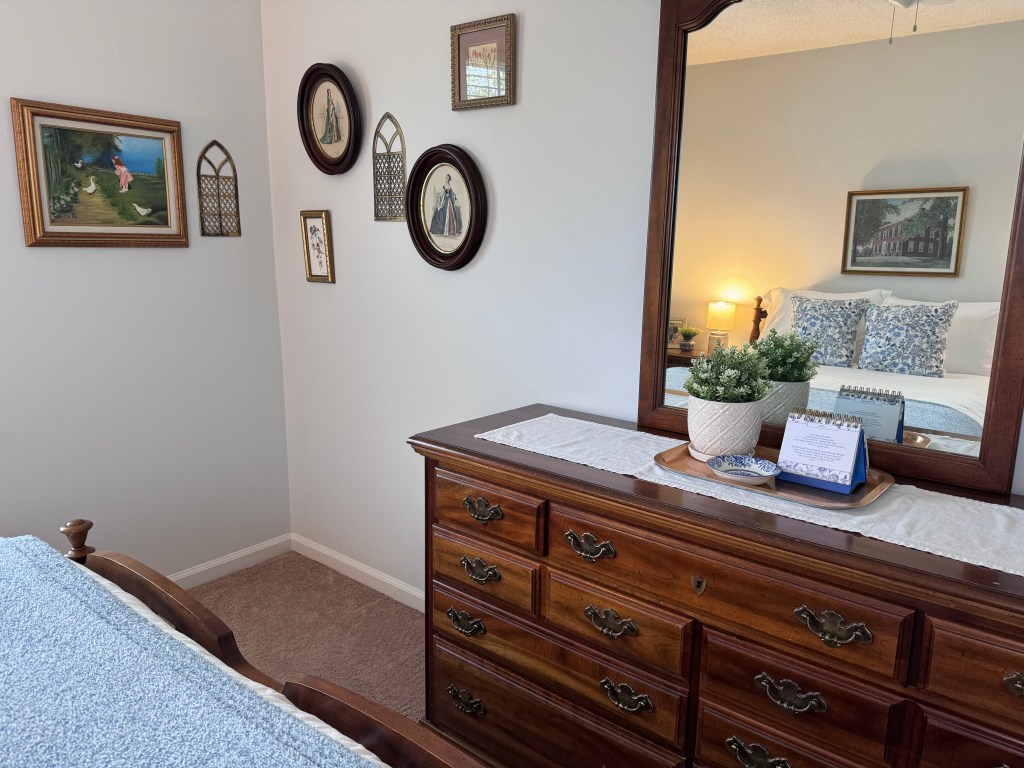
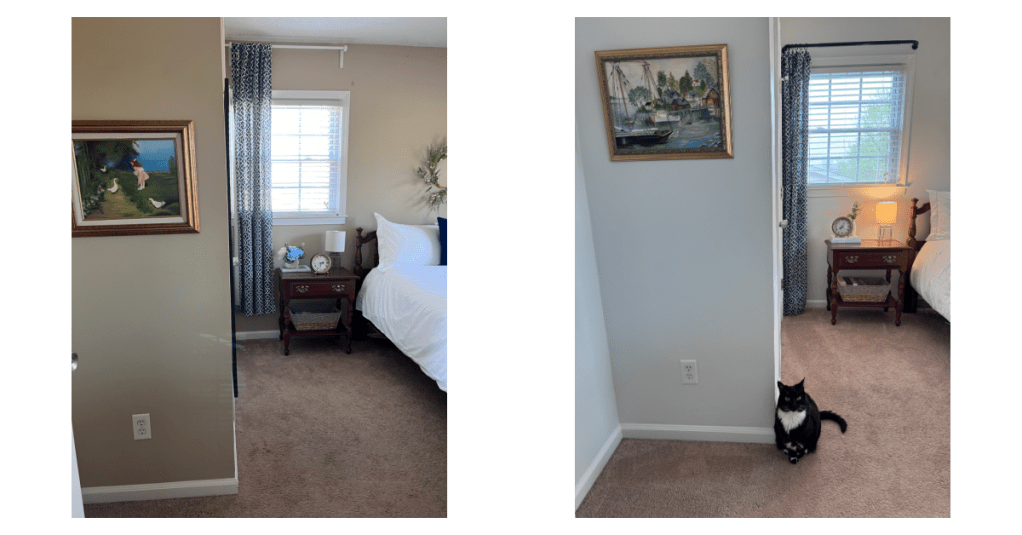
Some of the art in this room came from a favorite local shop, Plunder Antiques in Greer. My Nana painted the fishing village below and the picture of the girl feeding the ducks.
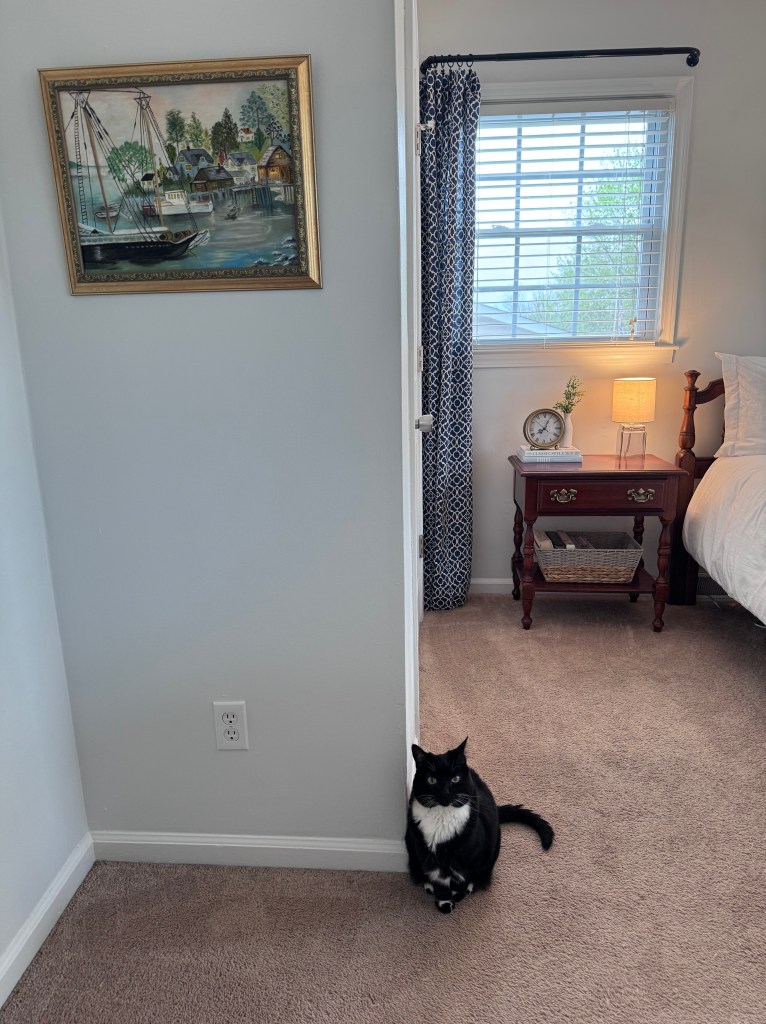
This room gets lots of morning sun, so both of my cats love sleeping in here. Thelma Lou wasn’t thrilled that I was in her space while taking these pics!
I’ve been on a quest to update the paint in our house, and now I just have one room left. Nothing improves the look of a room like a fresh paint job! Look at these before and after photos to see the difference.
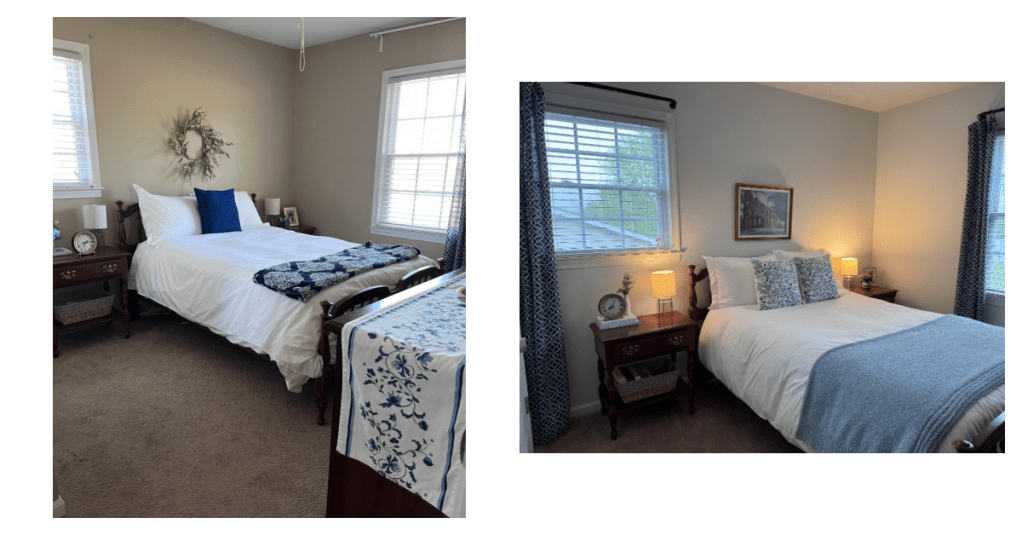
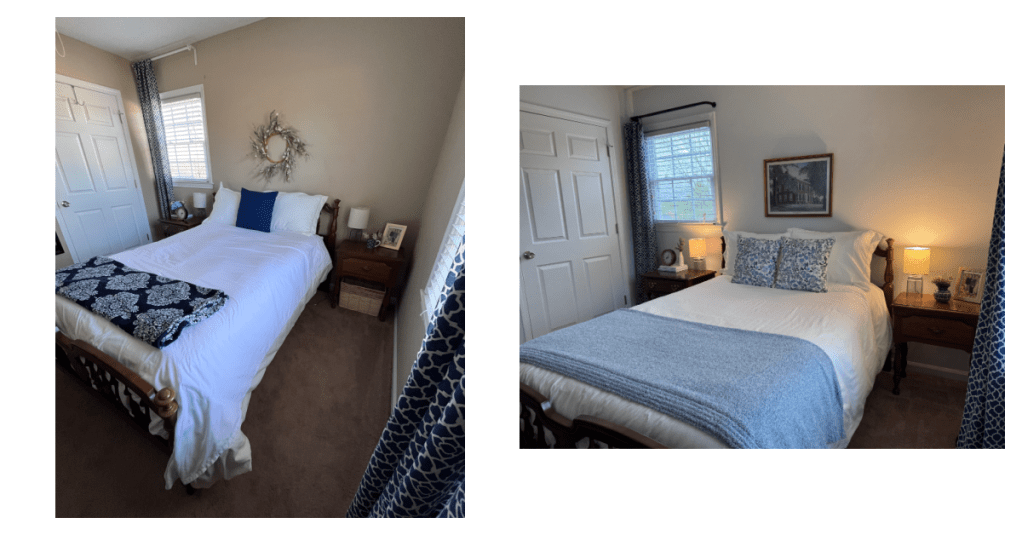
For the walls I used my go-to color, Sherwin Williams Ice Cube. The trim is Sherwin Williams Pure White. If you have a small house or just a small room, this color combo really brightens it and makes it feel bigger.
What did this room makeover cost?
- Paint and Supplies: $50 (I had one gallon on hand already)
- Pillows: $35 from Walmart
- Curtain Rods: $30
- Drapery Curtain Rings: $9
- Art: $20 (don’t be afraid to make an offer in an antique store!)
- Curtains: $2
- Duvet Cover and Shams: $20 from Amazon
This project cost less than $170! It didn’t happen overnight, though. I did the painting myself over a week’s time. I gathered the accessories over several months as I found things at good prices. Most of all, I worked with what I had. I hope my project encourages you to do the same!
More Home Projects:


All that beauty for less than $200?! Way to go!! It’s just lovely. 🩷