
This summer we had our main living area – kitchen, dining area, living room and hallway – painted. We’ve done two smaller paint projects in the house that confirmed we did not want to tackle this as a DIY project. 🙂
Any project like this has the potential to be stressful and to wreak a lot of havoc in your home. I took the opportunity to approach it with as much organization and preparation as possible, and it paid off big time.
We hired a contractor that we know personally – he did a fantastic job and we would definitely hire him again. He didn’t make a mess while he was painting and he left the house very clean and dust-free.
However, this was our first indoor project with our contractor (he painted the exterior of our home last year) so I wasn’t quite sure how careful he would be with my furniture. I’ve learned that almost no one is as careful with my things as I would like for them to be.
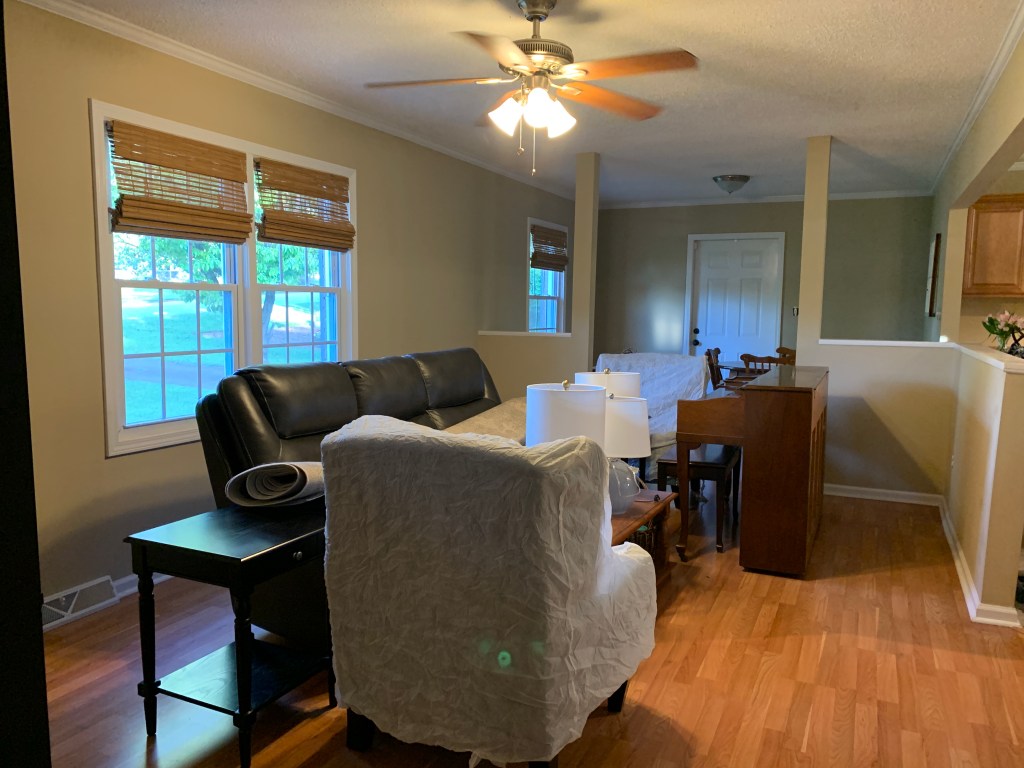
Before our contractor arrived to begin work, Paul and I took everything off the walls and moved things to the center of the room as much as possible. This not only protected my things, it enabled the contractor to get right to work when he arrived.
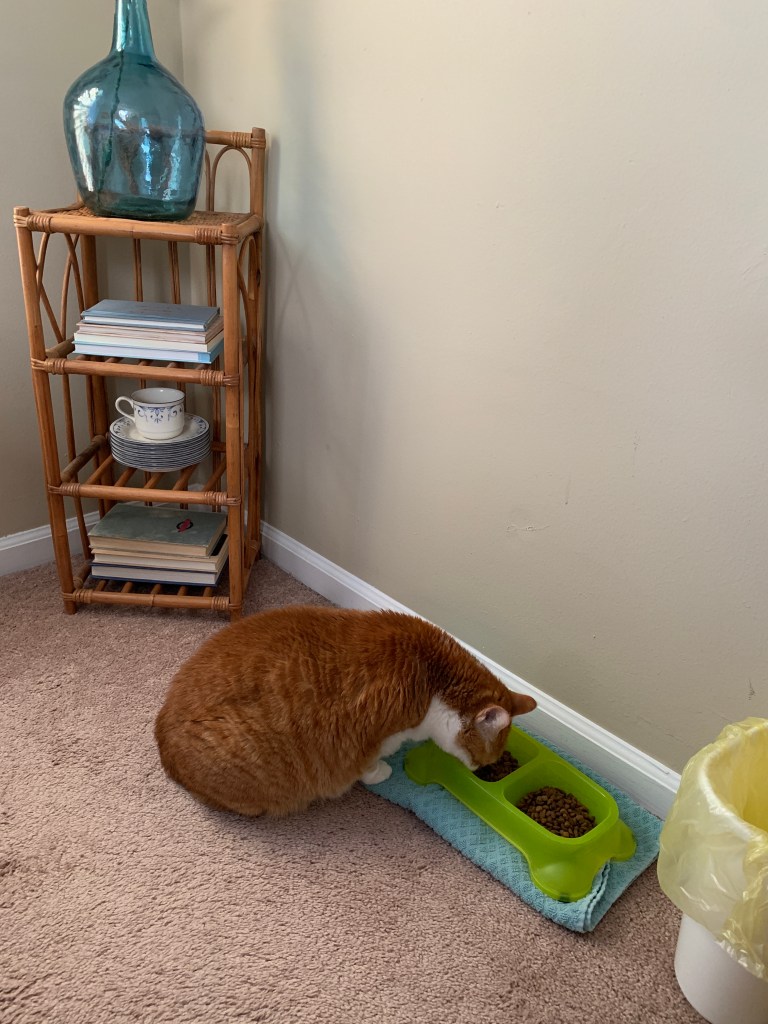
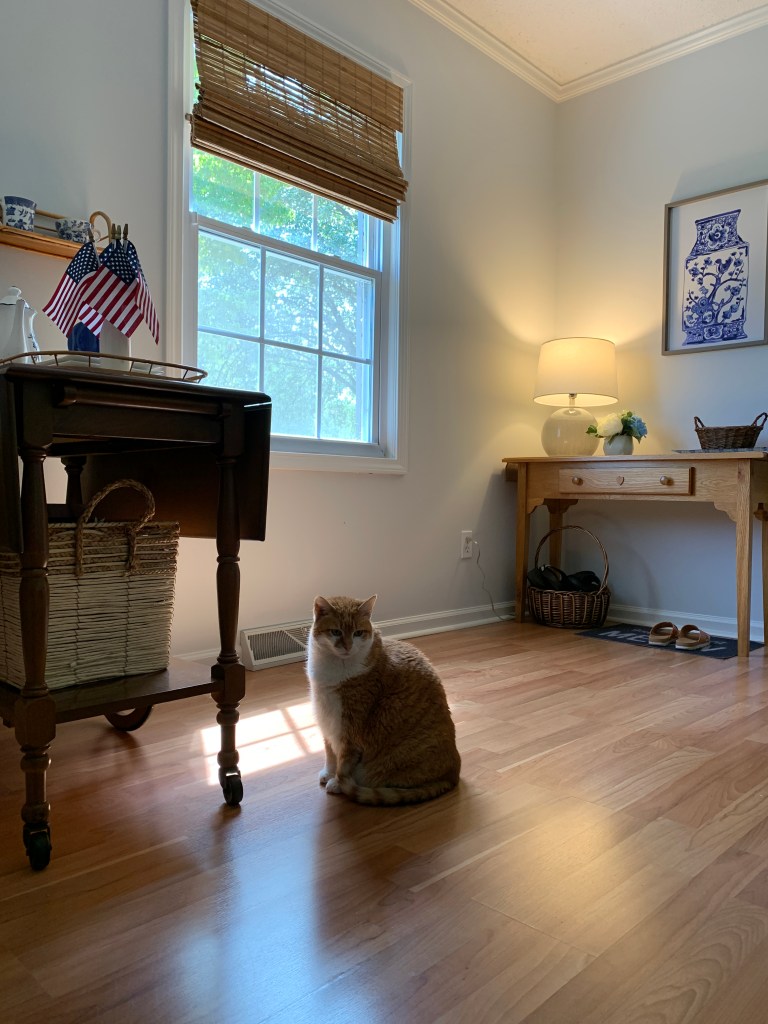
I always make sure the cats have a safe place where they can remain all day, with the door closed. Our contractor is a cat lover and began work each day by quickly opening the door to say good morning to the cats. ❤ I didn’t have to worry about them while he was there!

I carefully organized all the decor in one spot. It’s so helpful to contain the mess and to keep at least one room looking “normal” and tidy. The bedrooms were off limits to piles of stuff, and it was nice to relax in there during the evenings.
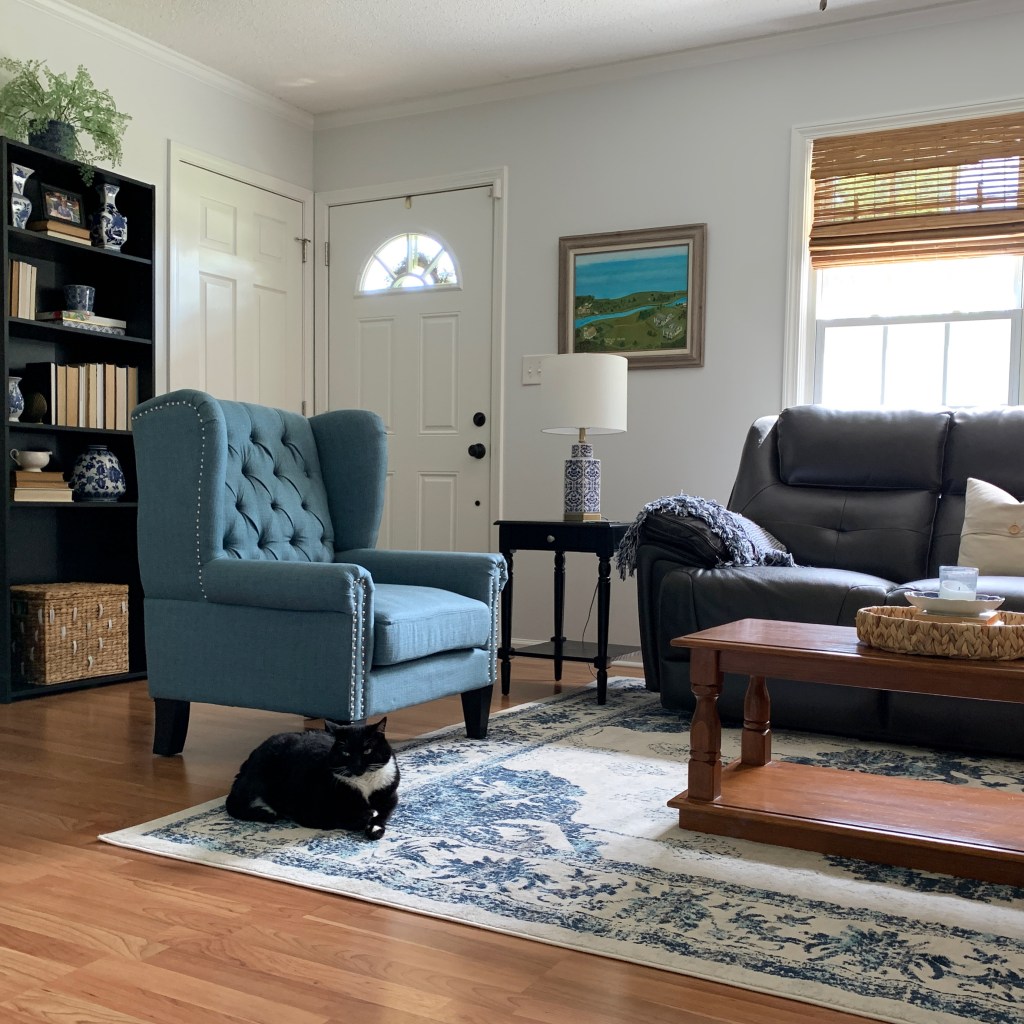
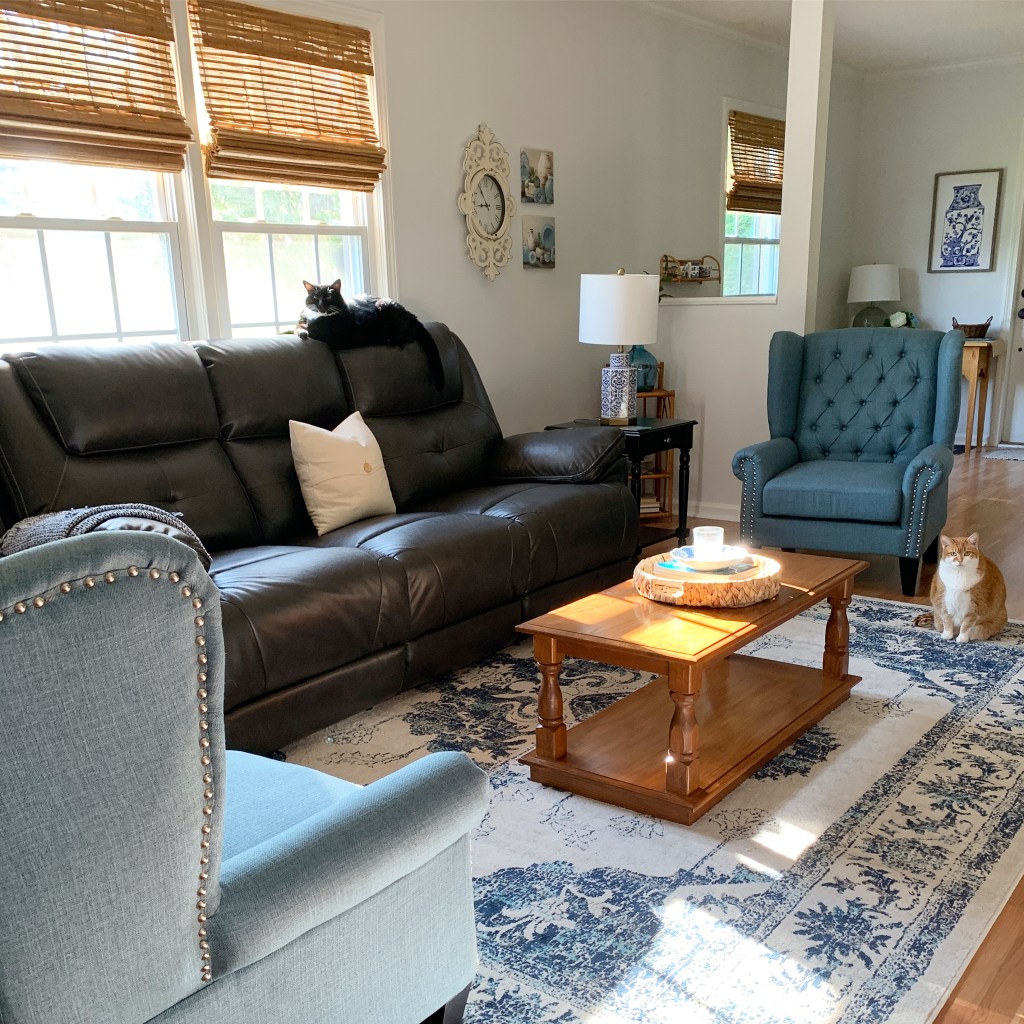
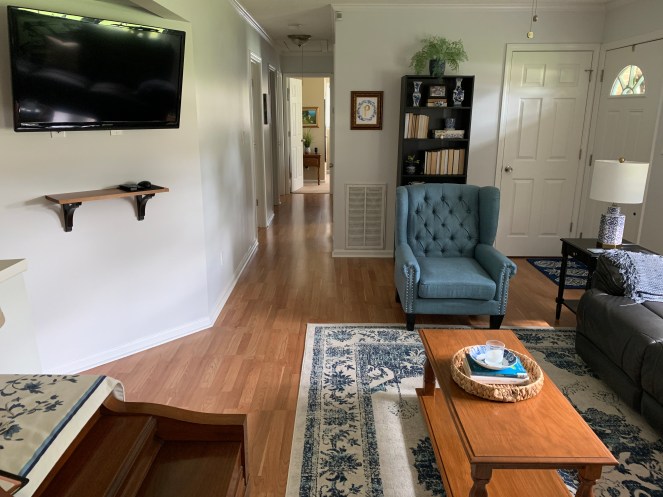
Here’s the finished result! I could not be happier with how the colors turned out.
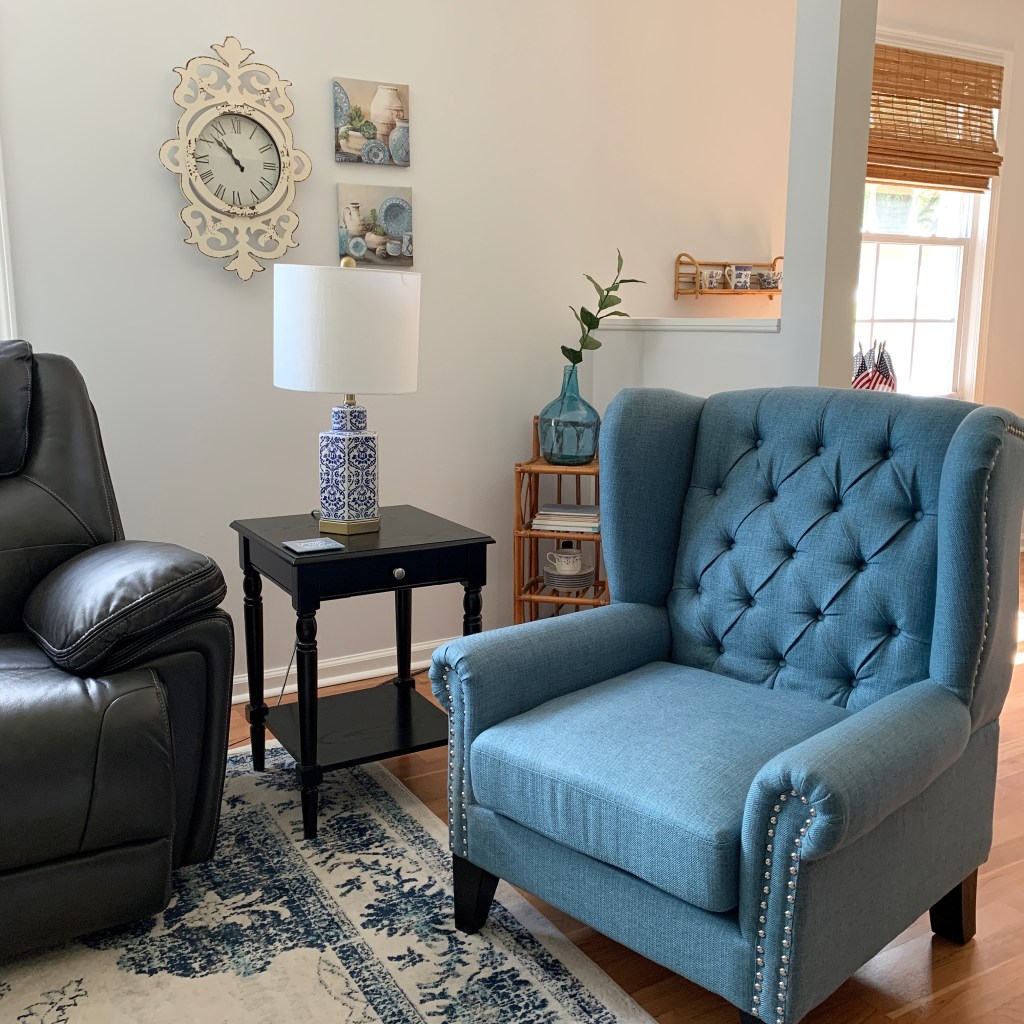
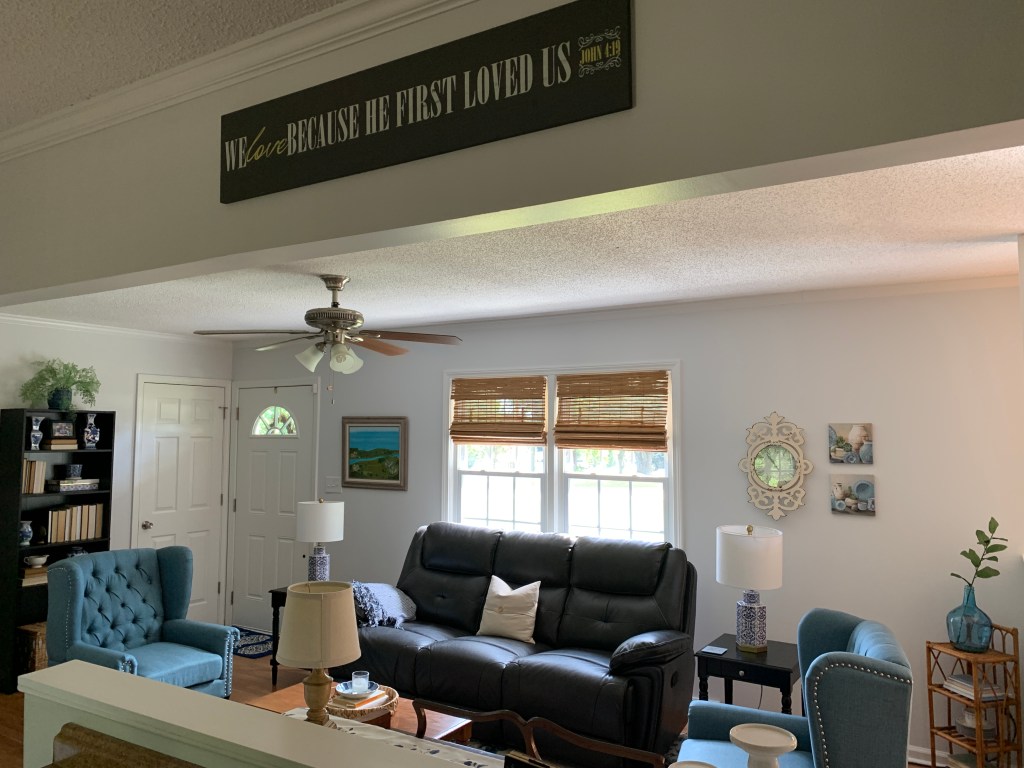
I used Sherwin Williams Ice Cube on the walls and Pure White on the trim. Read this post to see how I chose this color from the millions of options —> How To Choose Paint Colors For Your Home.

If you look down the hall in the picture below, you’ll see the original paint color on the bedroom wall. We will probably paint the bedrooms in the next year, so until then I’m choosing to be content with the drastic upgrade in the rest of the house!
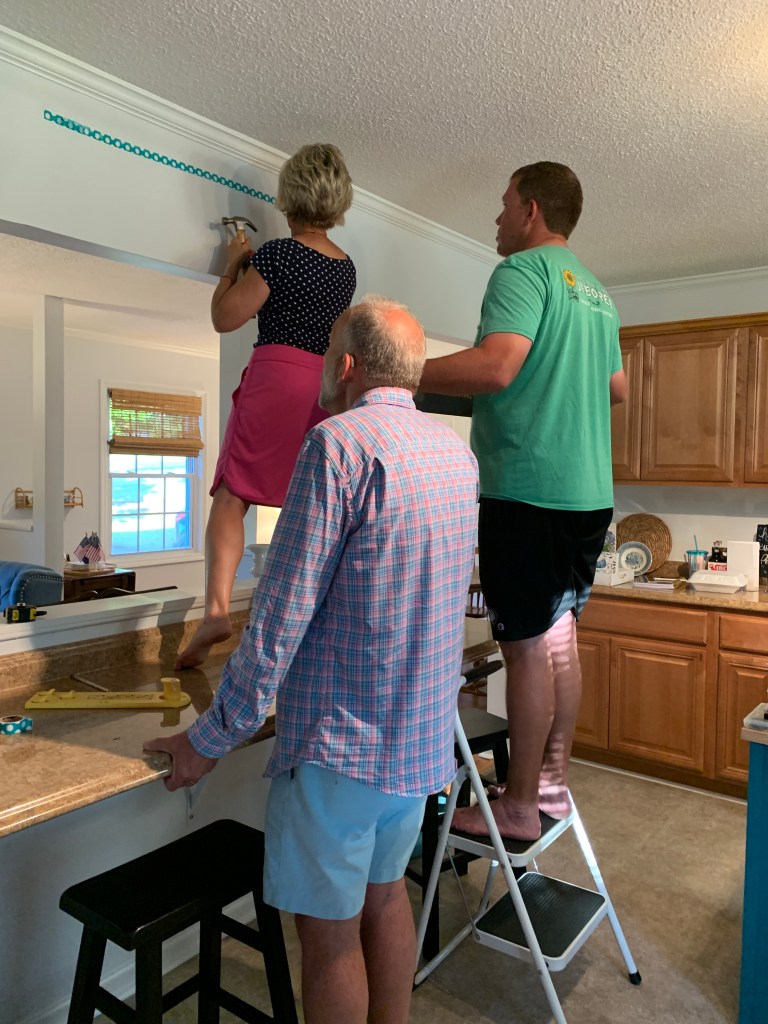
After the paint cured, my personal design consultant and her team of assistants (my Mom, Dad and Paul) helped me get everything back on the walls.
I purchased two new pieces for the walls with money from my living room project budget, but otherwise we just rearranged the things I already had.
I am so grateful that we were able to get this project accomplished with such great results. It hasn’t always turned out like that!
Read More:
- How To Get The Best Work Out Of Your Contractor
- Caring For Your Pets During Home Renovations
- What I Learned From Our First Major Home Repair


I spy a new stove 😊
Not yet! It comes soon, though! 🙂
🤩🤩🤩
Peter & Sheryl Morris gmamorris8@gmail.com
>
Thank you!
Wow!! Your whole living space looks so bright and cheerful now with that fresh coat of paint. You did a great job selecting the perfect color and organizing the whole process. I bet your contractor was thankful you were so thoughtful in your preparation. Enjoy your bright and cozy new space!
Thank you, friend! Yes, he was pretty happy when he came in and realized he had his work all cut out for him. 🙂
Can you tell me what finish you used – satin, eggshell, etc? That’s always hard for me to figure out. I love the results – so clean, light, and airy!
Thank you, Kathi! I’m pretty sure it’s a satin finish.
I can’t get over what a difference the paint made in that space! You did a great job choosing the right shade of white. It’s so fresh and inviting. Love it! That picture of Dad, Paul and me is so funny! Nice to have such great “spotters!”
Thanks for all your help putting everything back together! I couldn’t have done it without you! ❤
It looks great, so fresh! I am sure Peggy is a great consultant and rewarded your hard work with lots of purrs!
Ha! You got that right!
Very nice! It’s such a good feeling to get big projects done and enjoy the outcome. Do you know what “finish” your paint is? We need to get painting done too. Thanks:)
Thanks Jenny! I’m pretty sure it’s a satin finish.
It turned out great!! So inviting. Enjoy!
Thank you, Georgia! We are loving it!
Wow! I love this so much, Whitney. What a great upgrade! Looks fantastic!
Thank you, Hannah!
I love it – so bright and airy!! =)
Thank you, Lora!
Whitney I absolutely love the paint colour. The living room is bright and airy, clean looking and calming !
Looks beautiful! Inspired me to do my own. 🙂
What is the name of the paint, and the colour ?
Thanks, Elaine! The walls are Sherwin Williams Ice Cube, the trim is Pure White.