
This post contains affiliate links – I will be compensated if you make a purchase after clicking on my links. ❤
Are you new to painting? Do you hate painting? Here are my best tips for painting rooms in your house!
Rooms really should be painted every 5 years. If you can afford to have someone professionally paint your home, go for it. But if you’re like me and have a smaller home improvement budget, I’m here to share my best tips and tricks.
I hate painting. I’m not great with DIY projects. But I love my house, and I love the look of bright, fresh paint.
Remember – I’m not a professional. I’m just a housewife who does her best. I’ve learned from my own mistakes, so hopefully these tips will help you avoid some of those issues.

1 – Order all your painting supplies online from Lowes and choose the pickup option. This will enable you to either pick up your order from a kiosk at the front of the store or through curbside pickup. Either way, it saves so much time!
Plus, the next time you paint you will have your order history on your Lowes account and you can reorder anything you need.
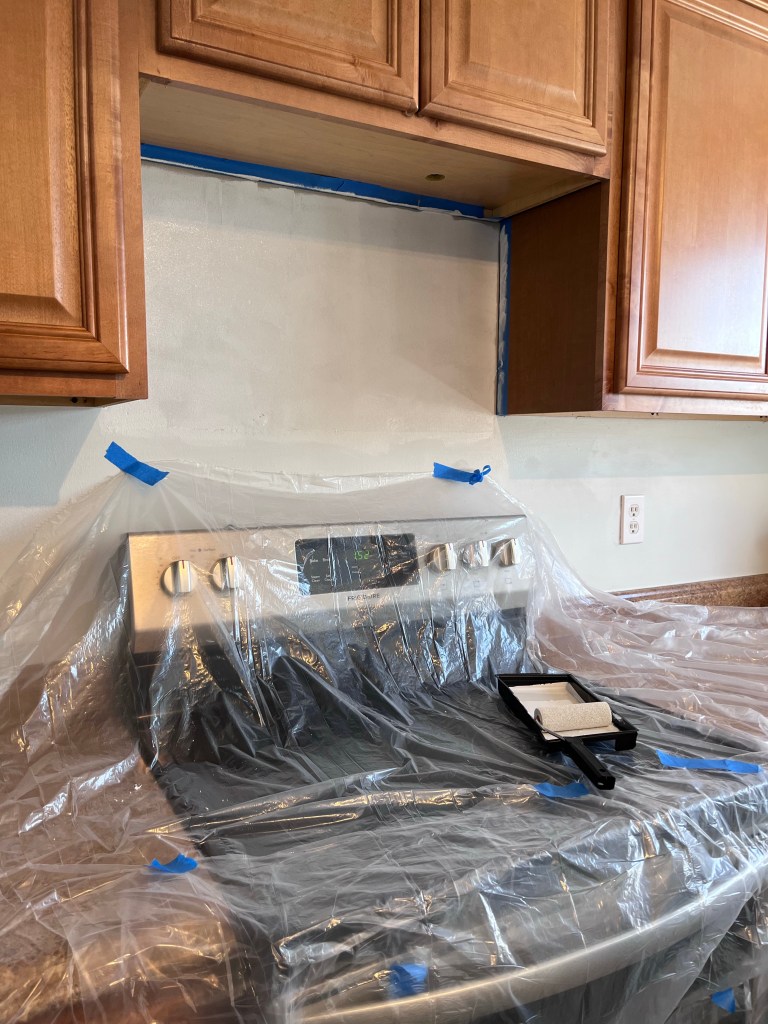
2 – Dollar Tree is another great place to pick up painting supplies. I like their drop cloths. They also have a little kit that comes with a mini roller, brush, and paint tray. It’s perfect for little jobs – this is what I used when I painted the little area above my stove where the microwave used to be.
3 – I like to use the same colors throughout my house. I always get the paint from Sherwin Williams. It helps the color to be consistent if I need to do touch ups. It also saves a ton of money. When I paint a new room, I start with the leftover wall and trim color from the previous room and then move on to new cans as needed.*
*I know this isn’t the professional way to paint, but I’ve never had any issues with using different cans of the same color in a room.
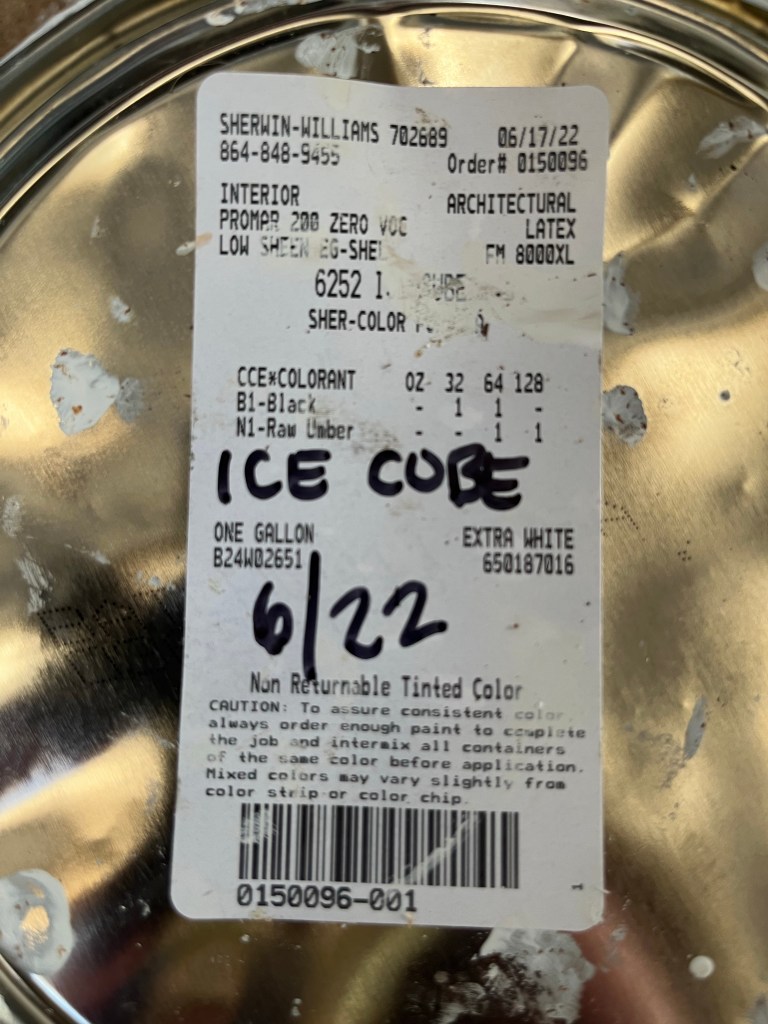
To make sure I get the exact same paint, I have pictures of the paint can label that I keep on my phone. I show that to the customer service guy at the Sherwin Williams store and it takes all the guess work out of it.

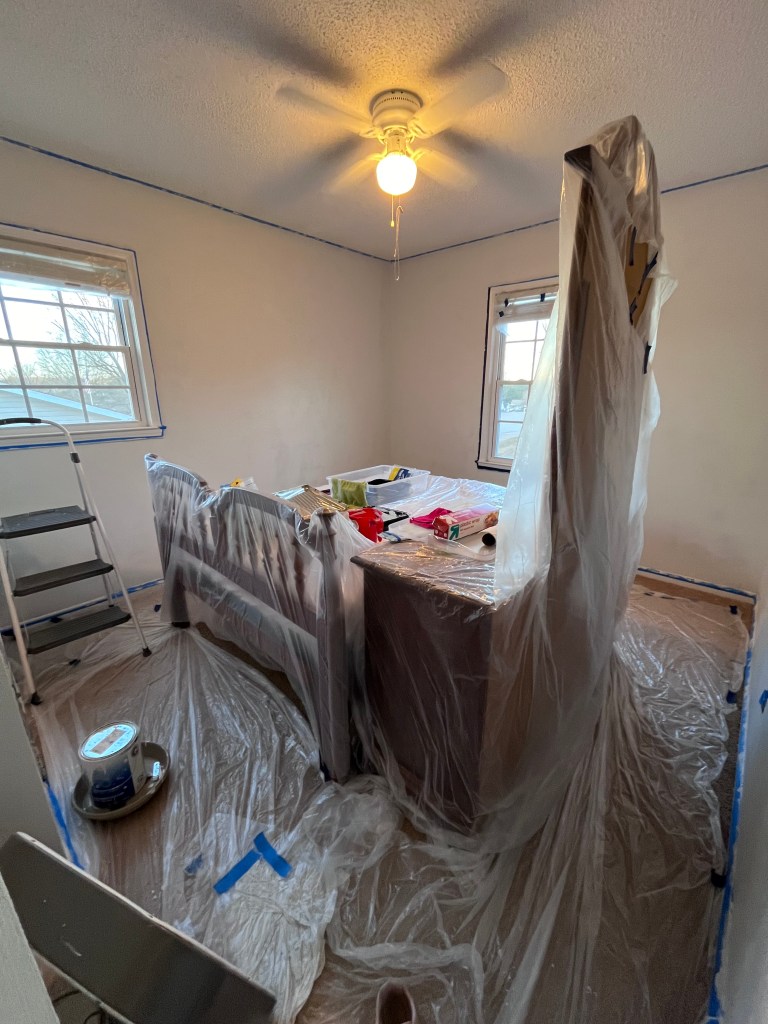
4 – Take your time with prep:
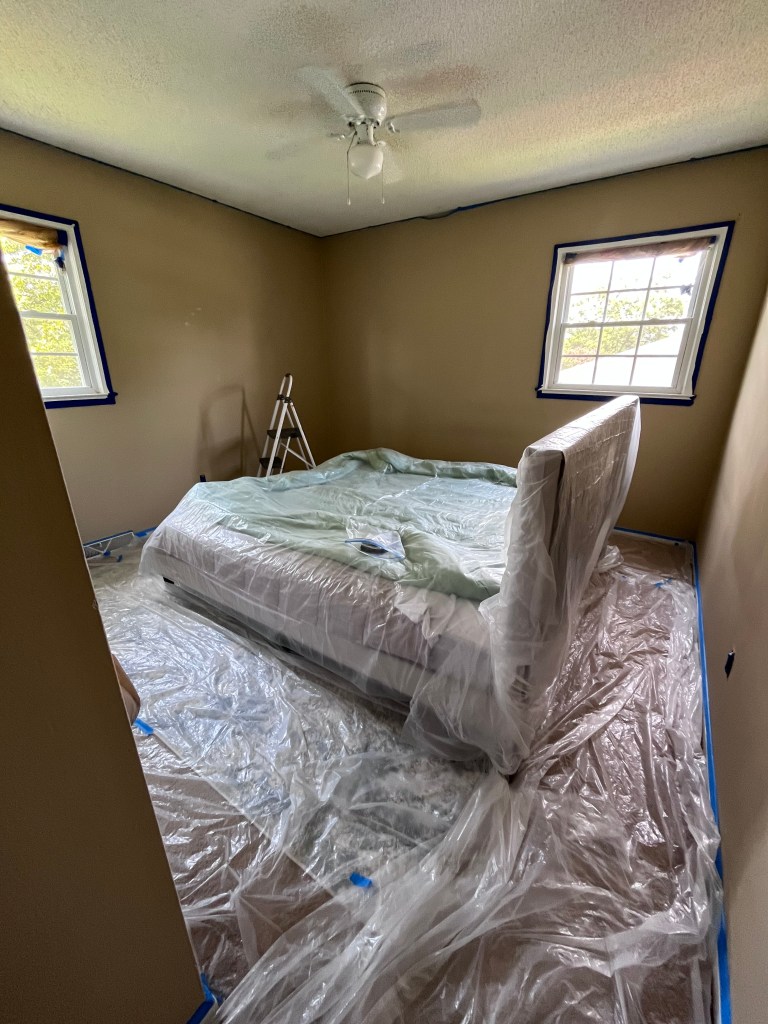
- remove as much decor and furniture from the room as possible
- dust the room from ceiling to floor
- wipe the walls, baseboards, and trim with a microfiber cloth and a mild cleaning solution (I usually use dish soap and warm water)
5 – Cover all remaining furniture, blinds, and floor with drop cloths. I like the plastic ones from Dollar Tree.
6 – Use painters tape and mark off all the trim, windows, and anything else that isn’t being painted.
7 – Make sure your paint is room temperature. Cold paint that’s been stored in your garage or shed will be thin. Let cold paint sit in your house for 24 hours to come up to temperature.
8 – When you’re done painting for the day, wrap your brush and roller in plastic wrap. These can be stored overnight and used again the next day. I hate washing my brushes, and this works well for me. I don’t go more than 2 days with a dirty brush, though.
9 – Choose something fun to listen to while you paint. I like listening to a comedy podcast or something entertaining. Painting is hard work, and listening to something serious makes it feel even worse. At least to me!
10 – When using a big pan and roller, always keep the pan in front of you as you work your way around the room. Never leave the pan behind you to make sure that you don’t step back into the paint.
11 – I have a flower pot trolley (from Dollar Tree) that I use to hold my paint can. It keeps the drips from getting on the floor, which keeps me from stepping in wet paint.
12 – When using a small brush (trim, cutting in around the roller), use a container like this to hold your brush and paint. Never carry the big paint tray around – it’s heavier on one end and can easily spill.
13 – Tip for the Handy Paint Cup: You can buy liners for it, but I just use freezer bags as liners. It’s cheaper, and then I can just close up the bag at the end of the day and place the cup + bag in the fridge overnight.

14 – Always change into painting clothes. Always.
15 – Put your phone in a zippered sandwich bag. It will still operate with your fingerprint, but the phone will stay clean.
16 – When you’re done, add the paint colors and project date to your home project log. Not only is this helpful to have for touchups and resale, it’s very satisfying to scroll through the list of projects you’ve completed!
Here are the other posts I’ve written about painting:
- Choosing Paint Colors For Your Homes’ Exterior
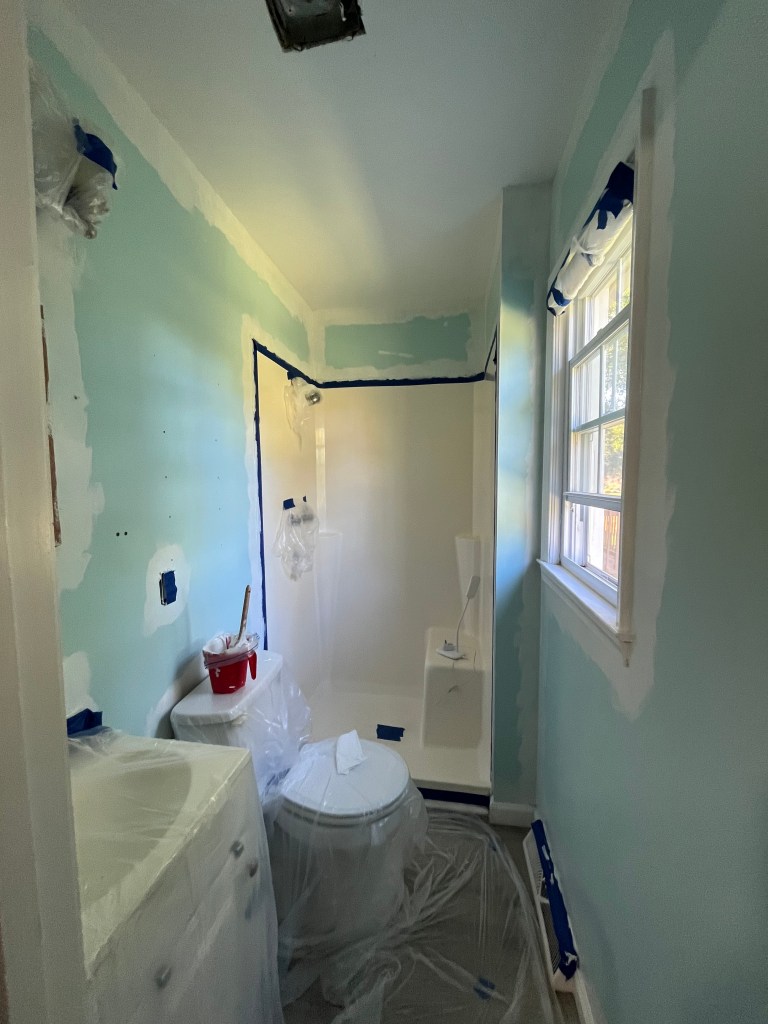
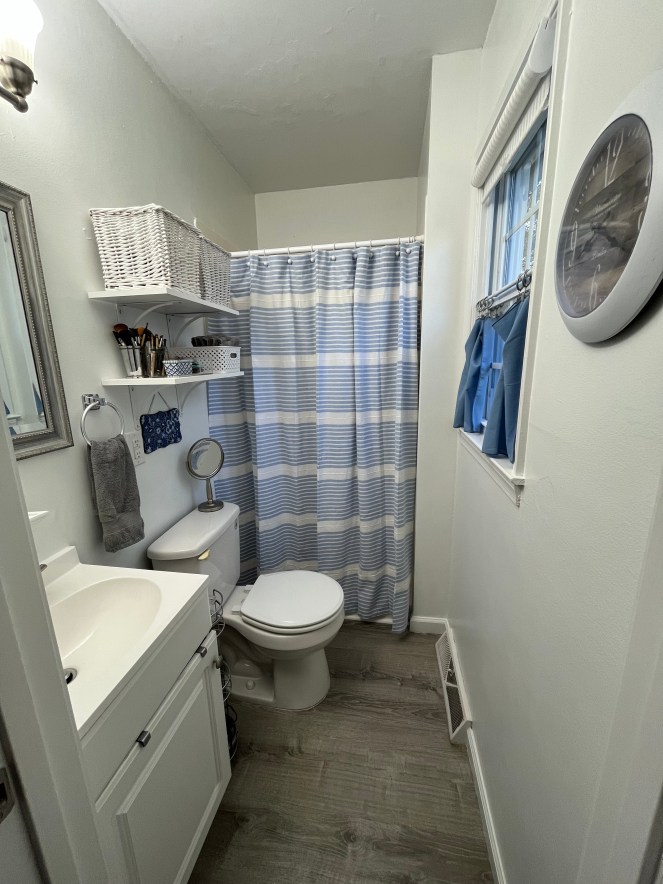
- Painting Our Small Master Bath
- Painting Our Living Area: Project Tips and the Reveal!
- How To Choose Interior Paint Colors For Your Home
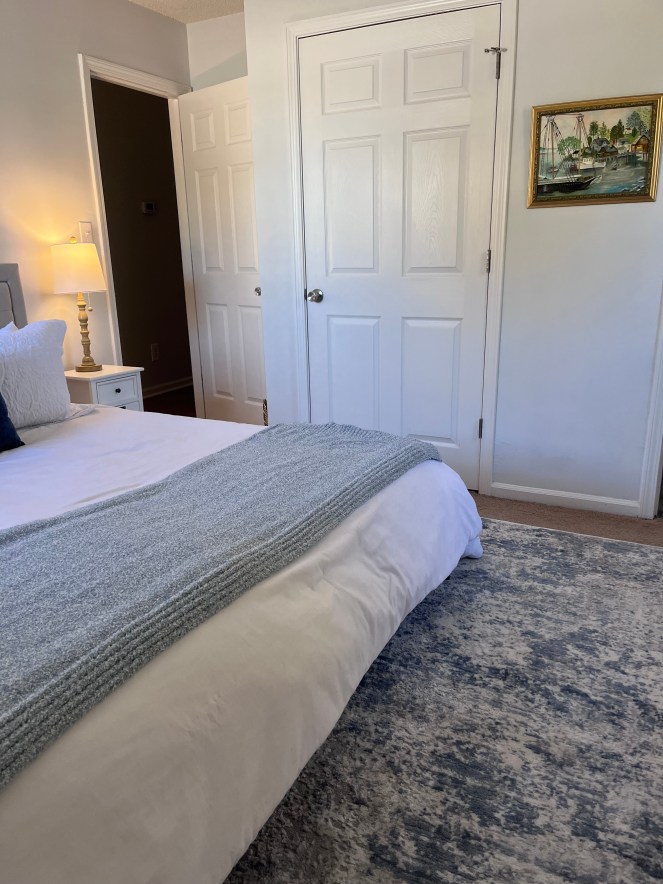
It usually costs anywhere from $50-$200 to paint one of the rooms in our ranch house. The overall impact is such a big bang for my buck! Believe me, if I can do this – YOU can do this! It’s hard work, it will use muscles you didn’t know you have, and it takes several full days, but it can be done.
Happy Painting!


Your home looks lovely! And I love that you tackled a DIY project that was hard work to make your home look fresh and so sharp! Great work :) I need to take your tips and do some touch ups all over my house.
Thanks friend! I smile every time I walk into my recently repainted guest room. It was the hardest one I’ve done so far, but it looks so much better!
These are such good, practical tips! I also had to laugh at your painted face. You’re like me – I have it all over my body before the room is complete! The rooms are so fresh and lovely in your white paint. I know it’s hard work, but your hard work sure paid off!
Thank you! It is rewarding, for sure.
Wow, great tips, Whitney! I actually enjoy painting rooms which I know is so weird!🤪 But it has saved us a lot of money over the years. The photo of you with the paint in your hair is really cute— you’re a good sport! ☺️
It’s amazing how much of a difference paint can make, isn’t it? How nice that you can enjoy the process AND the result! 🙂