

This post also contains affiliate links and I will be compensated if you make a purchase after clicking on my links.
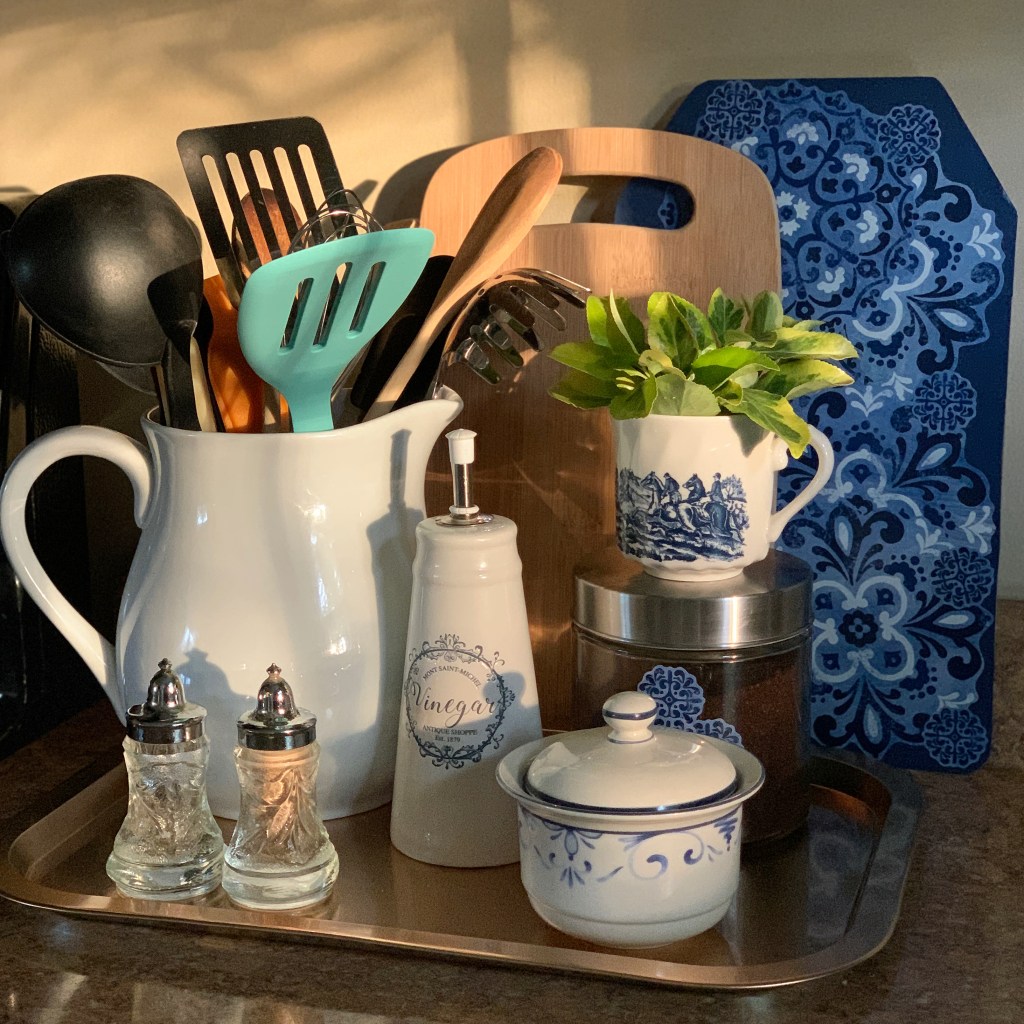
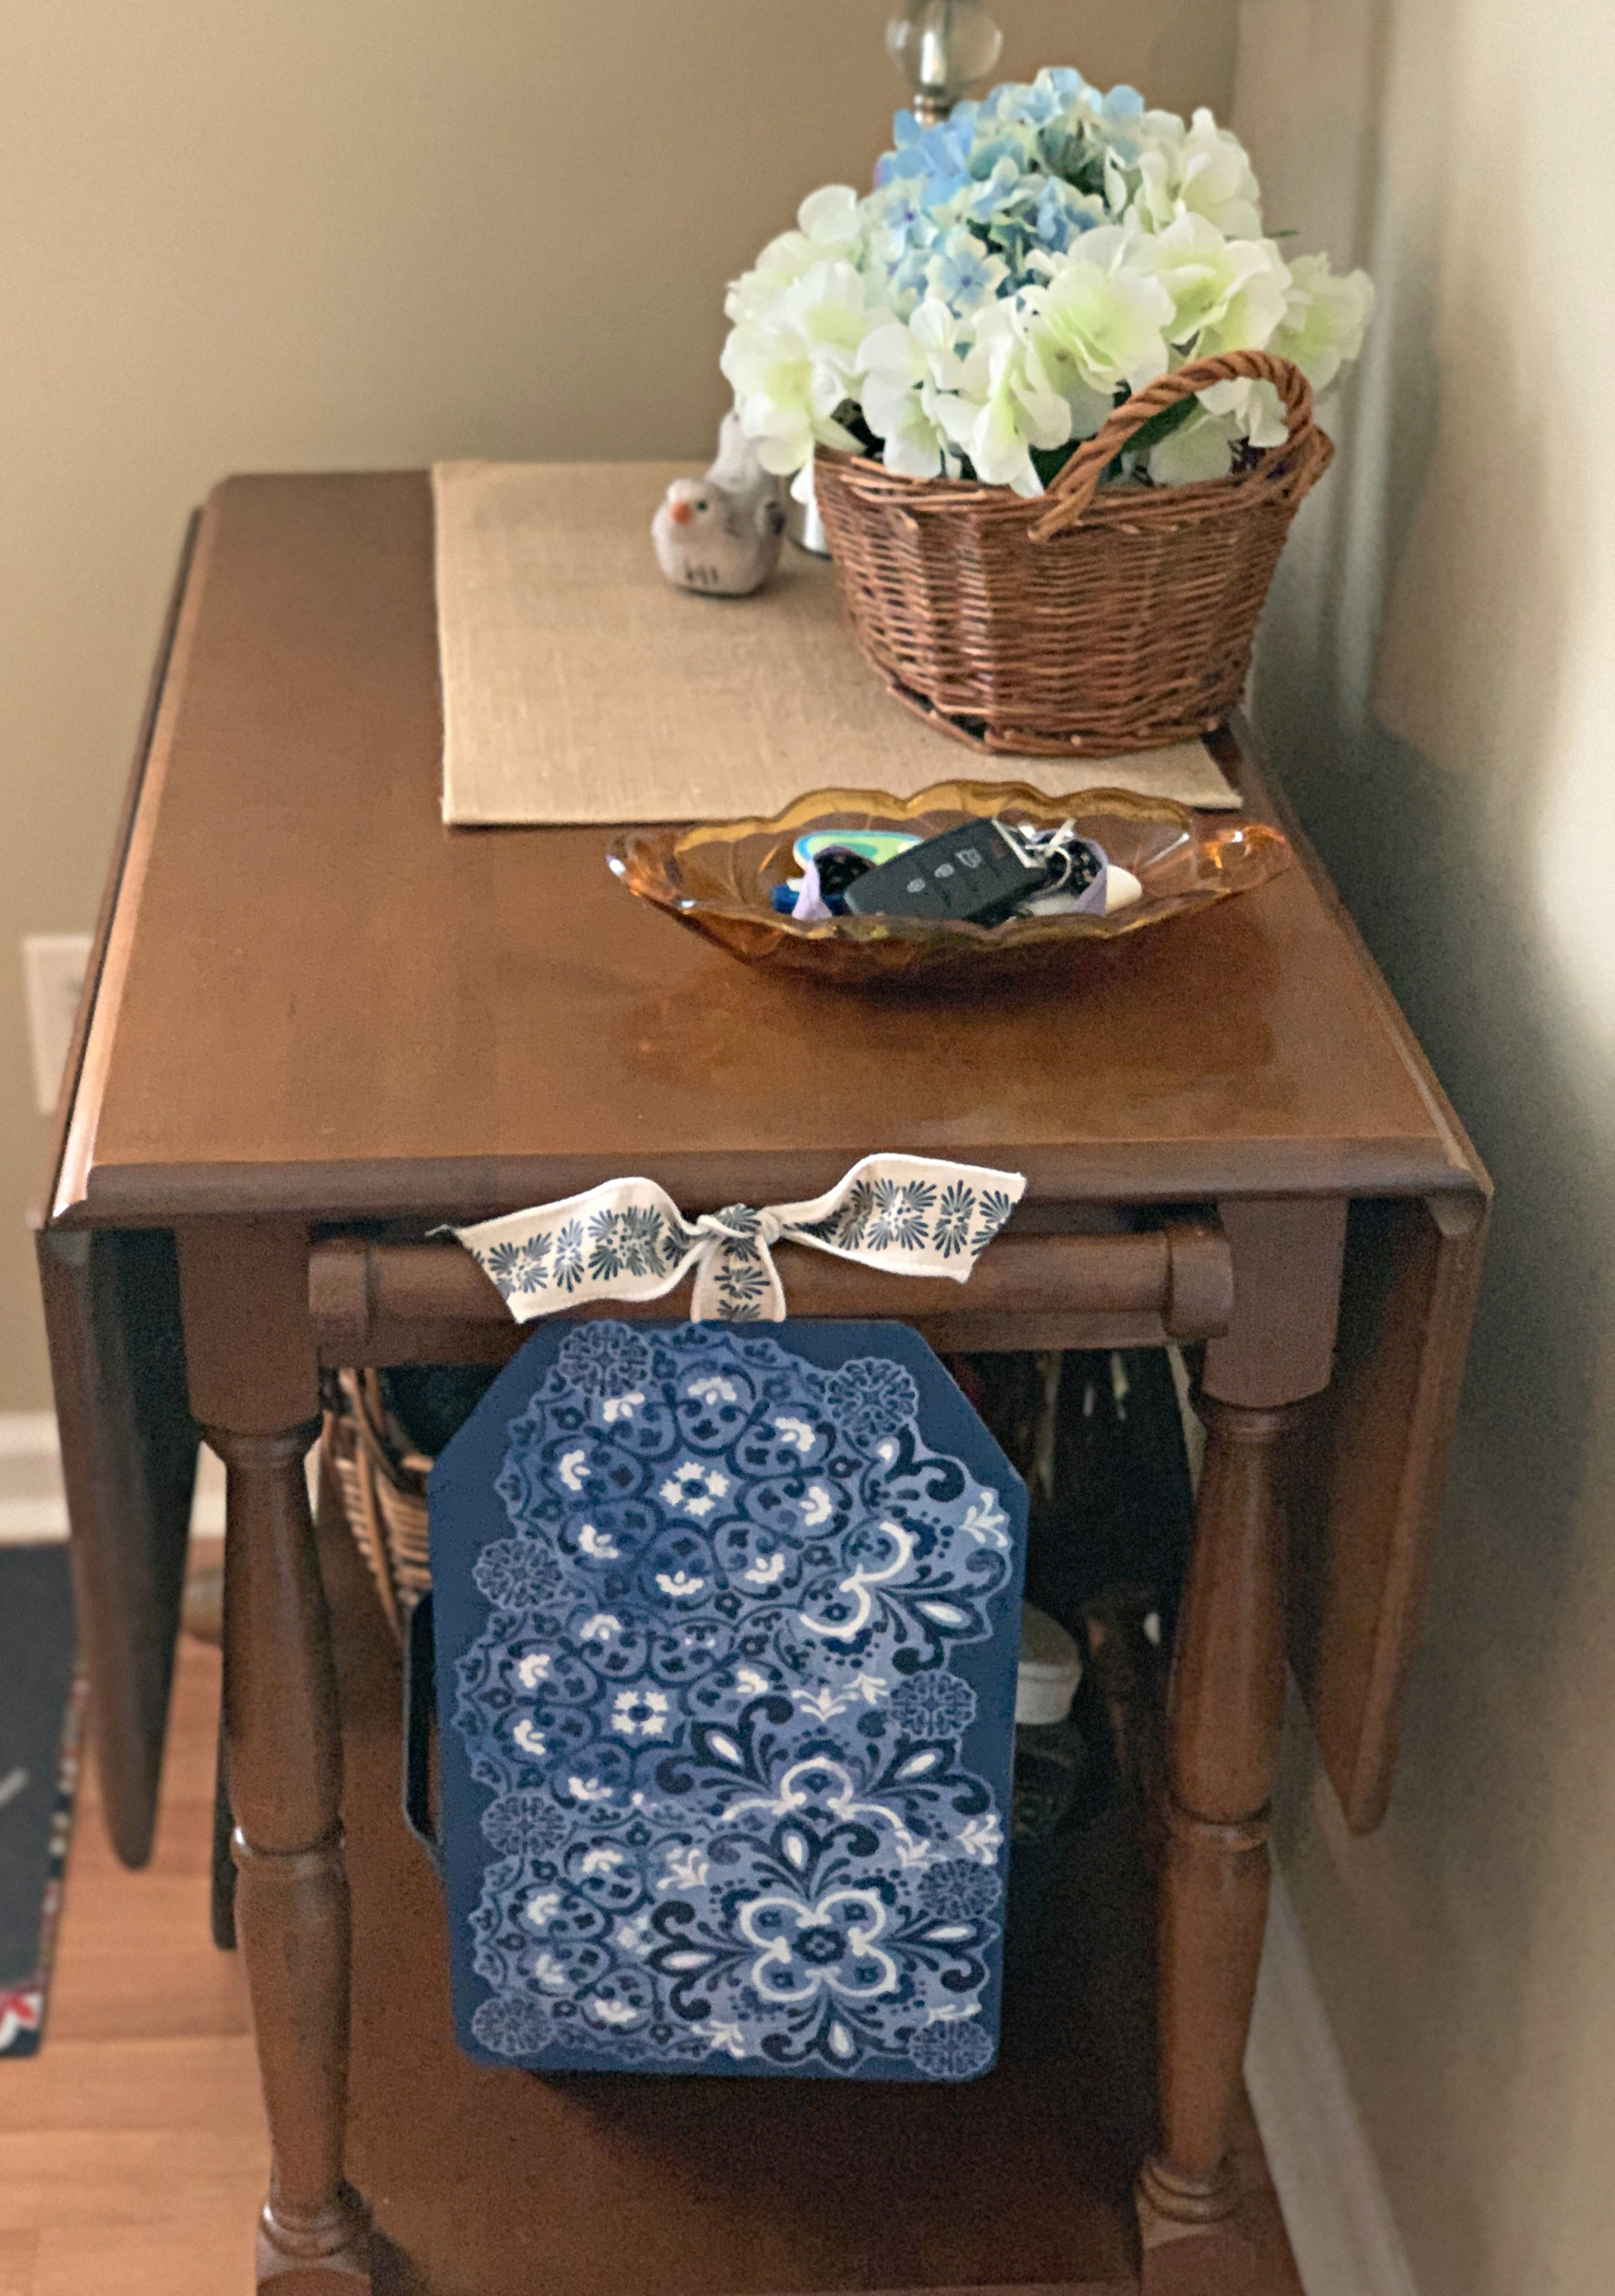
It’s not often that I share a craft project, but I have one for you today! During the holidays I hung a cute Dollar Tree sign from the end of tea cart. It added a pop of something and also partially blocked the view under the cart – where I keep necessary but not pretty things like flip flops, treats for the neighbors’ dogs and an umbrella.
I decided to make a sign that I could use during the non-holiday times, so armed with a few Dollar Tree items (and some crafting advice from my friend Darla 🙂 ), I came up with this one!
Here’s What I Used:
- Dollar Tree Sign
- Hot Glue
- Card Stock
- Tacky Craft Glue
- Foam Brush
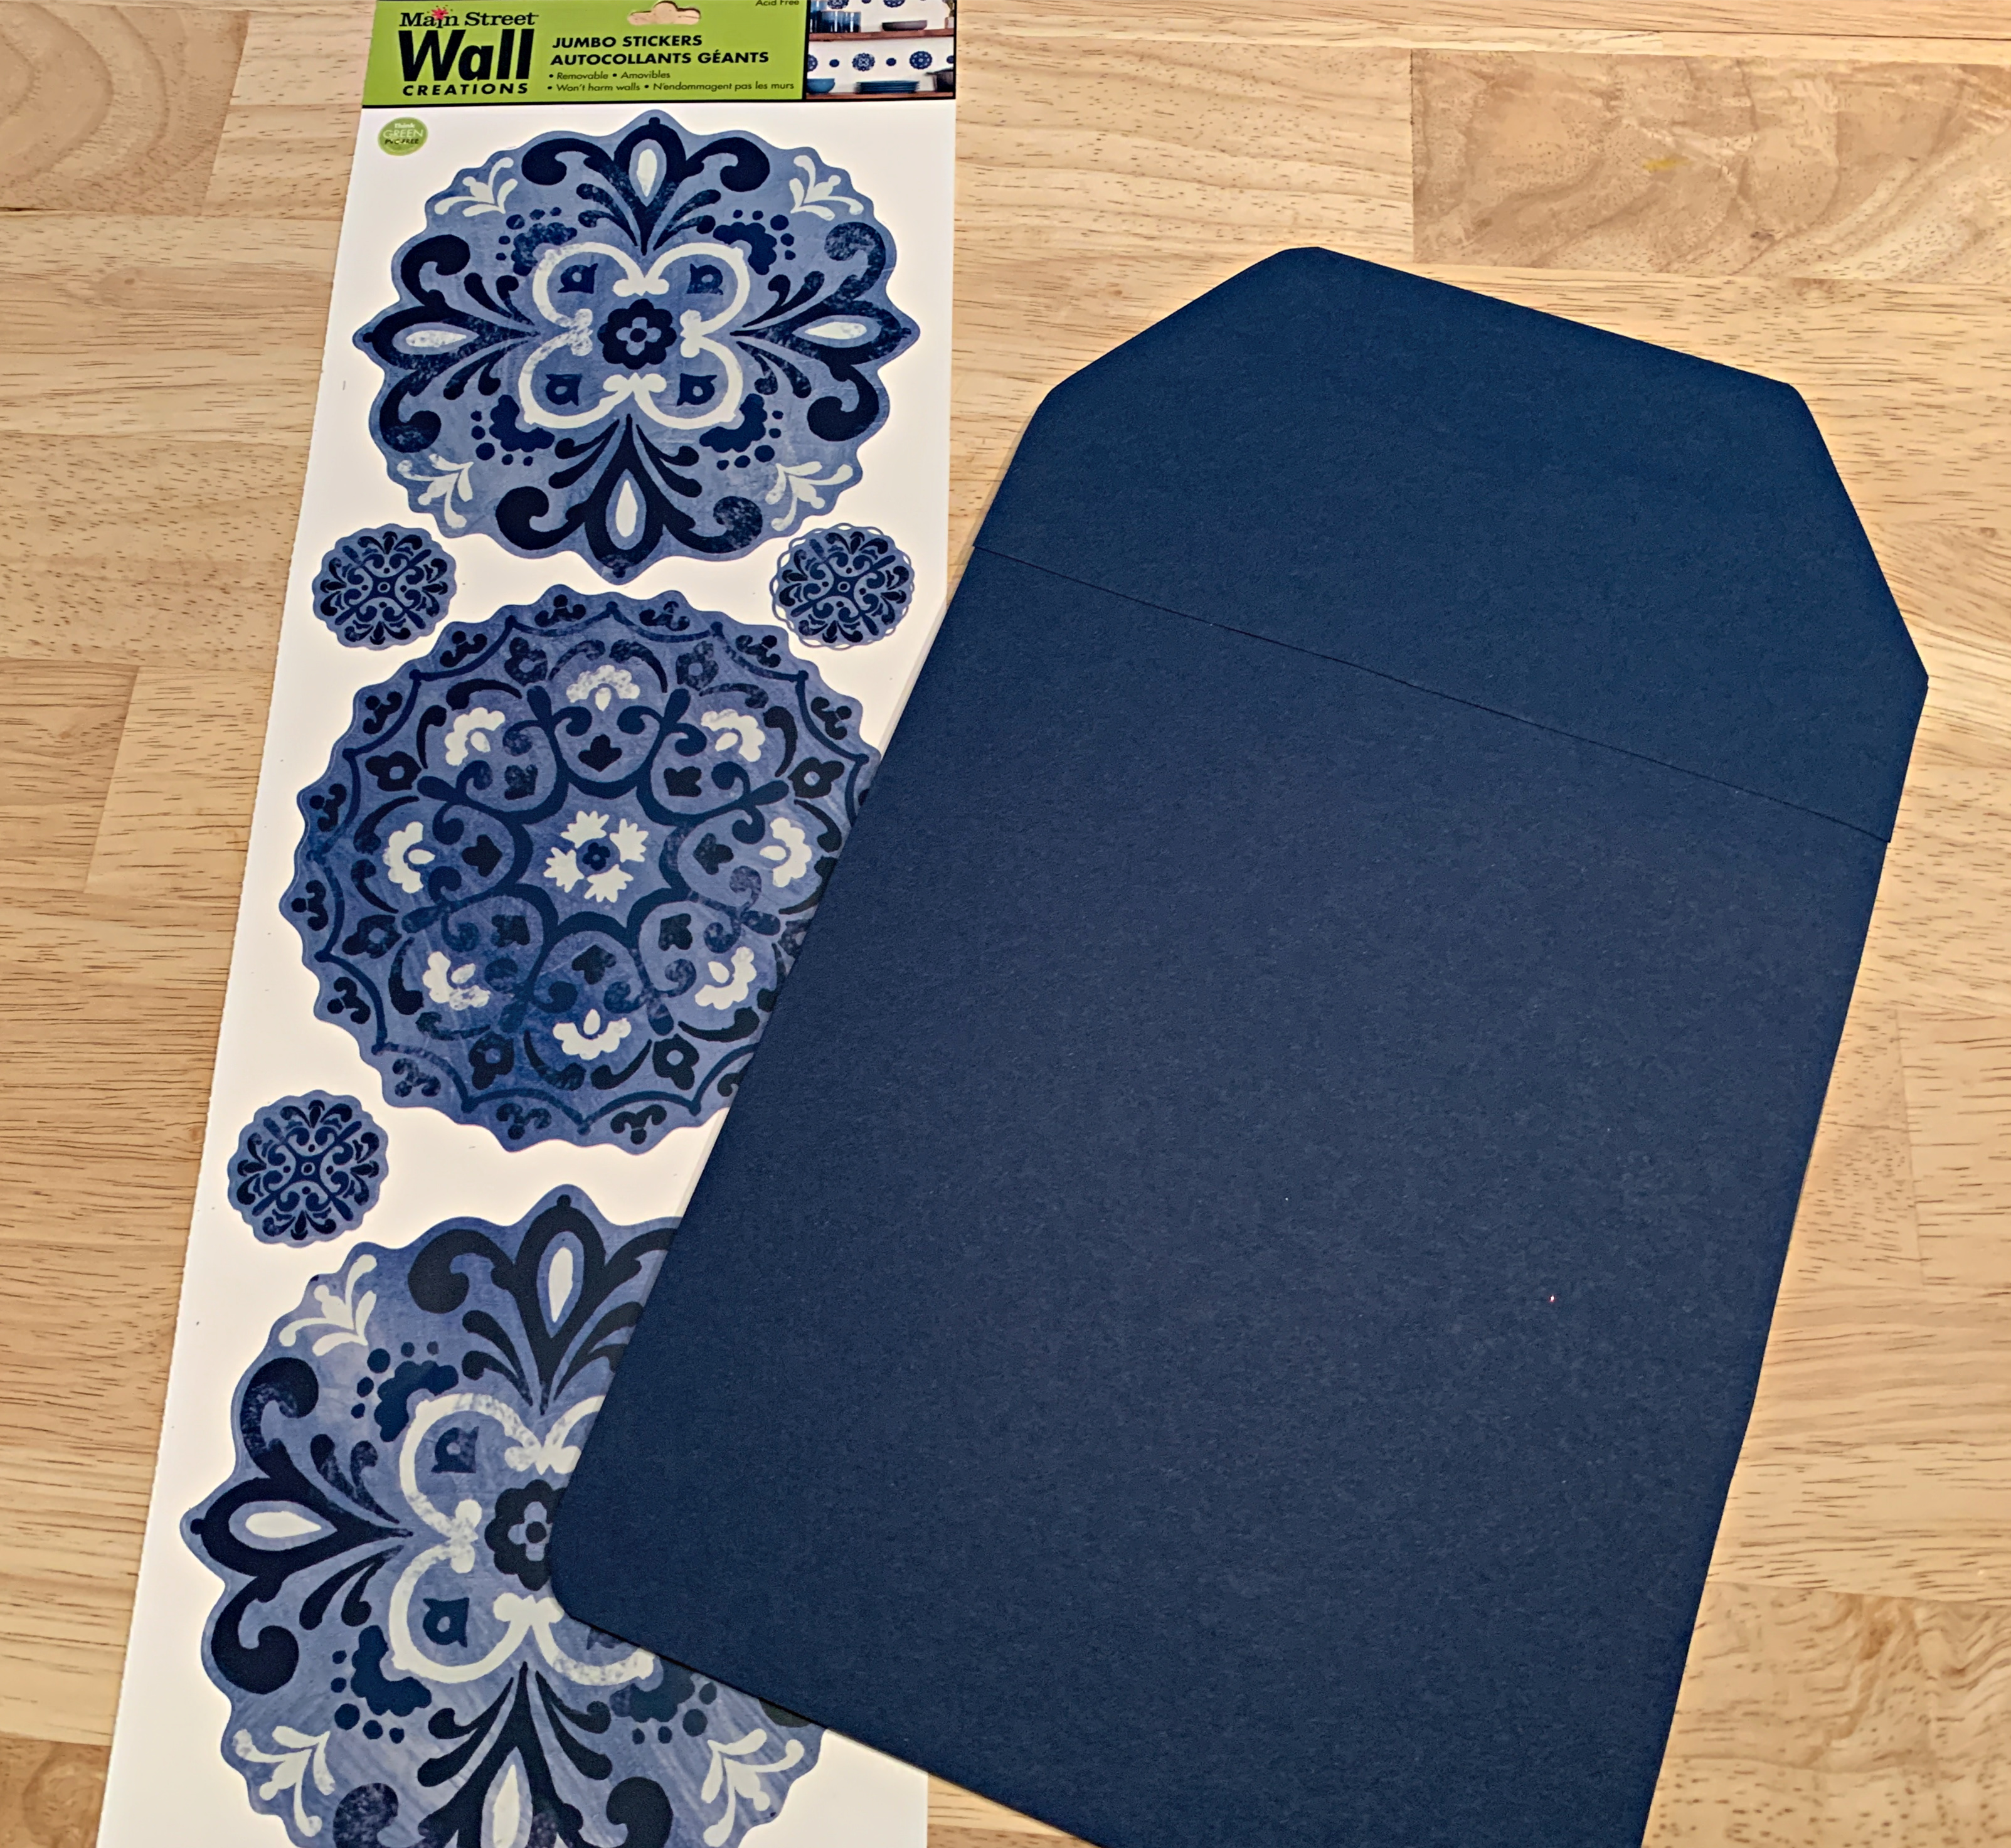
- Dollar Tree Wall Decals
Everything came from Dollar Tree except the card stock that I bought at Hobby Lobby and my glue gun, which I already had on hand.

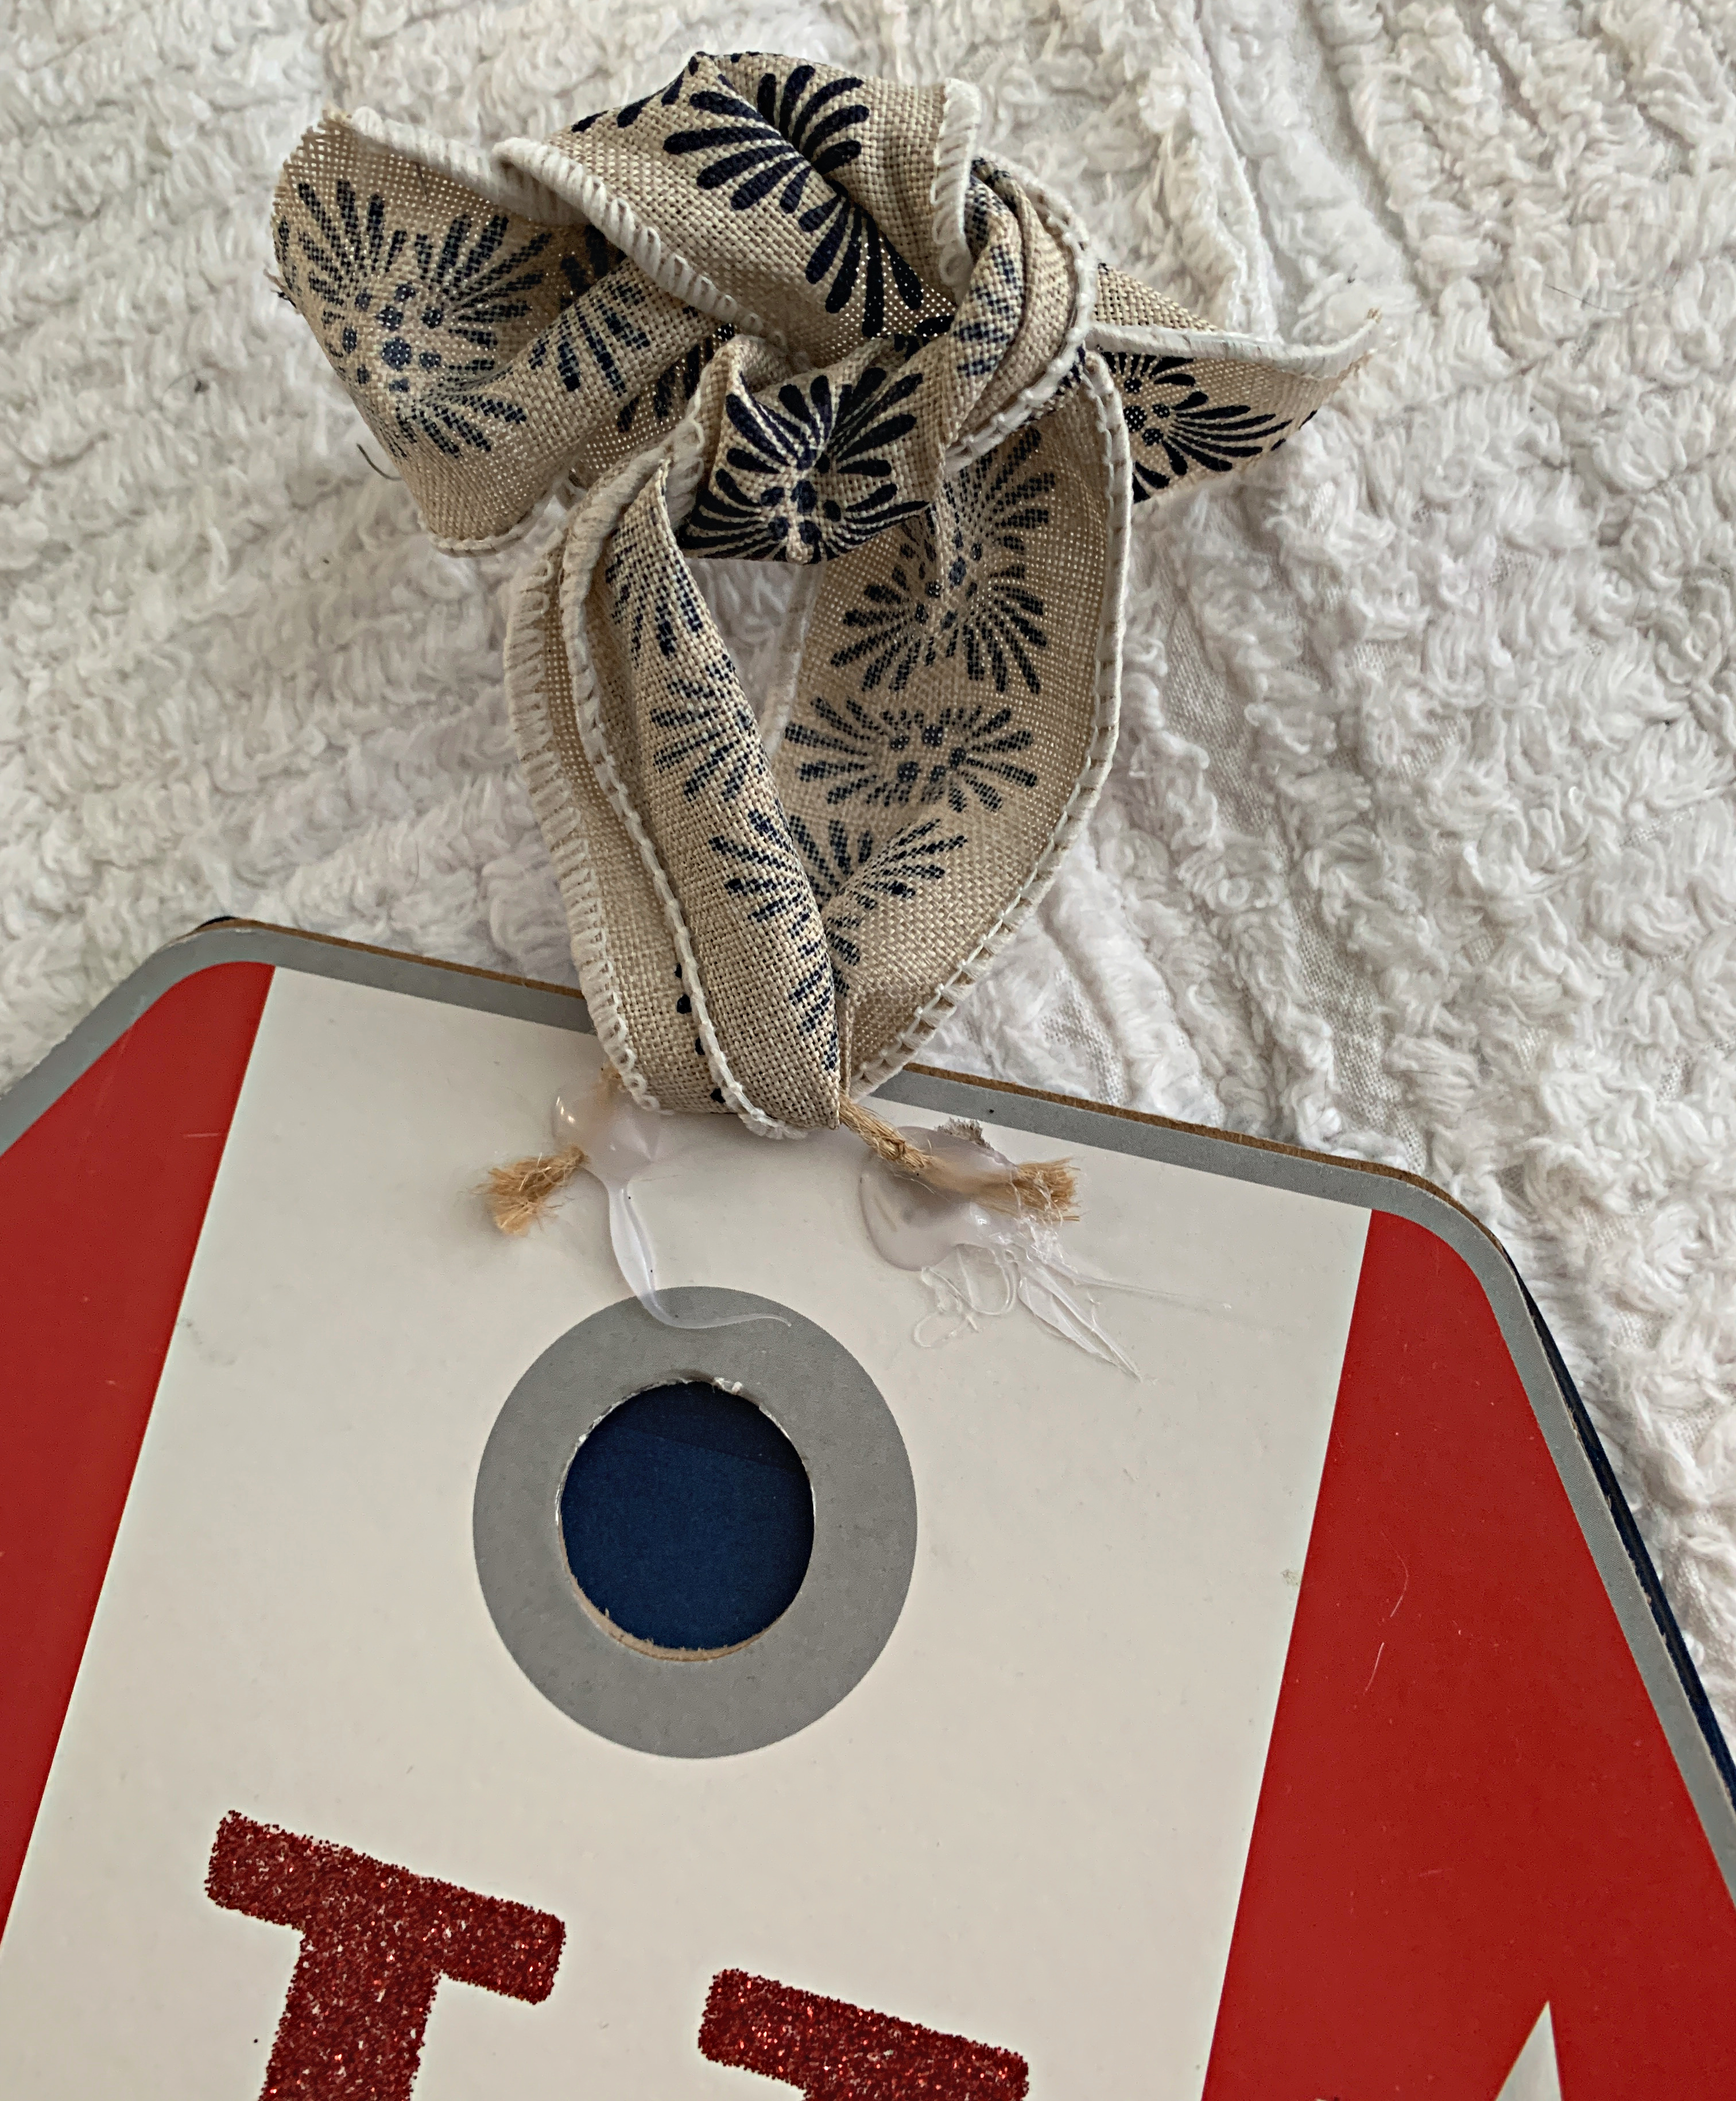
I started by removing the 2-D elements from the front of my sign so that it would lay flat. Then I traced the sign onto two pieces of card stock. The sign was larger than the card stock, so I cut out two pieces that fit together to cover the sign.
I spread a thin layer of craft glue on the sign, using the sponge brush, and placed the card stock down on the smooth side (the back).
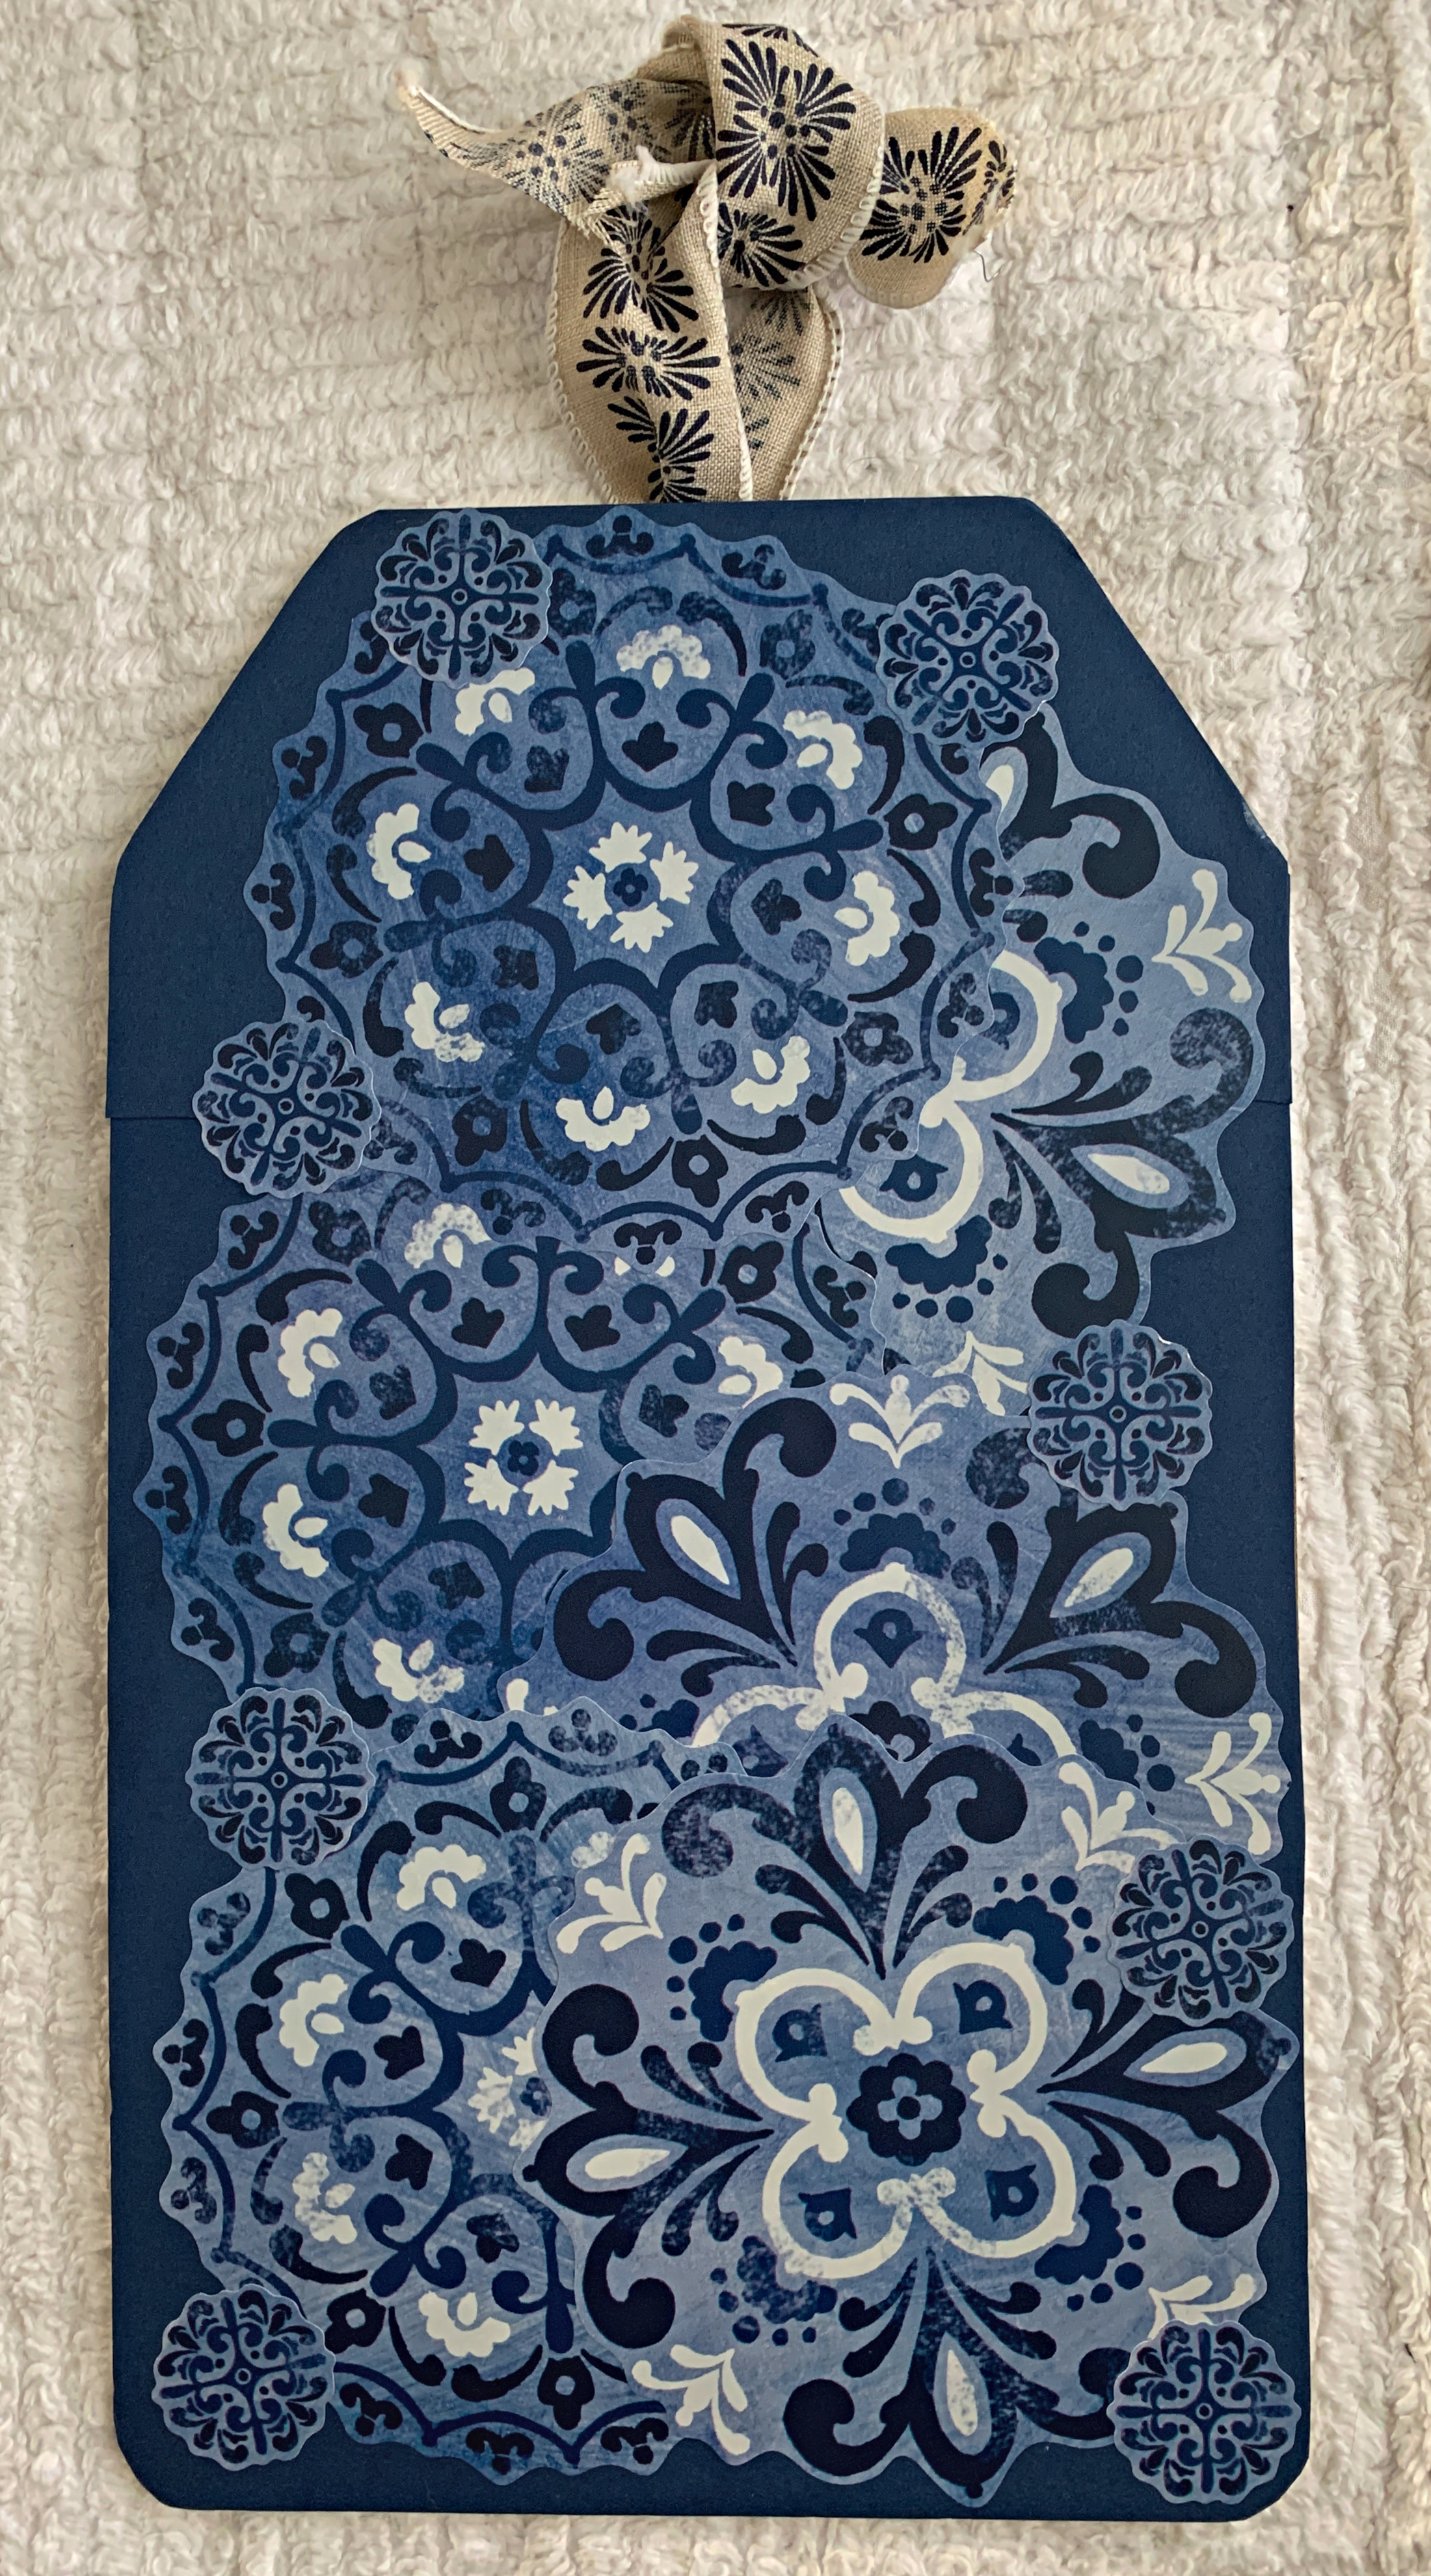
Once the sign dried overnight I arranged the decals on top of the card stock. The package says they are removable, and I was able to move them around while I worked on the project. After sitting for a few days the stickers don’t move as easily (which is a good thing).
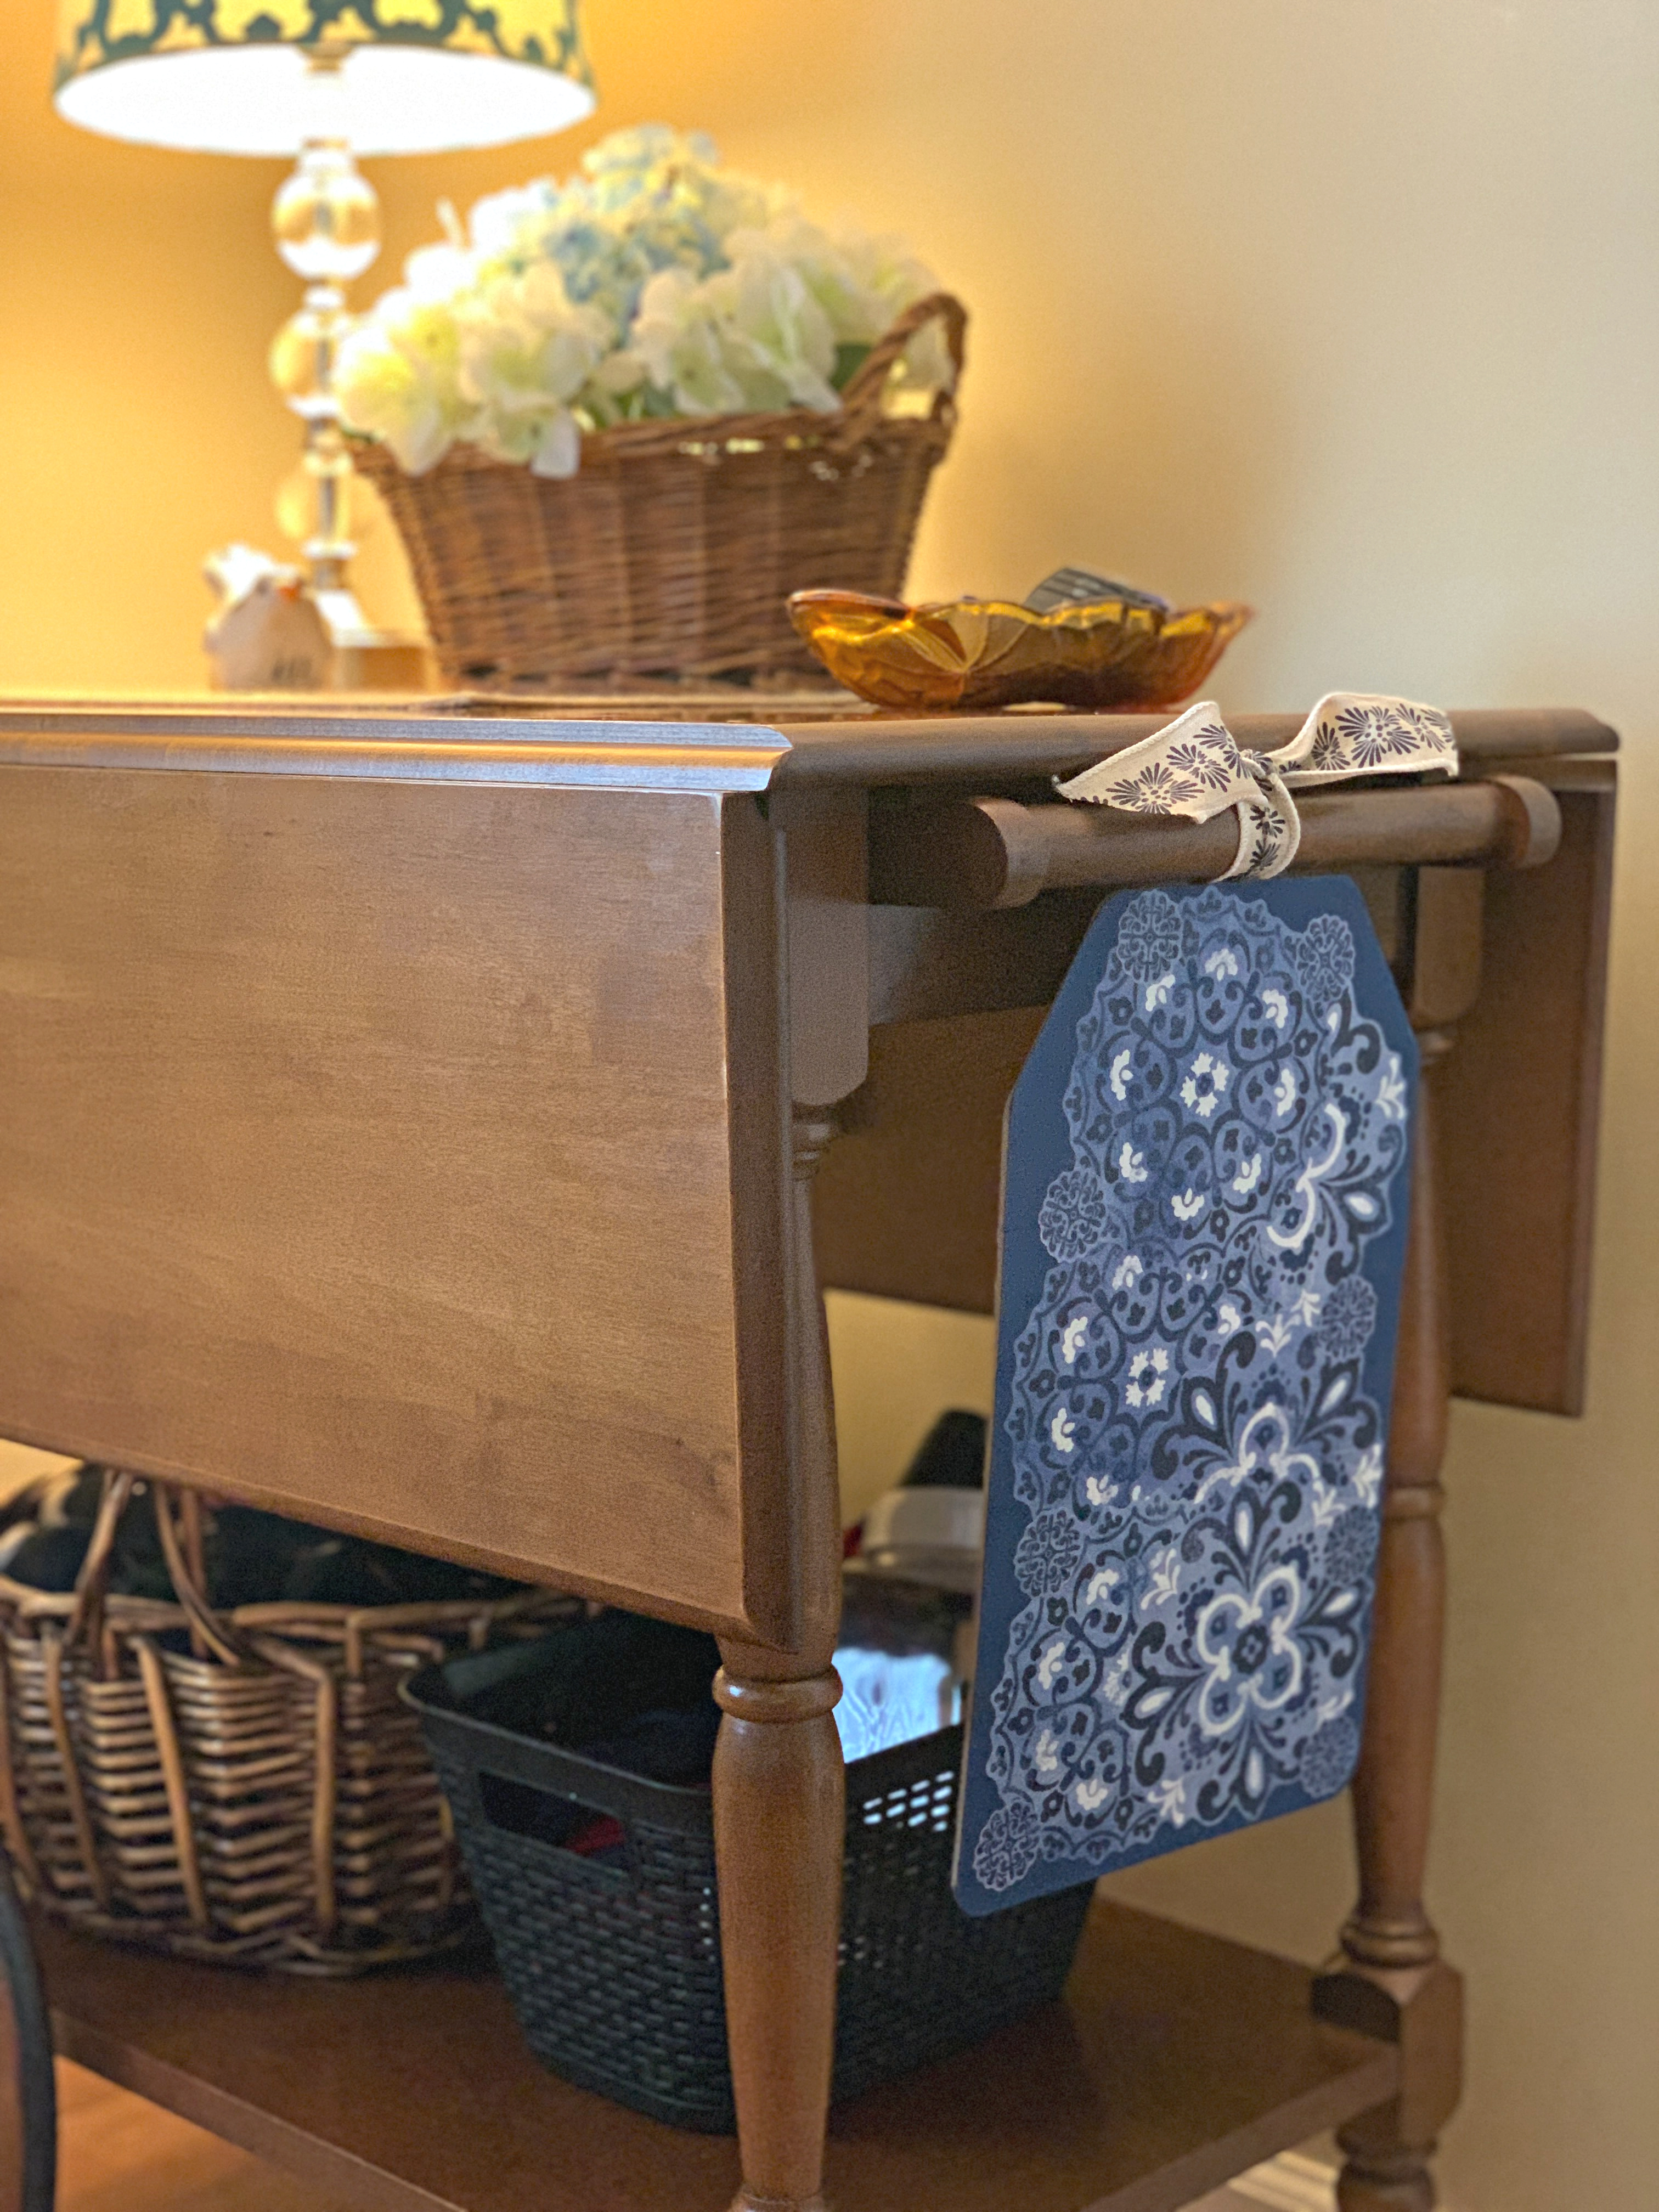
I created a hanger using hot glue and a short piece of jute string. It would have been nice to be able to use the hole already in the sign, but without any fancy crafting tools I wasn’t interested in doing that using my scissors! I just covered it with the card stock and made my own hanger.
Since I had the crafting supplies and ribbon on hand, this project cost $3 for the sign, card stock and decals. I wish I had arranged the pattern a little differently, but overall I’m pretty happy with how it turned out!
You Might Also Enjoy These DIY’s:


Turned out perfect! I love that it kind of blocks under the tea cart too!
Thanks, Robin!